![How to Pay VPS with BitPay [Fast & Secure] 🔒](/wp-content/uploads/2026/07/pay-vps-with-bitpay859-main.webp)
Short version: pick a VPS plan, head to checkout, choose BitPay, pay the invoice from your wallet, and wait for the blockchain to confirm. That's it. Your server gets provisioned shortly after the payment clears.
Paying for a VPS with BitPay, in plain English
If you've been wondering how to pay for a VPS with BitPay without juggling exchanges or copy-pasting addresses into sketchy fields, this guide walks you through the exact flow on MonoVM. I'll cover what to prepare, what the BitPay invoice screen actually looks like, what coins tend to work, and what to do if something goes sideways (because occasionally, it does).
Quick answer
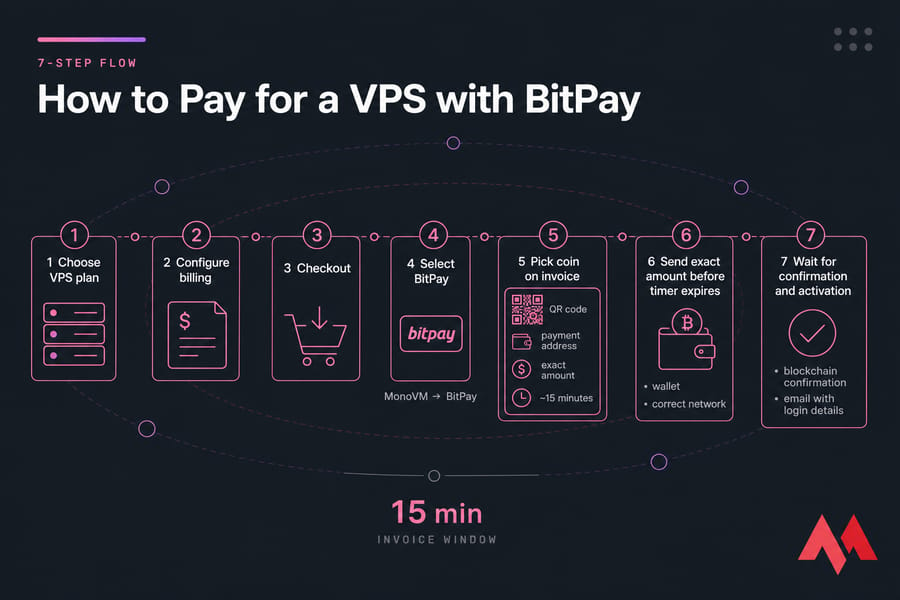
To pay for a VPS with BitPay: select your plan at MonoVM, proceed to checkout, choose BitPay as the payment method, pick your cryptocurrency on the invoice, scan the QR code (or paste the address into your wallet), send the exact amount before the timer runs out, then wait for blockchain confirmation. Once confirmed, your VPS is provisioned and you'll get an email with login details.
What "paying with BitPay" actually means
BitPay is a payment processor — not the VPS, not the wallet, not the coin. Think of it like Stripe, but for crypto. When you select BitPay at checkout, MonoVM hands the payment portion of the transaction off to BitPay, which generates an invoice with a fixed amount, a payment address, a QR code, and a countdown timer.
You don't need a BitPay-branded wallet. Any compatible crypto wallet that holds the coin shown on the invoice will work, as long as it lets you send the exact amount on the correct network. That's the part most people trip on, by the way — the network has to match.
Here's the short flow in one breath:
- MonoVM checkout creates the order
- BitPay generates the invoice
- You pay from your wallet
- Blockchain confirms
- Your VPS is activated
If you'd rather skip the gateway and pay direct, you can also buy VPS with Bitcoin through MonoVM's standard crypto checkout. BitPay just adds a cleaner invoice layer for people who prefer it.
What to prepare before you open checkout
Don't open the BitPay invoice until you've got these ready. The timer is unforgiving.
- The VPS plan you actually want — Linux or Windows, location, billing cycle
- A funded wallet with enough balance to cover the invoice plus network fees
- The correct coin and network matching what BitPay will display
- A valid email for order confirmation and welcome credentials
- Stable internet so the invoice doesn't time out mid-payment
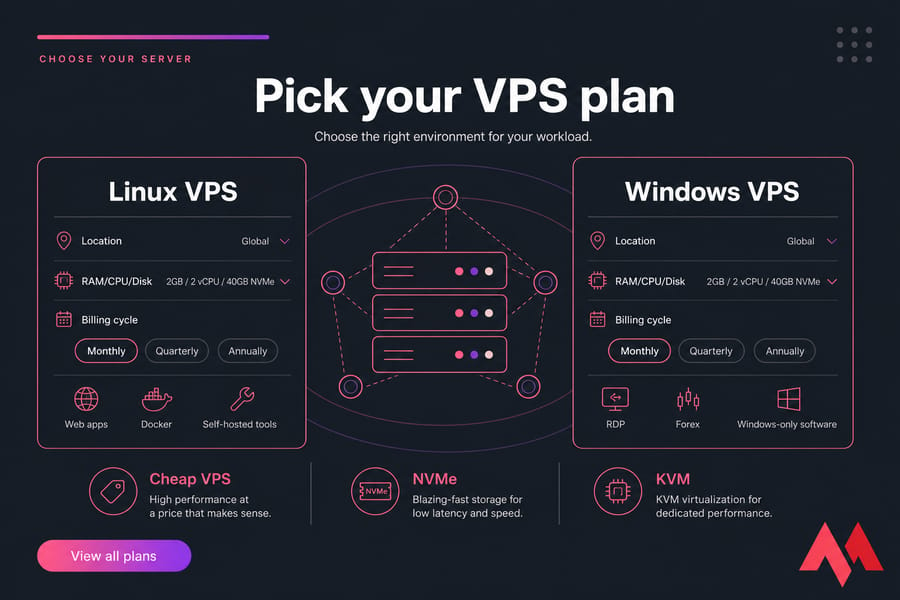
Not sure which server fits? Browse Linux VPS plans if you're running web apps, Docker, or self-hosted tools. Pick a Windows VPS if you need RDP, Forex platforms, or Windows-only software.
How to buy a VPS with BitPay, step by step
This is the part you came for. Follow it in order.
Step 1 — Pick your VPS plan
Head to MonoVM and choose the VPS category that matches your workload. If price matters most, start with the cheap VPS hosting options. If performance is the priority, look at NVMe or KVM tiers.
Step 2 — Configure your server
Pick your OS, datacenter location, RAM/CPU/disk specs, and billing cycle (monthly, quarterly, annually). Longer cycles usually cost less per month. Add any extras you need — backups, extra IPs, whatever applies.
Step 3 — Proceed to checkout
Enter your billing details. Double-check the email — that's where your VPS credentials will land. If you already have a MonoVM account, log in so the order ties to your dashboard.
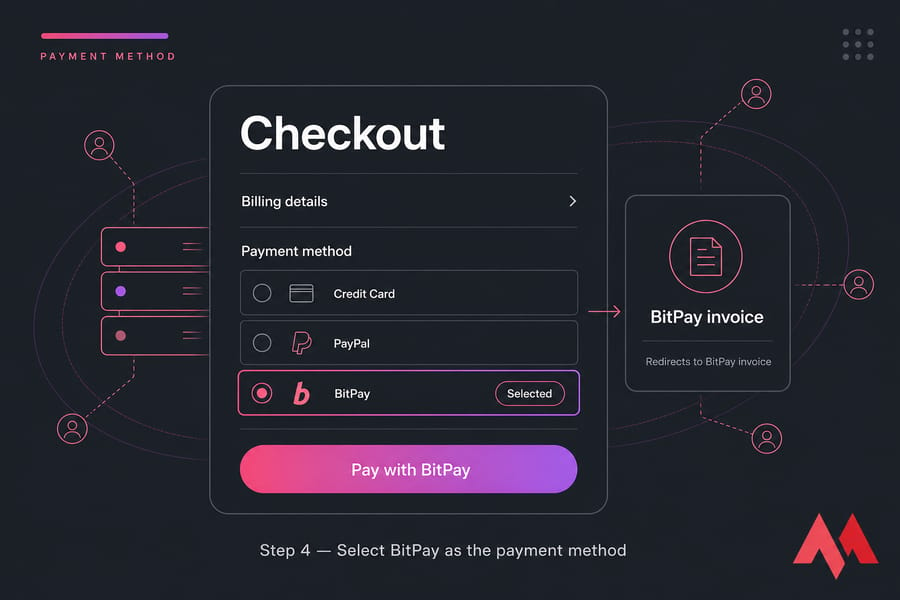
Step 4 — Select BitPay as the payment method
On the payment options screen, choose BitPay. The page redirects (or opens an embedded invoice) to the BitPay payment portal.
Step 5 — Choose your coin on the invoice
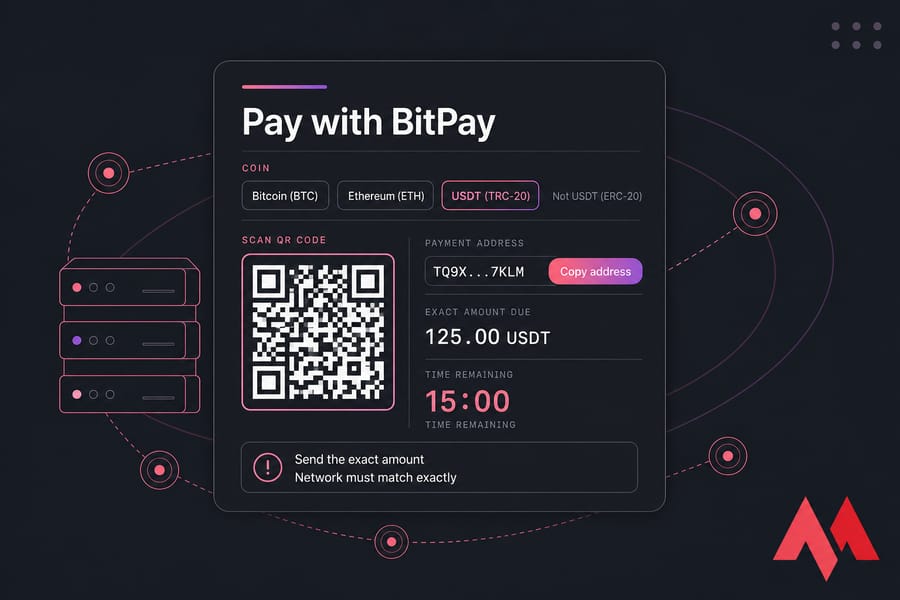
BitPay will show you which cryptocurrencies are available for this specific invoice. Pick the one you actually hold and intend to send. Read the network label carefully — USDT on TRC-20 is not the same as USDT on ERC-20.
Step 6 — Pay the exact amount before the timer runs out
Scan the QR code with your wallet or copy the address and amount manually. Send the exact amount the invoice asks for. Don't round up, don't round down. Most BitPay invoices give you roughly 15 minutes — long enough if your wallet's already open, tight if you're still logging in.
Pro tip from someone who's watched too many invoices expire: open your wallet before you click "Pay with BitPay." It saves you the panic scroll.
Step 7 — Wait for confirmation, then check your email
Once the transaction hits the blockchain, BitPay marks the invoice as paid. MonoVM verifies the order and starts provisioning. You'll get a welcome email with IP, root/admin credentials, and login instructions.
Need help once you're in? Here's how to connect to your VPS over SSH or RDP.
Which cryptocurrencies BitPay typically supports
The exact coin list on any given invoice can vary by merchant configuration, region, and BitPay's own supported list at that moment. Don't assume — always trust what the invoice screen actually shows you.
| Coin | Typical availability | Watch out for |
|---|---|---|
| Bitcoin (BTC) | Almost always available | Network fees during congestion |
| Ethereum (ETH) | Commonly available | Gas fees can sting on busy days |
| USDT (Tether) | Often available | Network matters — ERC-20 vs TRC-20 are not interchangeable |
| Other major coins | Varies | Check what the invoice lists before sending |
Prefer stablecoins? You can also buy VPS with USDT directly. ETH holders can check the Ethereum VPS payment options.
Warning: Always send the exact coin on the exact network displayed on the BitPay invoice. Crypto sent on the wrong network can be difficult — sometimes impossible — to recover.
What happens after your payment is confirmed
Here's the rough timeline once you hit send:
- Transaction broadcast — your wallet pushes the payment to the network
- BitPay detection — the invoice status updates to "paid" or "pending confirmation"
- Blockchain confirmation — takes a few minutes for most coins; BTC can take longer if fees are low
- Order verification at MonoVM — automated checks run against your order
- Provisioning — your VPS gets built; usually quick, but complex configs may take a bit longer
- Welcome email — credentials, IP address, control panel link
You can also watch the order status in your MonoVM dashboard. If anything looks stuck for more than an hour or two after confirmation, contact support with your invoice ID and TXID.
Common BitPay invoice problems (and how to fix them)
Most issues fall into one of four buckets. Here's the quick lookup:
| Problem | Likely cause | What to do |
|---|---|---|
| Invoice expired before I paid | Timer ran out | Restart checkout and generate a new invoice. Don't send to the old address. |
| Sent crypto but payment not detected | Network congestion or wrong network | Wait for more confirmations; if still missing after an hour, contact support with your TXID. |
| Wrong amount sent | Forgot to include network fee, or sent rounded amount | Contact support immediately with TXID and invoice ID. Underpayments may need a top-up. |
| Wrong network used | Selected ERC-20 USDT but sent TRC-20 (or similar) | Reach out to support fast. Recovery depends on the network and wallet involved. |
| Paid but VPS still not active | Provisioning queue or verification check | Give it up to an hour, then contact support with order number. |
Before you message support, grab these four things: invoice ID, transaction hash (TXID), order email, and approximate payment time. That cuts resolution time dramatically.
BitPay vs other VPS payment methods
BitPay isn't the only way to pay. Here's how it stacks up.
| Method | Best for | Pros | Watchouts |
|---|---|---|---|
| BitPay | Clean invoice experience with multiple coins | Clear amount, QR code, structured flow | Invoice timer, coin/network matching |
| Direct crypto | Users comfortable with raw addresses | Fewer middle steps | Less hand-holding on the payment screen |
| Credit card | Fastest familiar checkout | Instant, no wallet needed | Less privacy |
| PayPal | Buyers who already use it | Trusted, easy refunds | Not available in every region |
BitPay shines when you want a structured crypto checkout with a real invoice — not just a raw address. If you're new to crypto payments, the guardrails help.
Best MonoVM VPS options to pay for with crypto
Match the plan to the workload:
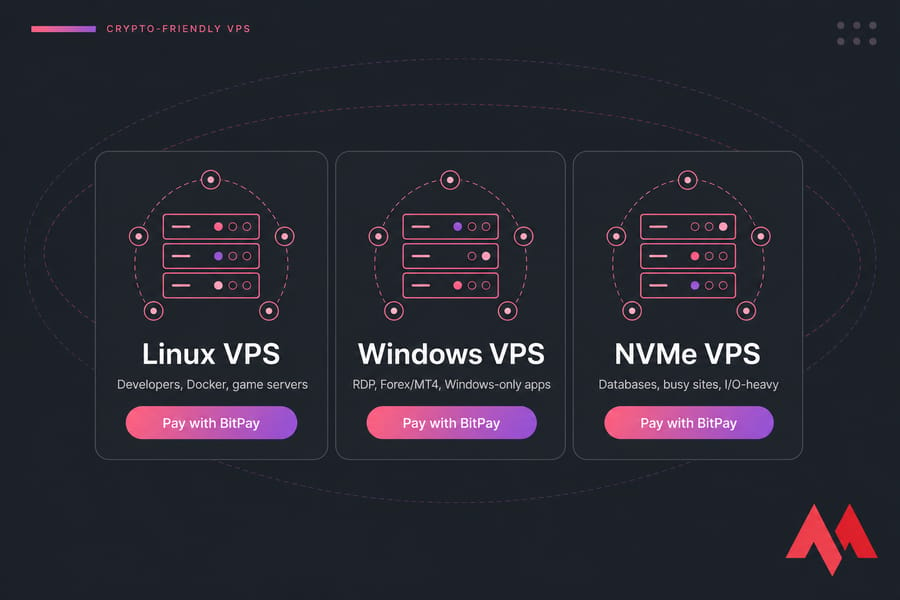
- Linux VPS — developers, Docker hosts, game servers, self-hosted apps, scrapers, bots
- Windows VPS — RDP access, Forex/MT4, Windows-only software, remote desktops
- NVMe VPS — databases, busy sites, anything I/O-heavy
- KVM VPS — full virtualization, custom kernels, isolated environments
All of them accept crypto checkout. Pick by use case, not by what sounds fanciest.
Final checklist before you pay
Run through this right before you hit send:
- Confirm the coin and network shown on the BitPay invoice
- Verify the exact amount (don't round)
- Check the timer — restart checkout if it's almost gone
- Make sure your wallet covers the amount plus network fees
- Save the TXID once you broadcast
- Verify your billing email is correct
- Keep the payment guide and support page handy in case anything stalls
That's it. With those boxes ticked, the rest is mostly waiting for confirmation.
Ready to order?
Pick your plan, choose BitPay at checkout, and you'll be online shortly after the blockchain confirms. MonoVM offers VPS across 25+ global locations with 24/7 technical support and crypto-friendly checkout.
Buy VPS with bitcoin or jump straight into Linux VPS or Windows VPS.

An experienced tech and developer blog writer, specializing in VPS hosting and server technologies. Fueled by a passion for innovation, I break down complex technical concepts into digestible content, simplifying tech for everyone.