
If you're receiving the dreaded "Warning: Remote Host Identification Has Changed" message, don't panic. It may seem like your remote server has gone rogue and changed its identity, but fear not, this error is fixable.
Whether you're working from home or the office, we've got you covered with our easy-to-follow guide. You'll be able to access your remote server confidently without any warning messages getting in your way. So, buckle up and get ready to take control of your server with our step-by-step solution.
🧾 What Does This SSH Error Mean?
When one connects with SSH to a remote server for the very first time, the computer saves the server's public key (host key) into a file named known_hosts. The key works as a digital signature so the system may, in subsequent sessions, recognize and trust the server.
Upon reconnecting, the SSH client checks the key saved against the current key shown by the server. If they are the same, the connection goes on. If not, the error message saying "Remote Host Identification Has Changed" appears. This protects the identity of the server against impersonation and man-in-the-middle (MITM) attacks.
SSH host key mismatch, a common error in ssh protocol
If you want to learn more about this error, read the article below:
Warning Remote Host Identification Has Changed
🧩 Common Causes of the Error
The "Remote Host Identification Has Changed" error typically means your SSH client detected a mismatch between the server’s stored identity and its current one. This can happen for legitimate reasons, or it could signal a serious security risk.
- The server’s host key was regenerated after reinstalling the operating system.
- A cloud provider reissued the server instance with a new SSH key.
- You manually reset or reimaged the VPS or dedicated server.
🕵️♂️ Man-in-the-Middle Attack (MITM)
- A malicious actor is intercepting your SSH connection and presenting their key.
- This typically happens over unsecured networks like public Wi-Fi.
- It can be used to capture credentials or sensitive information.
🌐 IP Address Reuse or DNS Change
- Your server’s IP address changed (common in dynamic cloud environments).
- A different server is now using the same IP that our client previously connected to.
- DNS records were updated, or your local DNS cache is outdated.
What is the SSH protocol? Follow the link below:
❓ How to Fix the Error (Linux/macOS)
Suppose you are getting the error message "Remote Host Identification Has Changed." In that case, it means that your system has detected a discrepancy with the previously saved SSH key and the one now offered to the SSH client by the server. This issue is common and can be quickly sorted out safely by following a few simple steps.
Fixing the error on macOS
You can fix "warning: remote host identification has changed!" using a special program called SSH Config Editor, or you can do it manually via the Terminal. Both methods will work, so go with the one that feels most natural.
We believe utilizing the Terminal (or iTerm2 if you like) with a simple text editor such as Nano or Vim is easier. This is because it is simple and does not require a lot of technical understanding. It's an easy approach to fix this problem.
Method 1: using Nano
Nano is a simple text editor that is commonly found on Linux and macOS platforms. Below is an overview of the steps involved:
- Find the Terminal app on your computer and open it.
- Go to the known_hosts File. This file stores the fingerprints (unique identifiers) of servers you've connected to in the past.
- Use the following command to open the file in Nano:
nano ~/.ssh/known_hosts
- Identify and delete the faulty key. The error message will most likely identify the precise server or IP address that is causing the problem. Look through the known_hosts file for an entry relating to that server. When you discover it, use the arrow keys to travel to the line and then press Delete to remove it.
- Save and Exit. Press Ctrl+X to exit Nano.
- When prompted to save the changes, type Y and then Enter.
Method 2: Using Mac Terminal
Don't enjoy dealing with editors? Here's a simpler solution! This method uses the Terminal to remove the incorrect key from your known_hosts file.
Step 1: Open the terminal
Open the Terminal app as you did before.
Step 2: Delete the faulty key (take care!)
Here is the essential part: Type this command into the Terminal, but replace "www.monovm.com" with the actual website or hostname that is producing the problem.
ssh-keygen -R www.monovm.com
Warning! This operation deletes the key without prompting. Make sure you enter the correct website address; otherwise, you may destroy all of your keys! Please double-check before pressing Enter! If you eliminate the right key, the error message should not appear the next time you try to connect.
Fixing the error on Linux
Linux users often encounter this SSH error when connecting to a server they've previously accessed, but whose identity has now changed. Thankfully, the fix is quick and straightforward using the terminal. Below are multiple methods to resolve it safely.
Follow the link below to learn about SSH on Linux:
Method 1: Use ssh-keygen to Remove the Offending Key
The simplest and safest way is to remove the outdated key entry using the ssh-keygen command:
- Open your Terminal
Run the following command (replace hostname with your server's domain or IP):ssh-keygen -R your.server.com
If you also know the IP address, remove it too:ssh-keygen -R 192.168.1.100
(Optional but recommended) Remove the key by file path if you're not sure it's gone:ssh-keygen -f "~/.ssh/known_hosts" -R "your.server.com"
These commands will safely remove the stored fingerprint for the specified host or IP from your known_hosts file.
Method 2: Manually Edit the known_hosts File (Advanced Users)
If you prefer more control or need to inspect the contents manually, you can edit the known_hosts file directly:
Open the terminal and Run Nano or your preferred editor:nano ~/.ssh/known_hosts
Find the offending line – the error message usually tells you the exact line number (e.g., Offending ECDSA key in ~/.ssh/known_hosts:7)
Use the arrow keys to navigate to that line and delete it.
Press Ctrl + X, then press Y and Enter to save and exit.
Method 3: Temporarily Disable Key Checking (Not Recommended for Regular Use)
You can bypass host verification entirely using SSH options, but this comes with security risks. Use this method only in trusted environments:
ssh -o StrictHostKeyChecking=no your.server.com
This will automatically accept the new key and add it to known_hosts, but it won’t alert you to possible MITM attacks.
Looking for a secure and reliable server to manage your SSH connections? Check out our high-performance Linux VPS Hosting plans designed for developers and sysadmins.
❓ How to Fix the Error on Windows?
If you’re using Windows and encounter the "Remote Host Identification Has Changed" error while connecting via SSH, don’t worry, it’s just as fixable here as on Linux or macOS. Whether you're using Git Bash, PuTTY, or Windows PowerShell, we'll walk you through the steps.
Method 1: Git Bash
Git Bash offers a Unix-like terminal on Windows, making it a great tool for SSH access. Here's how to fix the error using Git Bash:
Open Git Bash: Click Start, type Git Bash, and open the terminal window. Run the following command (replace your.server.com with the actual hostname or IP from the error message):
ssh-keygen -R your.server.com
If the error mentions a specific IP address, run the same command for the IP:ssh-keygen -R 192.168.1.100
You can also manually target the file if needed:ssh-keygen -f ~/.ssh/known_hosts -R your.server.com
This command will scan the known_hosts file located in your user directory (typically C:\Users\YourName\.ssh) and remove the entry associated with the given hostname or IP. Reconnect via SSH. Now try reconnecting to your server:ssh username@your.server.com
You’ll be prompted to confirm the new key, just like on a first-time connection.
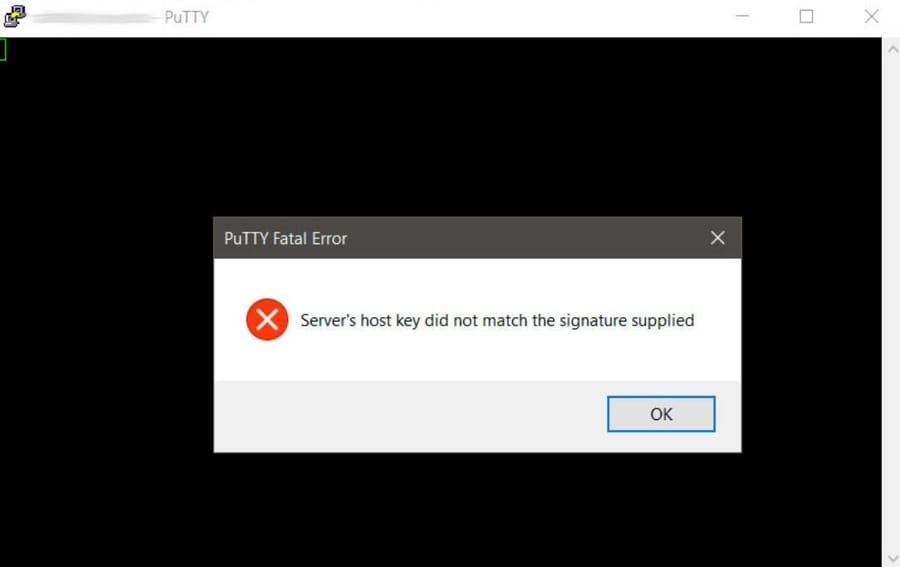
Method 2: using PuTTY
If you see that error while using PuTTY, you must address a different issue. The key that is creating the problem is kept in another location. Here's how to locate and delete it.
Step 1: Open Windows Registry
You can get to the Windows Registry in two ways. To open Regedit, hit the Windows key + R and type the following:
regedit
On the other hand, you can click the Windows icon in the bottom-left corner, type "regedit," and launch it from there. Once the Registry Editor is open, move on to the next step.
Step 2: Locate the keys in the Windows registry
In the registry editor's search bar, navigate to:
HKEY_CURRENT_USER/Software/SimonTatham/PuTTY/SshHostKeys/
Here is a collection of PuTTY keys used to make remote connections. Refer to the error notice to find the faulty key, then right-click and delete it. You've now successfully fixed the "Warning: Remote Host Identification Has Changed" bug in PuTTY for Windows.
SSH is also possible on Android. Learn more by reading the article below:
📁 Understanding and Managing known_hosts
The known_hosts file is critical to how SSH ensures secure connections. It stores a list of previously connected remote hosts and their unique cryptographic fingerprints, helping your system identify trusted servers and warn you about unexpected changes.
📌 File Location
- On Linux/macOS, it’s located at: ~/.ssh/known_hosts
- On Windows with Git Bash or OpenSSH, it’s usually at: C:\Users\YourUsername\.ssh\known_hosts
- If the .ssh folder is hidden, enable “Show hidden items” in File Explorer (Windows) or use ls -a on Unix-based systems
- This file is created automatically the first time you connect to a remote server via SSH
📚 Format and Multiple Entries
- Each line in the file represents one host (IP or domain) and its corresponding public key
- Hosts can appear multiple times if they were accessed via different DNS names or IP addresses
- Entries can include the line number in error messages (e.g., “line 7”) for quick reference
- Fingerprints are stored using key types like ssh-rsa, ecdsa-sha2-nistp256, etc.
🔒 Hashing Issues
- By default, modern SSH clients hash hostnames in the known_hosts file for added privacy
- This can make manual editing difficult, since you can't see the actual hostname
To disable hashing (for easier manual management), add this to your SSH config:HashKnownHosts no
- Alternatively, use ssh-keygen -F hostname to search hashed entries or -R to safely remove them without editing
🔍 How to Verify SSH Fingerprints Securely
Before accepting a changed SSH key, it’s essential to verify that the new fingerprint truly belongs to your server—and not an attacker’s. Blindly deleting or accepting unknown keys can expose you to man-in-the-middle (MITM) attacks, so here are safe ways to confirm the legitimacy of a server’s SSH fingerprint:
- Check Your Hosting Provider’s Dashboard: Most cloud and VPS providers (like AWS, Linode, or MonoVM) display the server’s public SSH fingerprint in their control panel. Log in and compare it with what your terminal shows.
- Use ssh-keyscan to fetch the Live Key: You can fetch and display the current fingerprint from the remote server without connecting:
ssh-keyscan your.server.com | ssh-keygen -lf - - Ask Your System Administrator: If you're part of a team, reach out to the server admin and ask for the current key fingerprint via a secure channel like Slack, encrypted email, or your internal documentation portal.
- Compare with a Previously Saved Fingerprint: If you've stored trusted fingerprints manually in a separate log, now is the time to refer to them.
🛡️ Best Practices to Avoid Future Errors
While the "Remote Host Identification Has Changed" error is usually harmless, preventing it in the first place can save you time and protect you from real security risks. By following a few best practices, you can maintain SSH trust relationships more reliably and securely.
- Always verify SSH fingerprints on the first connection using your cloud provider’s dashboard or admin-confirmed key.
- Avoid using StrictHostKeyChecking=no in production—this disables fingerprint verification and opens the door to MITM attacks.
- Use consistent hostnames (not switching between IP, FQDN, or internal aliases) to prevent duplicate entries in known_hosts.
- Manually clean or manage your known_hosts file if you work with frequently changing servers.
- Use ssh-keyscan before connecting to preview and compare a server's current key.
- Disable hashed hostnames in your SSH config if you prefer easier manual inspection (add HashKnownHosts no).
- Maintain a log of trusted fingerprints for critical infrastructure, especially in team environments.
- Use SSH config files (~/.ssh/config) to group trusted servers, enforce security rules, and avoid fingerprint mismatch confusion.
Final Thoughts
A Remote Host Identification Has Changed error indicates that your SSH client is warning you about probable security risks; however, this does not necessarily mean that something malicious has been done on the other side or server. Sometimes this could just be due to a server update or an IP change, or thirdly, a re-installation of its OS.
These warnings should never be disregarded blindly, and the server fingerprint should always be ascertained before proceeding, especially in production and cloud environments.

I'm fascinated by the IT world and how the 1's and 0's work. While I venture into the world of Technology, I try to share what I know in the simplest way with you. Not a fan of coffee, a travel addict, and a self-accredited 'master chef'.