How to Install WordPress on Plesk
In Plesk web hosting control panel, you can install WordPress and manage all of the plugins, themes, and management settings with the help of this CMS (i.e. Content Management System).
For installing WordPress on Plesk Server please follow these steps:
- Login to your Plesk management panel

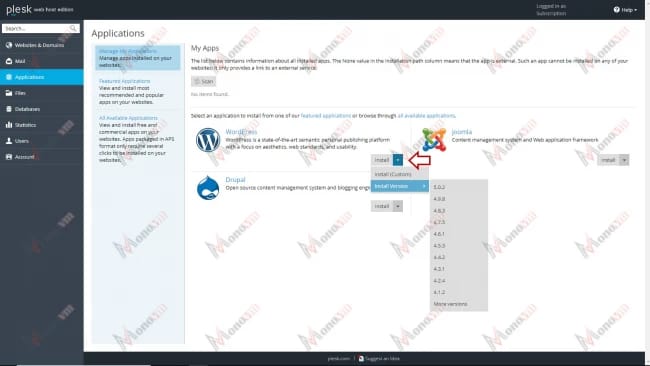
2. In Plesk environment, at the left side click on “Applications”

3. You can install a variety of CMSs in this section, as well as different versions of each application from this page. In the WordPress section, click on the drop down arrow next to the install button and select your preferred version.
4. After clicking on the install button, accept license agreement by clicking on “I accept the terms of License Agreement” checkbox, then click “Next >” button.

5. At this point, please input the required information like password, website name, and the details of your database.

6.After clicking on the install button, “Installing WordPress...” page will appear.

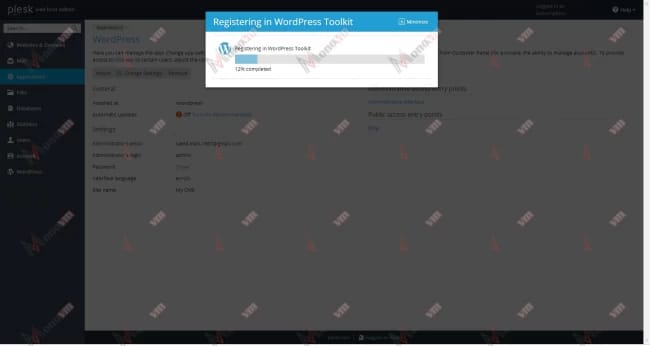
7. After installing, keep waiting for registration of WordPress Toolkits.
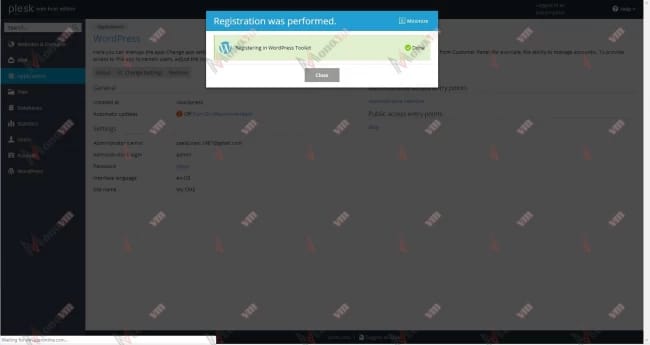
8. After completing registration process , click on “Close” button
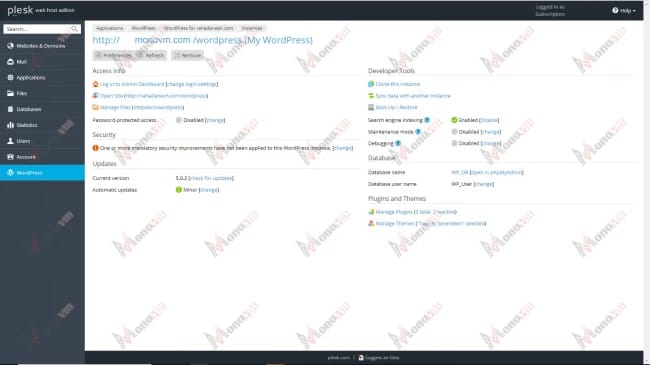
9. Then you must see the following page.
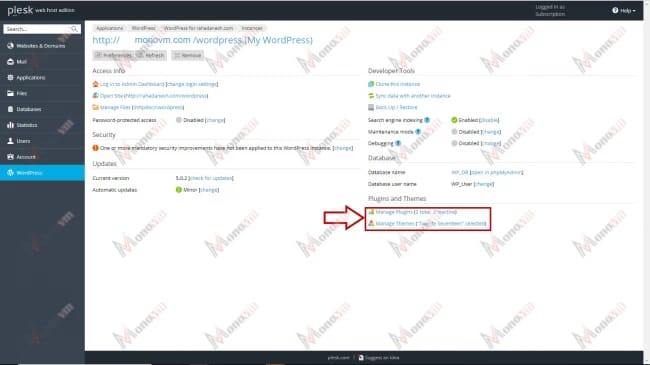
10. Also you can manage “Plugins” and “Themes” on this page.
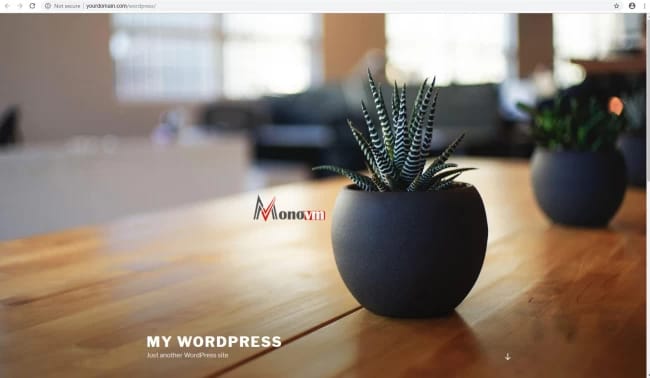
11. Also you can open a browser and enter your domain name, then you will see the main page of your website.