
What is Laravel?
Laravel attempts to take the pain out of development by easing common tasks used in the majority of web projects, such as authentication, routing, sessions, and caching. Before installing Laravel, you must first install Composer. It is a tool that facilitates dependency management for PHP developers and programmers.
How to Install Laravel on cPanel?
Follow these simple steps to install Laravel on cPanel:
Step 1: First login to your SSH, here is a guide that how you can login to SSH.
Step 2: To begin downloading the Composer installer file, enter the following command.
wget https://getcomposer.org/installer

Step 3: To check the downloaded installer file, enter the following command with –check parameter.
php installer --check

Step 4: In order to install Composer through the installer file, use the PHP extension command without using any parameters.
php installer
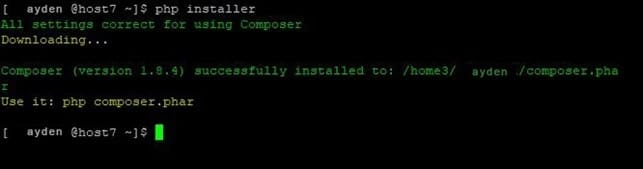
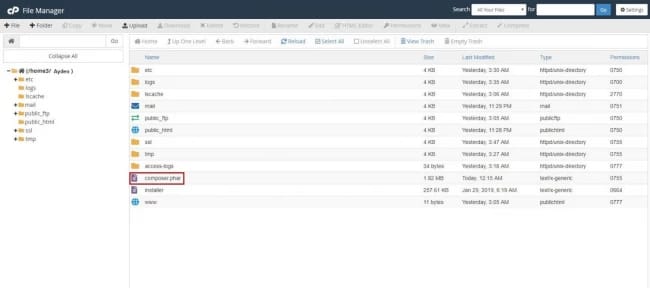
Step 5: By running this command, a phar file will be created with the name Composer.phar. To view the list of files and folders at the current directory use the ls command.
ls
![]()
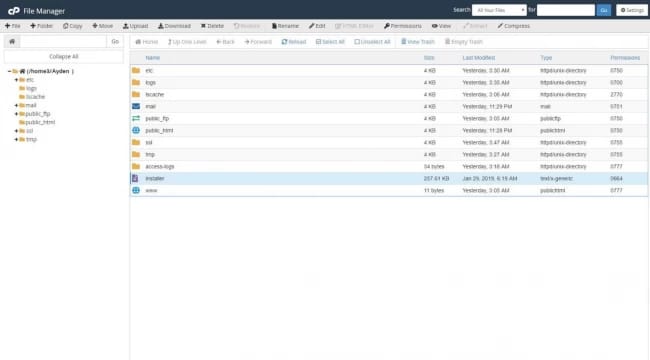
Also, there is a possibility to view this file through the cPanel interface.
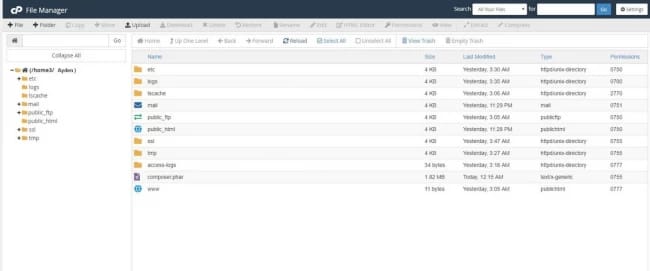
Step 6: To enhance your host security, we recommend removing the installer file. In order to remove this file use the following command.
rm -f installer
![]()
Step 7: To view the Composer commands, use the following command:
php composer.phar

Step 8: To create Laravel project in Composer run create-project command.
php composer.phar create-project laravel/laravel --prefer-dist
By running this command Laravel installation steps will be started. Wait until these steps are completed.
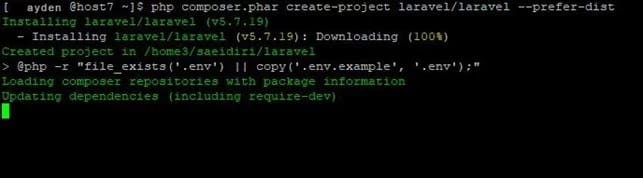
After completion of the installation the following message will be displayed:
Application key set successfully
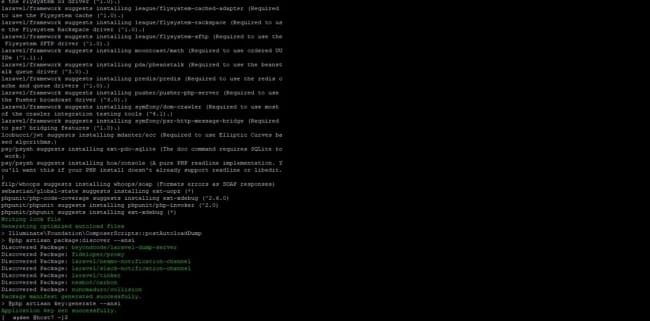
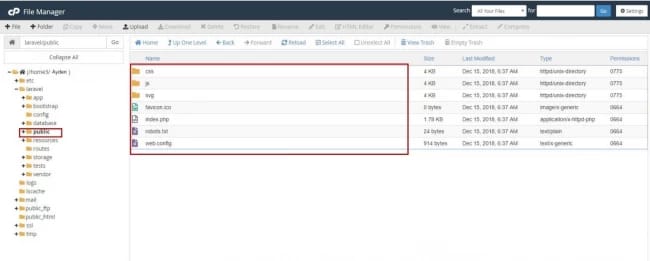
After installing Laravel a folder with the laravel name (which we set in the previous command) will be created.

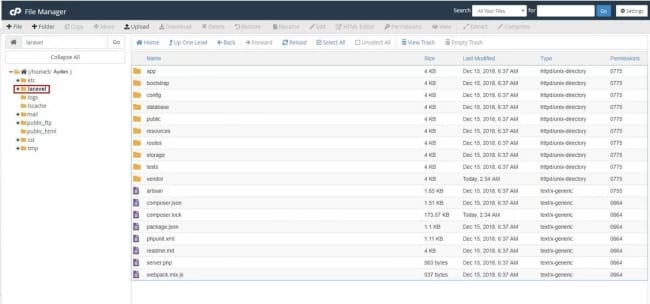
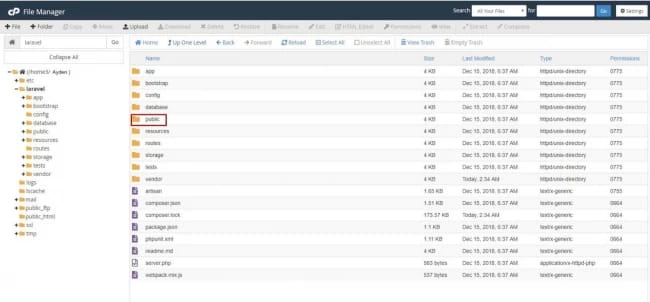
Given that web pages loading in cPanel are started from the public_html folder and created projects in Laravel started from the public folder, we must make a link between these two folders. This action will cause that site loading to start from the public folder directly.
Step 9: First of all remove the public_html folder with the following command.
rm –rf public_html

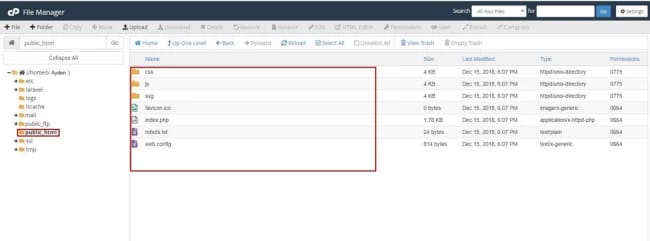
Step 10: Now you must create a public_html folder which is linked to the public folder into the laravel folder. To do so, enter the command below:
ln –s laravel/public public_html
![]()
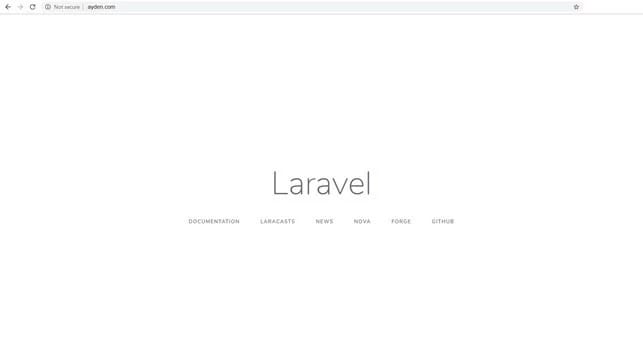
At this step, the Laravel installation steps are finished and you can see the Laravel default page when loading your domain name.
Conclusion
While Laravel installation on cPanel is a lengthy process, with the help of the steps outlined in this tutorial, you can easily and effortlessly install it on your system. Also, if you want to install Laravel on a local machine here is an a to z guide on how to install laravel in localhost.