
How to create and manage webmail in cPanel server
Mail service is one of the most useful services which users can use upon purchase of a web hosting service. After activating web hosting services, users can create and manage mail accounts in the hosting management system. In this tutorial, we use cPanel as hosting management panel to create and manage webmail services.
In order to create an email account in cPanel follow these instructions:
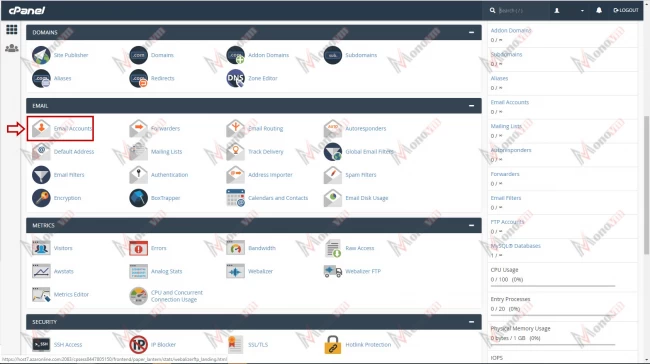
1. Login to cPanel and in “Email” section click on “Email Accounts”.
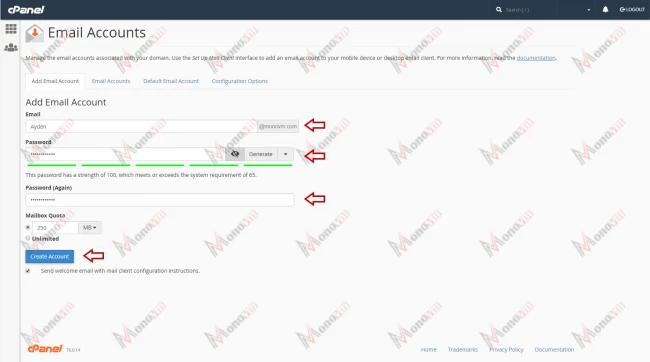
2. Enter your account details to create the email account. The information required to create one:
- Email account name
- Password for email
- Storage capacity for the email account (Quota)
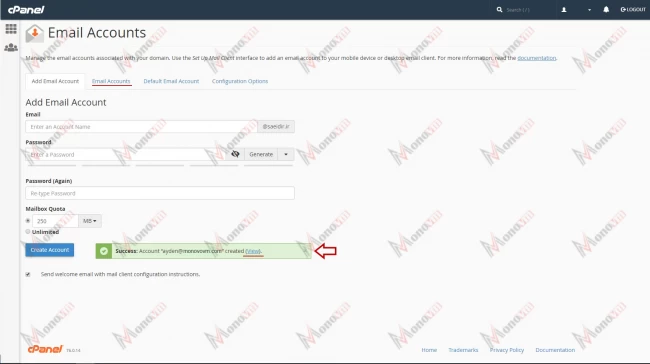
3. After clicking on “Create Account” button, related mail account will be created and you will see “Success” message. Click on “View” link in this message to manage the created account. You can also access email accounts' management page, by clicking on “Email Accounts” tab.
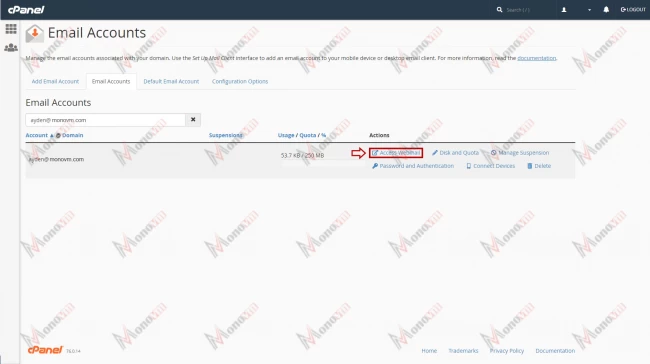
4. Click on “Access Webmail” under "Actions" to access the created mail account.
5. In the appeared page you can select from three different platforms to access your emails.
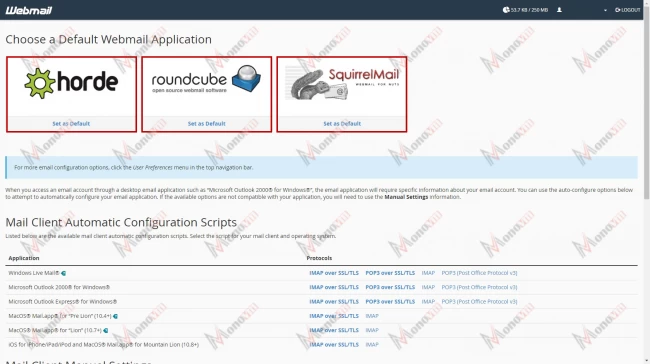
6. For this tutorial we will use “Squirrel Mail”.
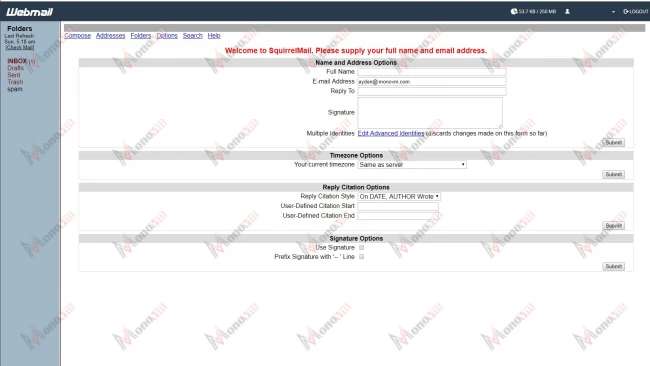
Please note that, upon the first loggin into the email account, some account information will be requested.
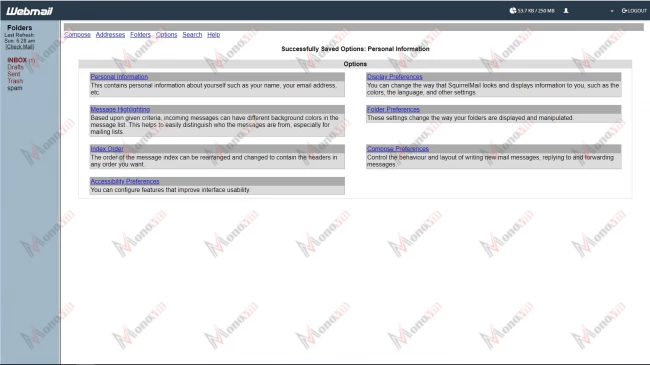
- Upon completion of the aforementioned steps, you must see the following page. If that's the case, then the email account is now active.
Please note that you can also access your webmail accounts via following methods.
Open a browser and type your domain name in URL bar with one of these formats.
- Webmail.yourdomainname (for example: “webmail.monovm.com”)
- Yourdomainname:2095 (for example: “monovm.com:2095”)
At both of these methods, following page should appear and allow you to login by entering your email account details.