
There are many operating systems you could install on a computer or server. Some are better than others in certain tasks, for example, for graphics or content creation most professionals prefer macOS. When you think of web hosting, Linux is the go-to OS. For everyday office use and internet browsing, the majority of computer users would pick a Windows system.
In today’s article, we will discuss one such stylized operating system: Kali Linux, the default for computer hacking and working with network utilities. As a bonus, a detailed, step-by-step guide on how to install Kali Linux on your machine is also included.
What is Kali Linux?
Kali Linux is a Debian-based Linux distribution aimed at advanced penetration testing and security auditing. Kali contains several hundreds of tools which are geared towards various information security tasks, such as Penetration Testing, Security research, Computer Forensics, and Reverse Engineering. Kali Linux is developed, funded, and maintained by Offensive Security, a leading information security training company.
Why Use Kali Linux?
The operating system is made by penetration testers for pentesters and thus is specifically geared to meet the requirements of professional penetration testing. Here are some of them:
- Network services are disabled by default
- Custom upstream kernel patched for wireless injection
- Minimal and trusted set of repositories
For security reasons, Kali Linux, despite being open-source, is not a wide-open source software, meaning that the development team is small and trusted.
Kali Linux System Requirements
Before installing any software on your PC (or server), you need to know its system requirements and make sure that your device meets them.
- A minimum of 20 GB disk space for the Kali Linux install.
- Minimum 1GBof RAM, 2GB or more are recommended.
- CD-DVD Drive / USB boot support
Although most modern devices would definitely support this OS, it is always better to double-check. Such low system requirements also allow for easy installation within a virtual machine. This is actually recommended even for experienced Linux users (at least until they get used to the software).
How to Install Kali Linux
Step 1: First of all, download the Kali Linux ISO file and make a bootable USB or burn the iso file to a CD or a DVD.
Step 2: After your booting PC, VPS Server, or Dedicated Server, on the first page, you will be able to choose either Graphical or Text-Mode installation. In this example, we chose to install a GUI.

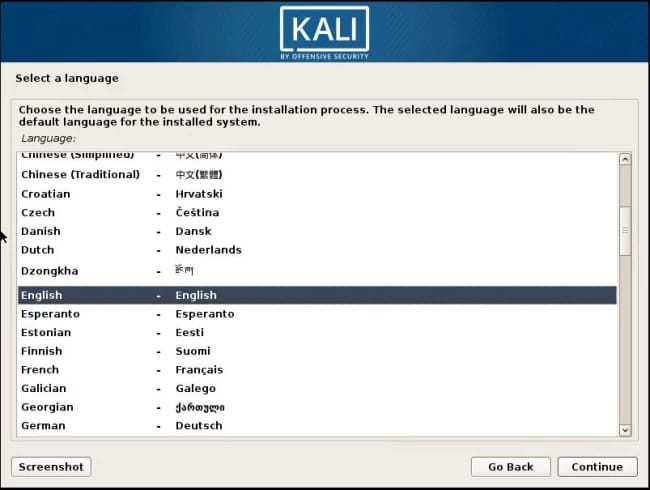
Step 3: Select your language.
Step 4: Specify your geographic location.

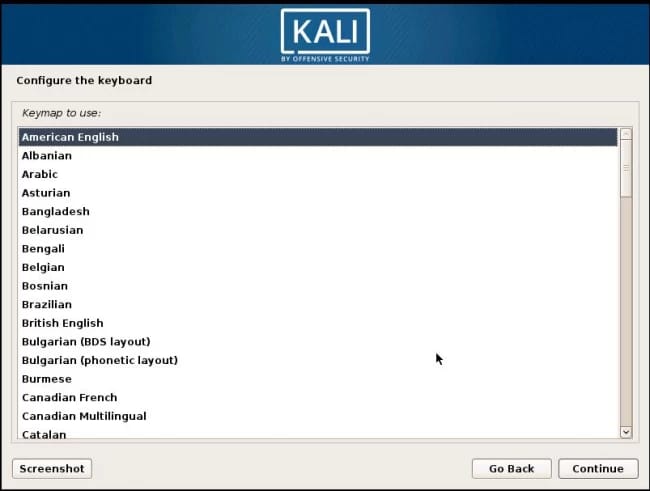
Step 5: Configure the keyboard.
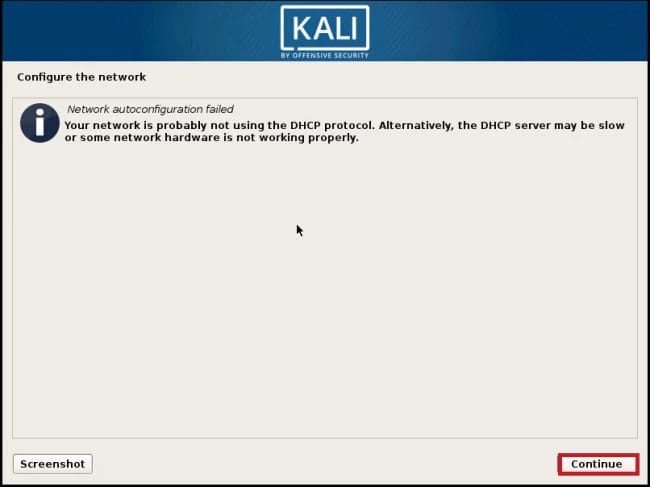
In the following installation steps, you can configure the network settings. Kali will try to set network configuration through DHCP. If you don’t use DHCP in your network you will be presented with the following screen.
Step 6: Click on the Continue button.
On the following, you can choose an option to set the network configuration manually. Also, you can ignore configuring network settings by choosing Do not configure the network at this time.
Step 7: Select Configure network manually and click on the Continue button.

Step 7: On the next page, enter your IP address and click the Continue button.

Step 8: Enter Netmask and click on Continue.

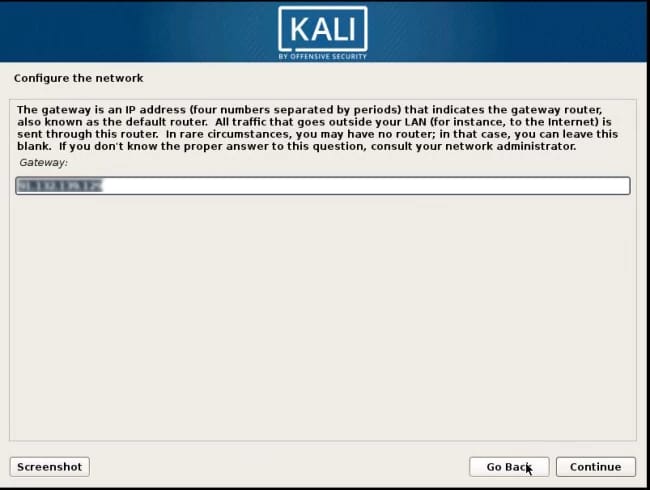
Step 9: Enter your network’s router IP in the Gateway section.
Step 10: Also, you have to set the DNS address.

Step 11: On the next page enter your system name (Hostname).
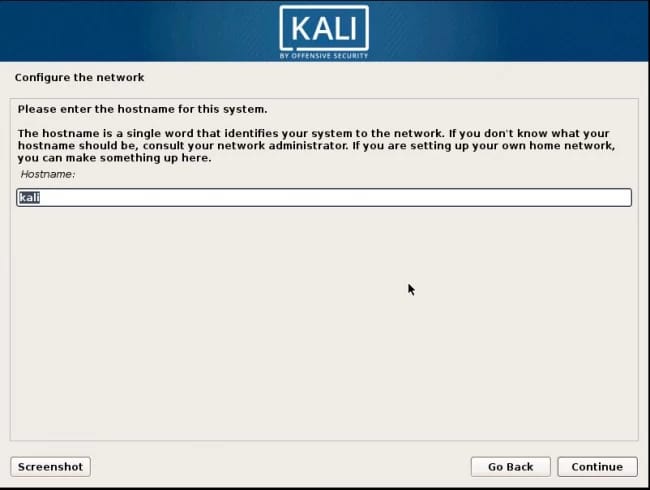
Step 12: If you have a specific Kali Domain name you can enter that in this page.

Step 13: In the next step, you must choose a password for the root user.

Step 14: Select your Time Zone.

In this section, you will receive some suggestions for partitioning your hard disk.
Step 15: At this point, we use the Guided - use entire disk.

Step 16: On this page, choose the disk to be partitioned.
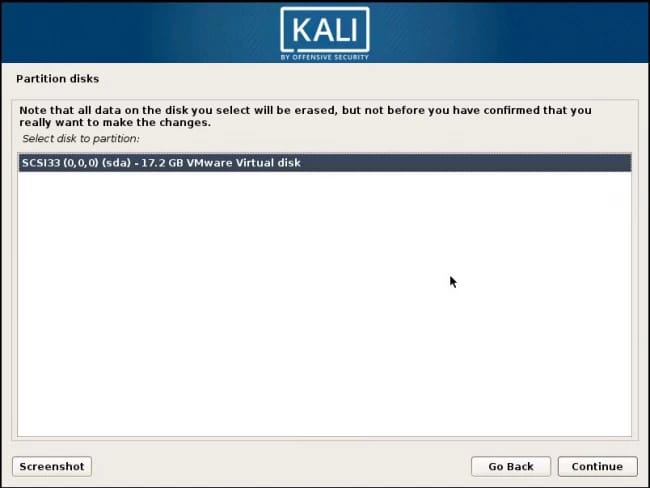
Depending on your needs, you can choose to keep all your files in a single partition or to have separate partitions for one or more of the top-level directories.
Step 17: If you’re not sure which option you want, select All files in one partition.

You will see partitioning and disk format at this page for the last time.
Step 18: Select Finish partitioning and write changes to disk and click on continue.

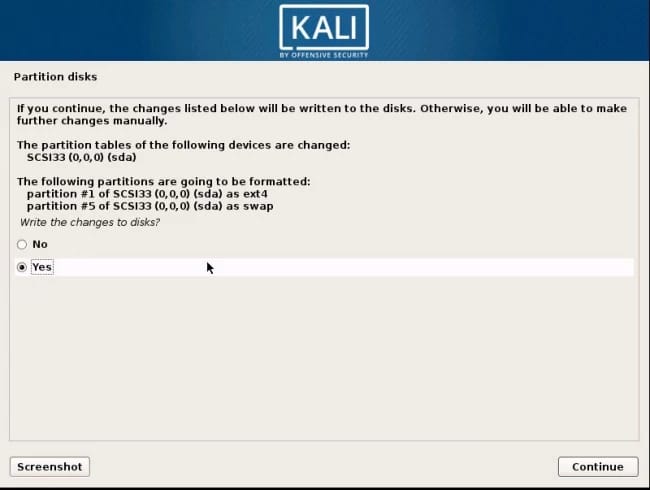
On this page, you will see the confirmation of the changes to disk.
Step 19: Choose Yes and click on Continue button.
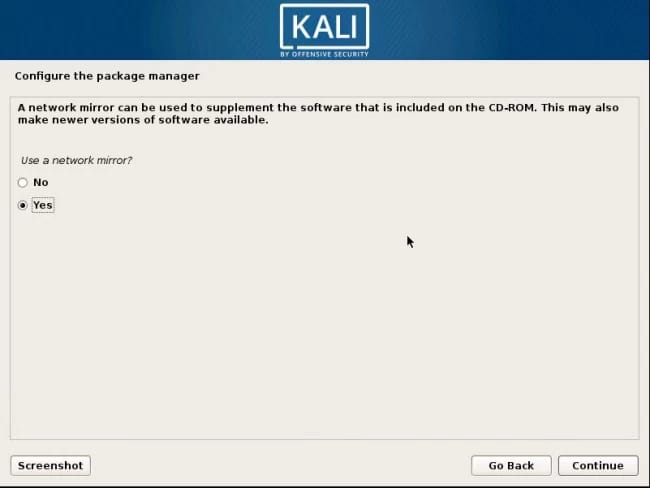
In this section, you will create the connection settings for the Kali package. Please Note: if you select No, you will not be able to install packages from the Kali repository.
Step 20: Select Yes and click on Continue.
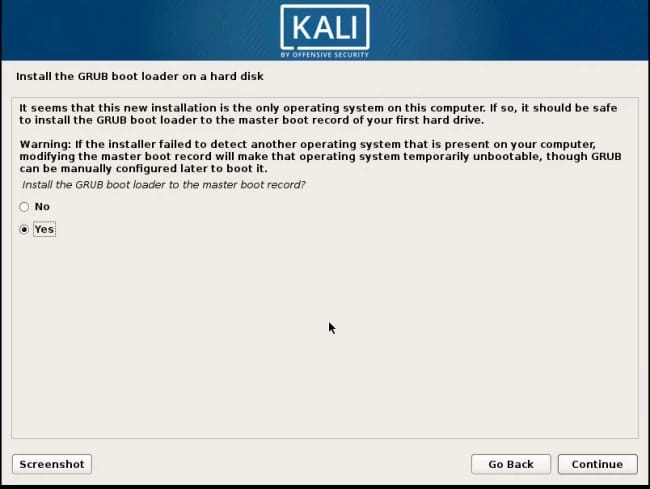
Step 21: On the next page install GRUB. To do so, select Yes and click on Continue.
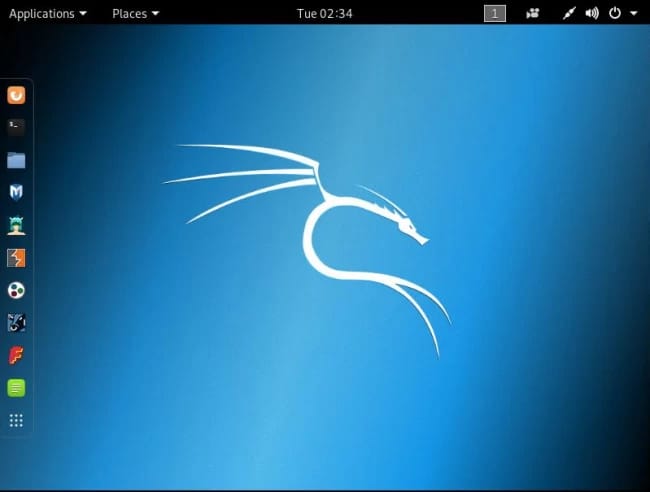
Step 22: Finally, click on Continue to reboot.

You have installed Kali successfully. After the reboot, the screen should look like this if you chose the Graphical install in step 2.
Kali Linux can be installed on windows, too. You can install it from the Windows store. Here’s a detailed blog on how to do just that.
Conclusion
In today’s article, we discussed Kali Linux, what it could be used for, and the specific features that allow it to function within its niche. This was followed by the system requirements of the operating system and a step-by-step guide on how to install it on your machine.
If you have any questions or suggestions on how we could improve the article, please leave a comment down below.