In this tutorial, you will learn how to control Windows update settings through the registry. For controlling Windows Update settings follow the steps below.
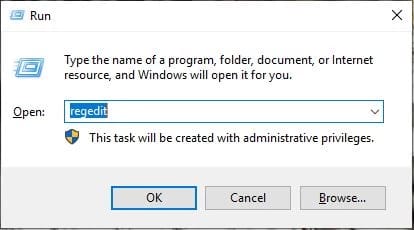
- Press Winkey+R to open Run
- Enter Regedit phrase then press OK
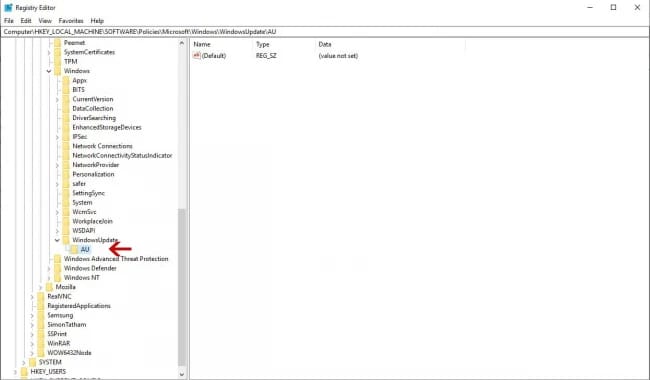
- In the Windows registry page, locate the following address.
HKEY_LOCAL_MACHINE\SOFTWARE\Policies\Microsoft\Windows
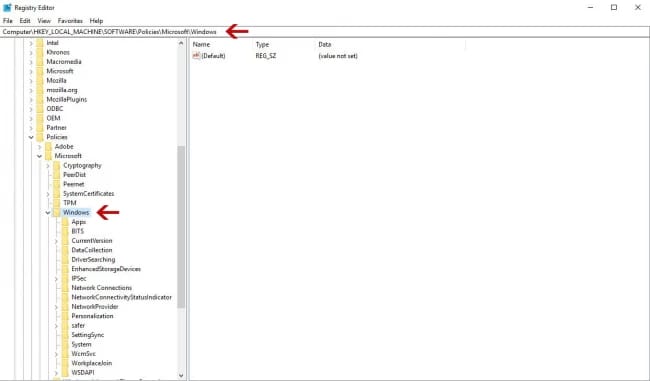
- Right click on Windows directory and select Key option in New
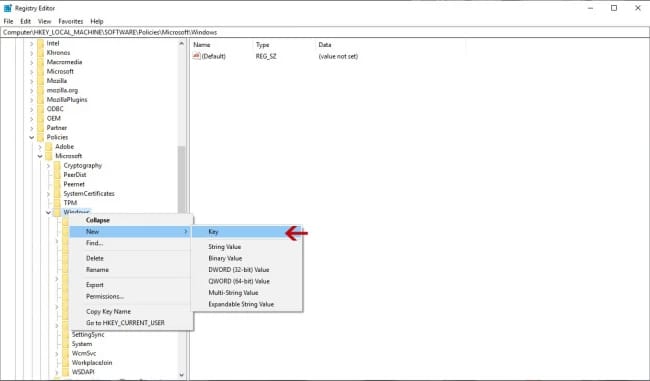
- Enter WindowsUpdate as the new directory’s name.
- Now, right click on WindowsUpdate directory which you created at the previous step and again create a new directory by selecting Key option in New Enter AU as this directory’s name.
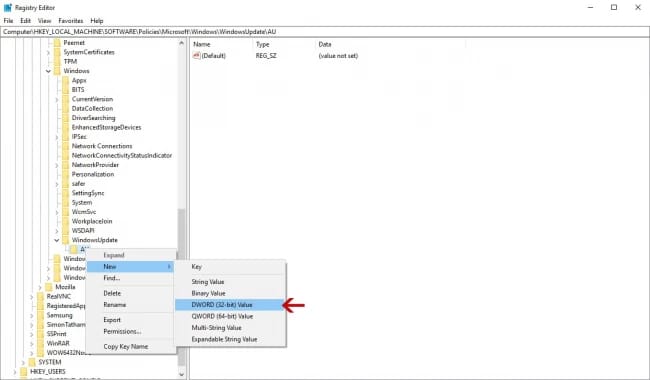
- Right click on AU directory and select DWORD option in New
- Enter AUOptions as new DWORD key’s name.
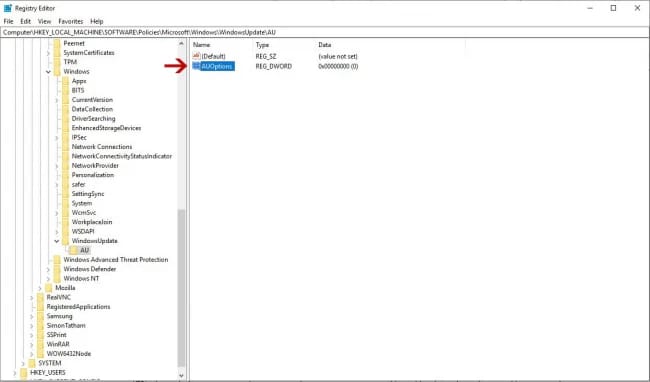
- Double click on AUOptions to open Edit DWORD (32-bit) Value
- At this section you have to enter a number between 2 and 5 as value data. This are the meanings of the values:
2: Before downloading and installing any updates, you will be notified.
3: Updates will automatically be downloaded and will notify you before installation.
4: Automatically download and automatically set the time to install it.
5: Allow and access to the local system admin to select the update status
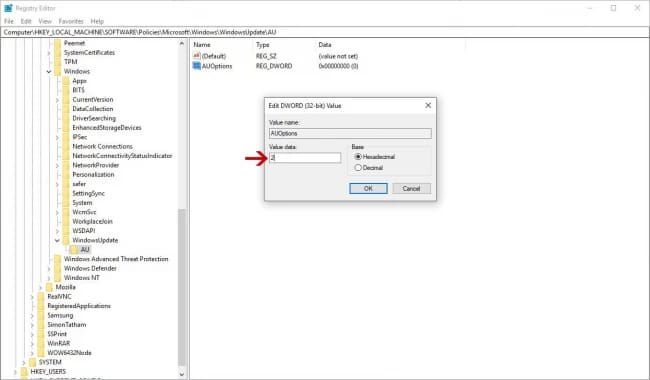
You must enter one number from the above list. We recommend using the using value 2, as the user will be informed before any action.
to Disable Windows Update From Group Policy follow this article