![How to Install Gnome on Centos? [Visual guide]](/wp-content/uploads/2020/10/199364-main.webp)
Linux servers are based on a command-line interface by default, however, some might want to use them with a visual interface. In these cases, we can install an application that provides a GUI (i.e. Graphical User Interface). One of such applications is named GNOME and you can follow the steps outlined below to get it on your machine.
What is GNOME?
GNOME (i.e., GNU Network Object Model Environment) is a graphical user interface and set of computer desktop applications for users of the Linux computer operating system. It's intended to make a Linux operating system easy to use for non-programmers and generally corresponds to the Windows desktop interface and its most common set of applications. In fact, GNOME allows the user to select one of several desktop appearances. With GNOME, the user interface can, for example, be made to look like Windows 98 or like Mac OS. In addition, GNOME includes a set of the same type of applications found in the Windows Office 97 product: a word processor, a spreadsheet program, a database manager, a presentation developer, a Web browser, and an e-mail program.
GNOME Features
Now that you know what GNOME is, here are some of its greatest features:
Easy to Use
While the default Linux command line interface holds some challenges for its users and requires decent knowledge to operate, a GUI like GNOME allows even complete beginners to efficiently navigate the OS and utilize most of its tools.
Vide Choice Variety
GNOME is available in many forms on some distributions, such as GNOME Classic, GNOME on Xorg, etc. While they may all look similar on the surface, they use different X servers and are built with different toolkits.
Efficient
The dash and application viewer allows the user to open and utilize all the installed software from one place.
How to Install GNOME on CentOS?
This guide will show you how to install and configure GNOME, a popular graphical user interface (GUI), on your CentOS system.
1. Update Your System:
Before installing any software, it's important to ensure your system is up-to-date. Open a terminal window (press Ctrl + Alt + T) and run the following command:
sudo yum update
This command uses yum, the package manager for CentOS, to download and install any available updates.
2. Install GNOME:
Now that your system is updated, let's install GNOME. Run the following command in your terminal:
sudo yum -y groups install "GNOME Desktop"
The -y flag tells yum to accept all prompts automatically, while groups install specifies that we're installing a group of packages (the GNOME desktop environment). Downloading and installing GNOME can take some time, depending on your internet speed.
3. Start GNOME (Optional):
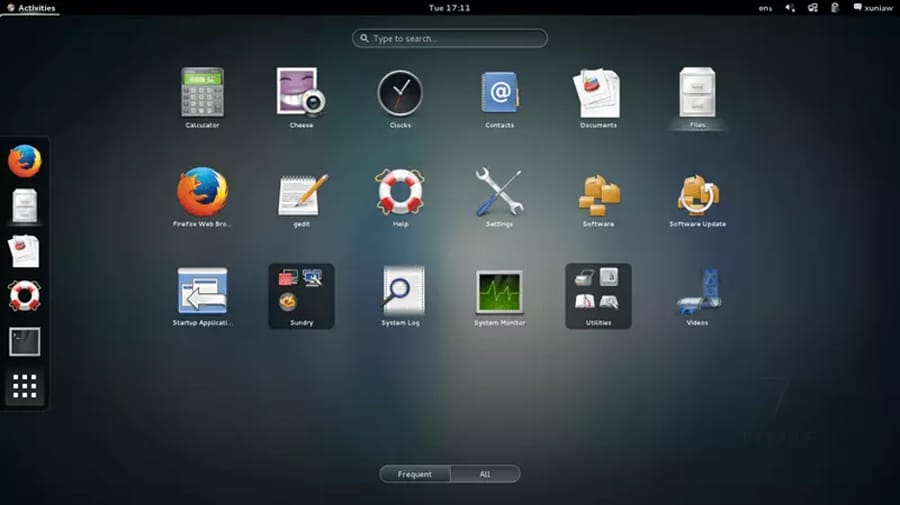
Once the installation is complete, you'll return to the command line. GNOME won't start automatically. To launch it manually, type:
startx
This will start GNOME, providing you with a graphical desktop environment which looks like this:
4. Set GNOME as Default (Optional):
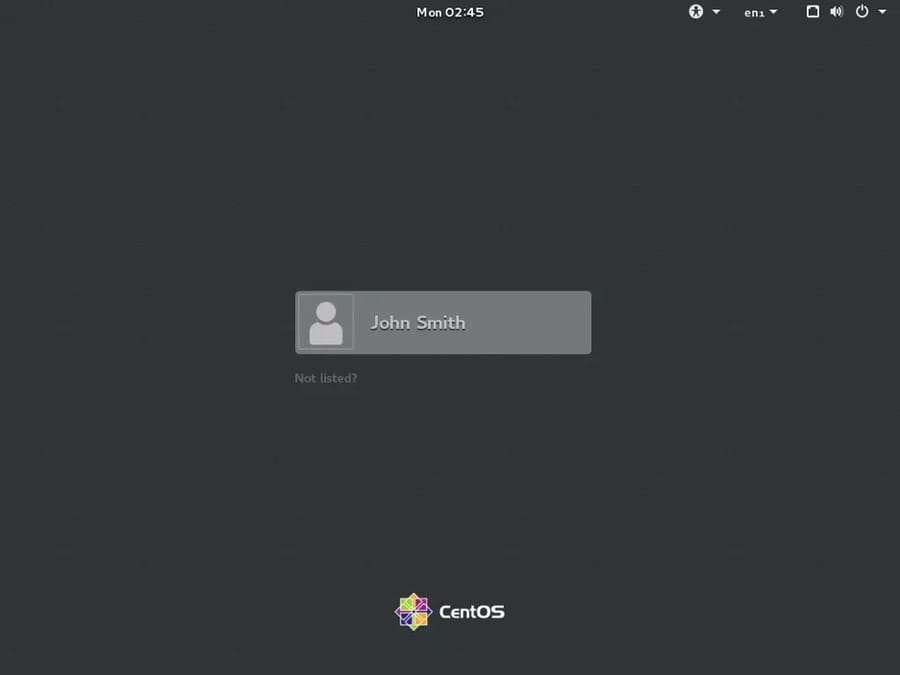
By default, CentOS boots to the command line. To make GNOME your default desktop environment, run this command in your terminal:
sudo systemctl set-default graphical.targetWith this setting, your system will automatically boot into GNOME after a restart, eliminating the need to run startx manually. After starting up the system, you will be greeted with a screen like this:
Conclusion
While mastering the Linux command-line interface is the way to go if you wish to become a professional sysadmin or want to find a career in server management, for daily use a GUI such as GNOME is simply more convenient. We hope that this step-by-step tutorial helped you in installing GNOME on CentOS.

I’m Oliver k. I have MS degree in Computer Engineering. For nearly 5 years that I have been working on web programing and also in last 2 years I have worked on windows and Linux VPS. This is my honor to share my experiences with a new community.