There are many web hosting control panels out there, however, we recommend for you to use cPanel as we think it is one of the most intuitive control panels out there, making it very easy to use and frankly, the most popular one out there. It is the default control panel selected when you purchase web hosting from Monovm. Of course, you can select another one if you wish from the configuration page when doing the checkout process.
Today we will provide you a short guide on how to use the different features within cPanel without getting too technical.
Want to Simplify Your VPS Management? Watch Our cPanel Installation Guide!
Looking for an easy way to install cPanel on your VPS? We’ve made it simple! In our latest YouTube video, we guide you through the quick and straightforward process of installing cPanel via the VPS service control panel.
Whether you’re new to VPS management or just want to streamline your setup, this tutorial is perfect for you. Don’t miss out on the chance to enhance your VPS experience with the power of cPanel at your fingertips.
👉 Click the video below to watch now and discover how easy managing your VPS can be with cPanel!
📺 Subscribe to our YouTube channel for more expert tutorials and tips—and take your VPS management to the next level!
Once you purchase a web-hosting service from Monovm, you will get an email with a clickable link that opens the control panel and then the login credentials you should use. It will look like this:
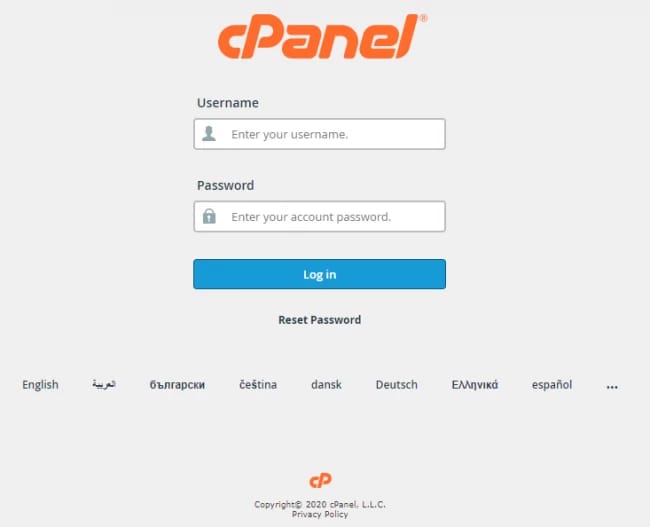
Enter your username and password into the respective fields and click on ‘login’. If the credentials are correct, you should now be able to see the home page of cPanel.
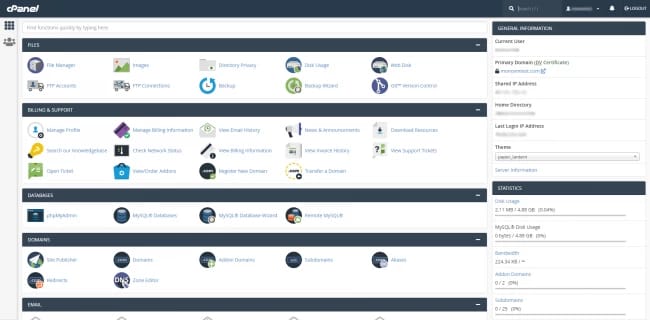
In the Header of the page, you should see the search bar, your username (which opens a drop-down menu with some options if clicked on), the notifications icon, and the LOGOUT button.
Search Bar
Here you can enter the name of the desired function and access it without having to look for it on the home page
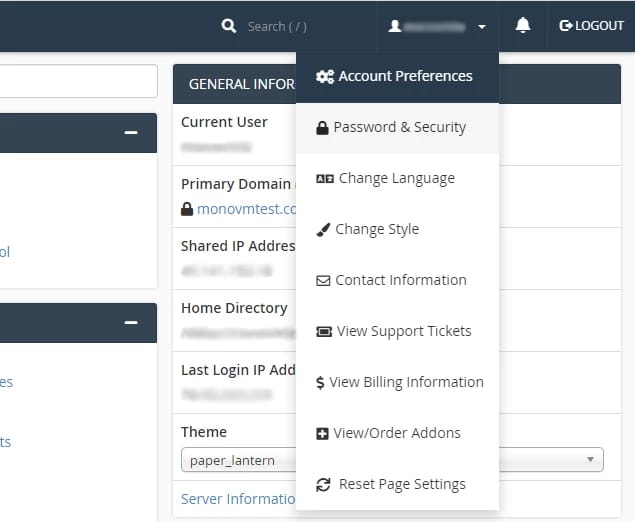
Username Drop-down Menu
From here you can edit account preferences, change your password, change the language and theme of the CP, edit contact information preferences, view billing information and support tickets, as well as view/order addons, and reset page settings.
Notifications
Click on the notifications (bell) icon and it will take you to your notifications page.
Now let’s move onto the information provided for you on the home page.
General Information
Here you can see the username used to access the control panel at this time, the primary domain, the shared IP address, home directory, the last login IP, and change the theme.
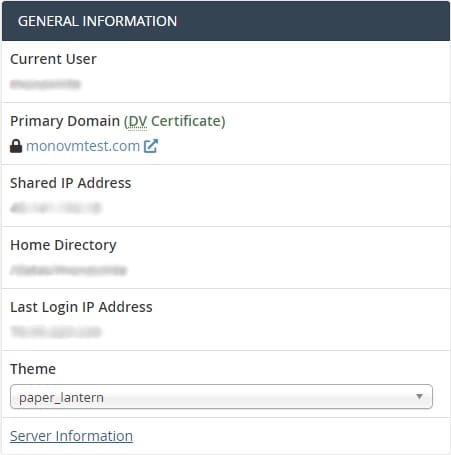
Clicking on the Server Information link will redirect you to a page where you can see the details about the sherd hosting server that your service is on.
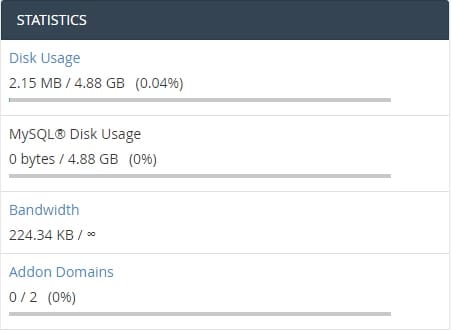
Statistics
From here you can see the percentages of your web hosting package resources you used up, including addon domains, subdomains, email addresses, and much more.
Control Functions
These are the different controls you can use to manage your web host
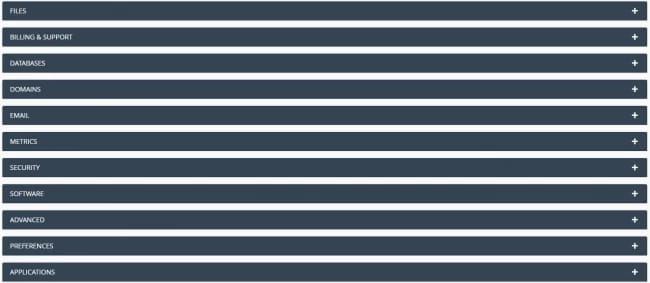
You can minimize and expand each category by clicking on the +/- button next to it.
Files
From here you can manage your file directory, including making certain directories private, seeing the disk usage for each directory, create and manage FTP accounts and connections, make backups and manage the Git Version Control.

Billing and Support
Within this menu, you can manage your profile and billing information, view your email history and invoice history, see network status and announcements, open and view support tickets, as well as register & transfer domains, and search the knowledgebase.

Databases
The functions in this category allow you to manage existing databases via phpMyAdmin, create new databases, and set up remote connections to your databases.

Domains
Here you can manage your domains, subdomains, addon domains, redirects, and even create a brand-new site using one of the many available templates.

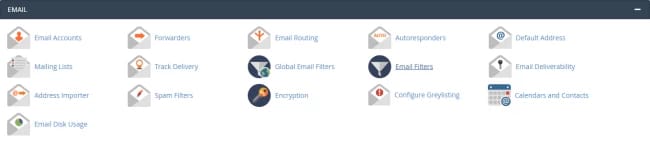
Within this category, you can control every single little thing regarding your emails, such as create and manage email accounts, set up forwarders and mailing lists, and much more. You can also control email encryption and see the disk usage statistics of your emails.
Metrics
From here you can see the visitor statistics and the bandwidth and resource usage of your site.

Security
In this menu you can manage SSL/TLS, two-factor authentication, hotlink protection, SSH access, and block certain IP addresses from visiting your sites.

Software
Within this menu, you can setup Node.JS and Python apps, access the pro builder and other site software.

Advanced
From here you can access the LiteSpeed Web Cache Manager, Apache handlers, virus scanner, and much more.

Preferences
This is where you edit your cPanel preferences such as the language, style, contact information, and passwords.

Applications
Here you can access your WordPress manager and any other applications you have installed on cPanel.

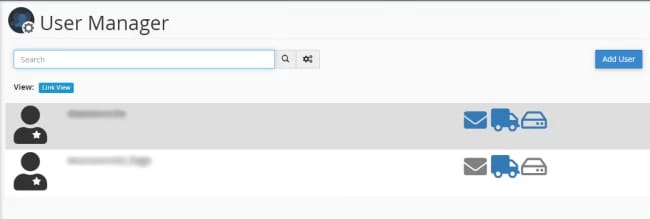
The User Manager
The user manager can be found under the Preferences menu or on the left sidebar of cPanel.

Within it, you can add and remove users of the control panel as well as manage what services and options they have access to.