
Remote desktop gives you the liberty to access a desktop from a different system remotely. If you are a remote user, you get limited to full control over the files, system, and hardware resources.
There are a plethora of advantages to remote desktop software. Here are a few essential pointers for you:
- Easy Collaboration
- Remotely access important data
- Screen sharing
- Troubleshoot from any location
- Define access rights to several files
Now, moving on, let us begin our analysis about setting up a Remote Desktop on Linux.
Remote Desktop in Linux
Linux is an incredibly flexible OS and clearly one of the easiest ones to operate with. In order to set up a remote desktop for the local machine, there are a good number of ways. For instance VNC, RDP, SSH, and many more. Now, to begin the process, we will be using Ubuntu.
There are many options of remote desktop software available, we have chosen TeamViewer. It is enlisted amongst one of the most reliable and credible global companies. The base version is free of cost but if you wish to avail more features and benefits, you must purchase the upgraded version.
You have to install TeamViewer on both devices in order to enable a remote connection. In Linux, you have to get the Linux package for your system to install TeamViewer.
Here, the DEB package has been used. Use this command if you wish to install the DEB package using Ubuntu.
sudo apt install ./teamviewer_15.7.6_amd64.deb
Now, the next step is the installation of the RPM package. To do that, type the following command:
sudo zypper install ./teamviewer.x86_64.rpm
When the installation is done, move to the next step of launching the app.
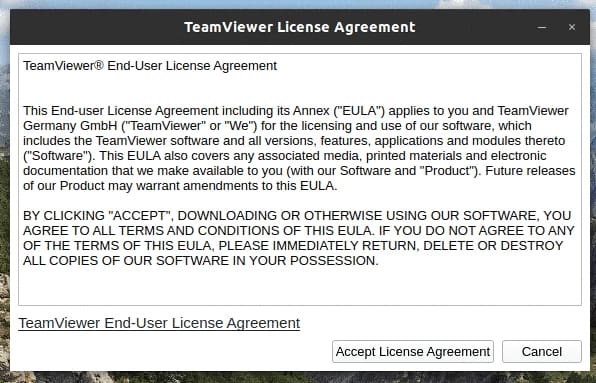
The next window is the license agreement. Accept that and move on. Now, TeamViewer is all set to build a remote desktop connection. You must remember that an ID and password are required for any person to connect to the system.
Now, the next step is to set the basic remote desktop connection of TeamViewer. You have to type the partner ID of the remote desktop and then select Connect as shown in the snapshot below.
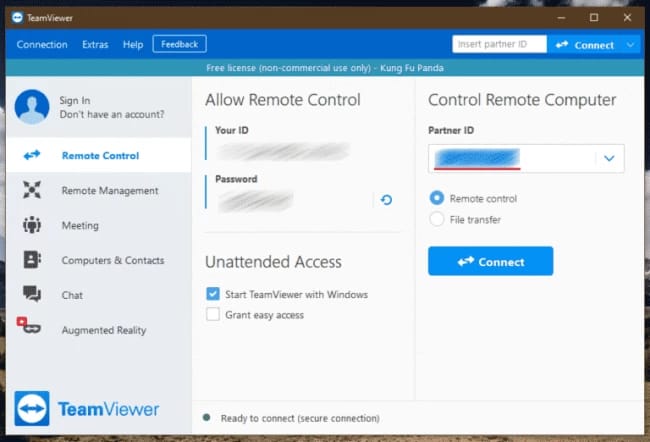
The next window asks for your password. Type your password and hit Login. Bravo! The configuration of the Remote Desktop on your system is complete.
Now, the next segment is to guide you in building a connection with the Remote Desktop. We will accomplish the task by using Remmina.
Remmina
Remmina is an open-source remote desktop client and is free of cost. It is accessible on the majority of popular platforms. Additionally, you must remember that it is just a client that helps you to establish a connection with the remote desktops via various protocols. It needs a configuration with a Remote Desktop server. Once the configuration is done Ramana is able to access them. There are abundant options of remote desktop network protocols that it supports. For instance, VNC, NX, XDMCP, RDP. Moreover, Remmina is easy to use. It works great for professionals as well as personal workloads.
Now let us initiate the process of installing Remmina. Although the method to install varies from system to system. Here, we will introduce you to the method of installing some universal Linux packages. The packages are Remmina flatpak and snap.
Firstly, let us install Remmina flatpak.
Enter the following command and press enter.
$ sudo flatpak install flathub org.remmina.Remmina
The next section is to install Remmina snap. Before you type your command, be sure that your system has a snap pack manager installed. Once checked, enter this command:
$ sudo snap install remmina
Now that you have successfully concluded the installation, you are ready to launch the Remmina tool.
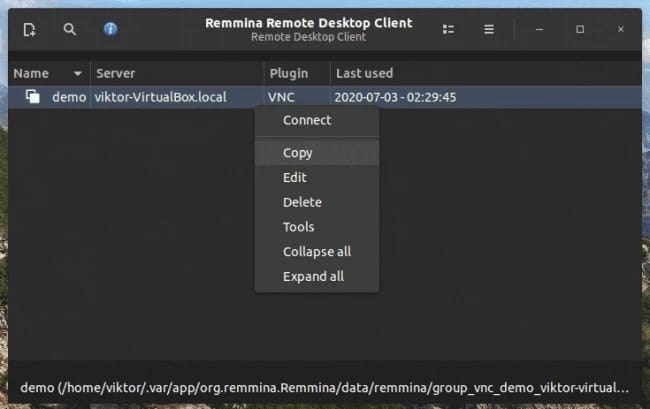
The next step is to connect to the remote desktop which in our case is the Ubuntu system. Make sure that the system Is already configured with a VNC server.
Right-click and choose connect as shown in the snapshot below.
In case you do not have an already configured VNC, fret not, we have got you covered.
NoMachine
NoMachine is an incredibly great Remote Desktop solution. It is one of the most powerful and easy-to-use options. On top of it, it is absolutely free of cost.
Yes, you read that right, it is free of cost! The Company claims that its source of income is by selling the software to several businesses. It is an extremely reliable and credible cross-platform tool. NoMachine is available for Windows, Linux, and macOS. As we are working with Linux, you can avail of it in DEB and RPM packages.
DEB is essentially for Debian and Ubuntu packages and their derivatives. Whereas, RPM is for Fedora, RHEL, SUSE, CentOS, and the derivatives. NoMachine has two parts: the NoMachine client and the NoMachine server. The work of the NoMachine server is to allow other NoMachine clients to establish connections with the system.
Now, In order to install the DEB package, follow this command and press Enter:
$ sudo apt install ./nomachine_6.11.2_1_amd64.deb
Moving on, to install the RPM package on Linux, type:
$ sudo zypper install ./nomachine_6.11.2_1_x86_64.rpm
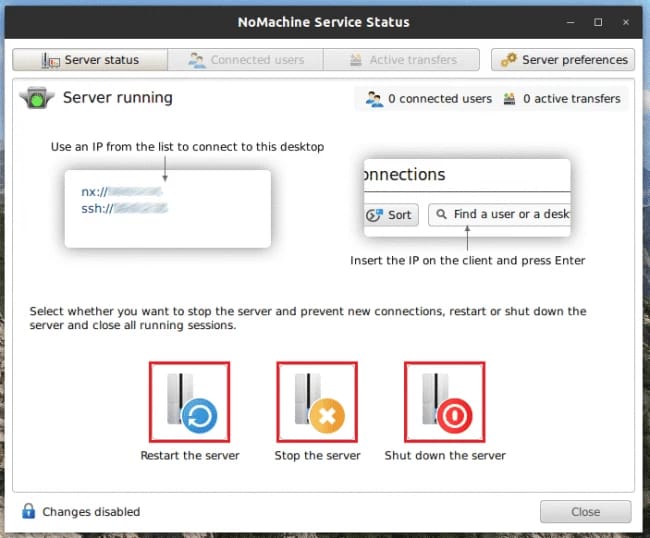
Moving on, the next step is to launch the server. The server status window of NoMachine appears on the screen. As it is visible on the screen below, that the first option is Server Status, click on that.
Next, if you wish to configure the behavior of the server, go to the Server Preference tab and select the preferred options as shown below.
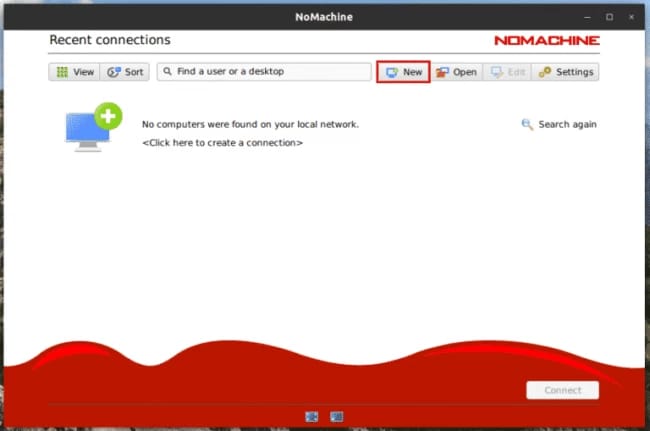
As the server is successfully set up, the next step is to check the NoMachine client. As stated earlier, this client is important so as to build a connection with the Remote Desktop.
Click on the New option as shown in the snapshot to establish a Remote Desktop connection. Now, NoMachine starts the process. You have to now select the protocol out of two options: SSH and NX.
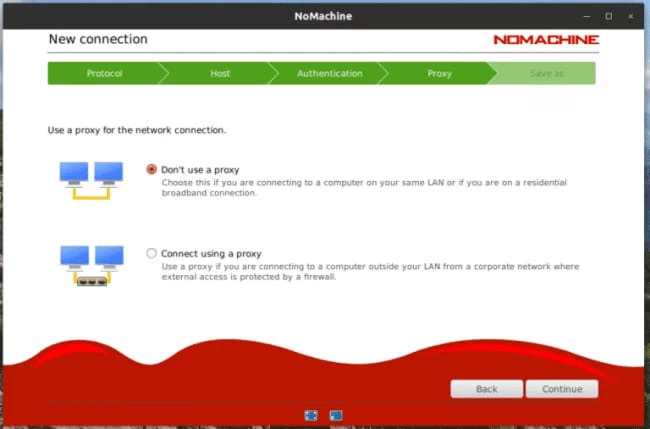
Now, in the next window, insert the NoMachine server IP as well as port. Select the Password option on the authentication window as shown below. Furthermore, you need to choose a proxy. If there is none, you have to click on, Don’t use a proxy option, and move to the next window.
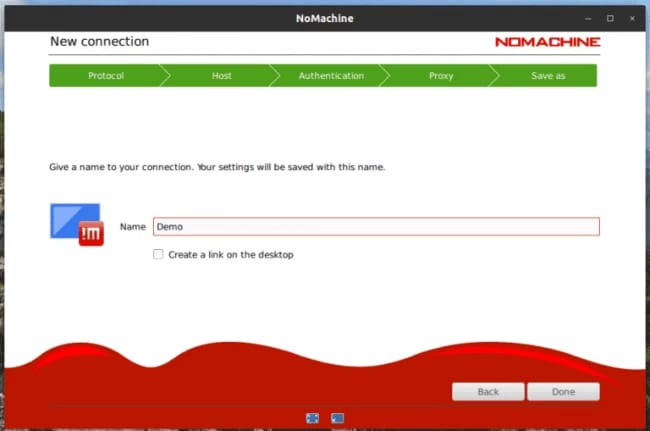
Now, enter your desired connection name. As soon as you type it, press close and you are done.
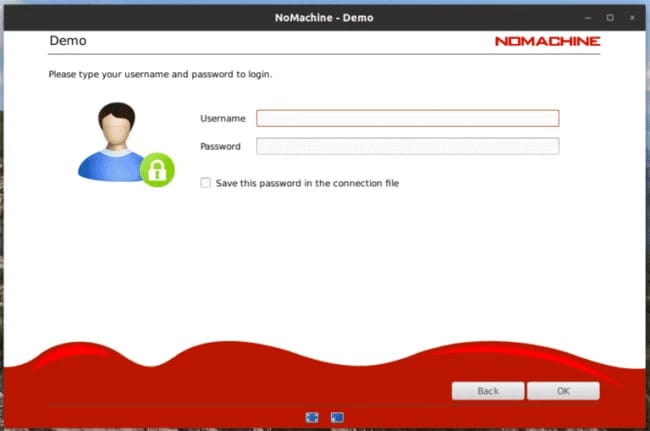
The Remote Desktop connection is established. Just click right and choose Start connection as shown below.

Type your username and password in the textbox, that you had previously set for the Remote Desktop, and then click OK.
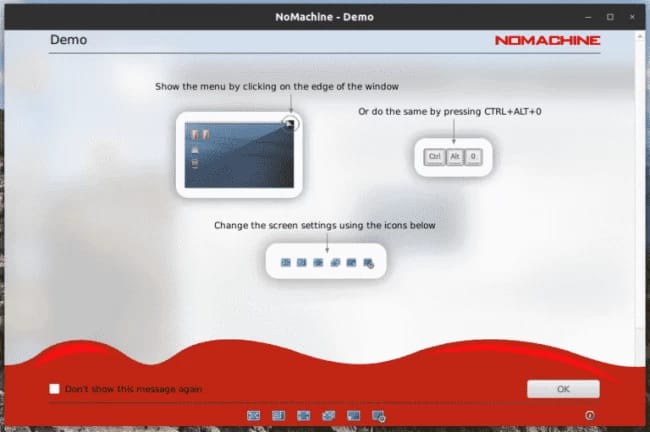
The very next window showcases some tips and guidelines for the usage of the software. Read them and click next.
That’s all. The Remote Desktop connection on Linux is now successful.
Conclusion
You can select the appropriate solution as per your workload. These were some detailed steps related to installing RDP on Linux.
We hope that this article helps you in making the installation process seamless.
