WordPress is open-source software for building a vast range of different websites for a variety of purposes. With WordPress, you can create personal blogs, a website for your small business, or a massive eCommerce store - and anything in between!
Because WordPress has been developed over many years and is open source, it is responsible for about a third of mainstream, surface internet websites and is extremely popular among millions of people all around the world.
It has functionality for a range of scenarios and many customization options that make it possible to use the WordPress software across practically any smart device - from your personal computer to your tablet to your phone.
However, when you are traveling and on the road, or if the internet goes down and you don’t have a connection to your actual, live site, you may want to build your WordPress site offline. Is there a way, and if so, how can you use it?
This article will explore how to build and work on your WordPress site when you do not have an actual internet connection and why you might want to. We hope this article helps you!
Advantages of building a WordPress site offline
There are many benefits to building your WordPress site without an internet connection. Many people prefer this method because they can modify their webpages and build functionality without updating those features live on their real, mainstream internet website.
Working on a WordPress site offline also means you can manually change the files more efficiently and faster than if you were using cPanel and the online WordPress software.
Since WordPress is so fast and easy to install, many website developers simply install the open-source software locally on their own personal computers and build websites there before manually importing them into their actual hosting panels.
This means they can play around with whatever they want to get it perfect before committing to making the web pages available to everyone online.
Furthermore, there is the obvious benefit of being available to build, develop, test, and modify a WordPress site without an internet connection. Whenever you are on the road, traveling, or your internet is slow, you still can be productive and get the crucial work done.
If you want to make changes to your site while on an airplane, for example, you can simply use local software and host the website on a local server, which will allow you to make those changes and save them for a later date - when you can import them into your live site on the internet!
How to create a WordPress site offline using Xampp?
Xampp is one of the most popular software used for WordPress installation offline. If you first plan to learn how to use WordPress and its different features before developing your site live, Xampp is the right tool for it.
Xampp stands for Cross-platform (X), Apache (A), MariaDB (M), PHP (P), and Pearl (P). It is a free software and a very lightweight Apache distribution that makes it possible for developers like you to set up virtual servers and work on websites without putting them on the actual internet.
This software can be used to create your WordPress website offline and once the development process is finished, you can simply move it from the local server to a live server.
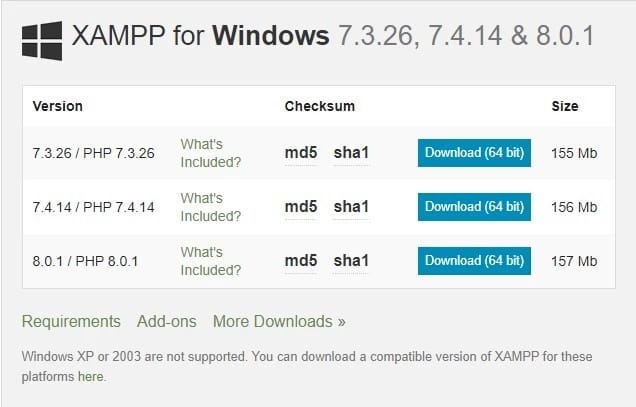
Step 1: Download Xampp
Head over to the official Xampp download page and download the latest version of the software.
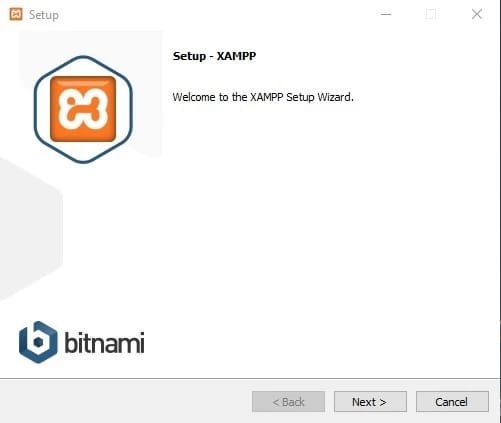
Step 2: Run the installation wizard
Run the installation wizard. The first page should look like the image below. Click on Next.
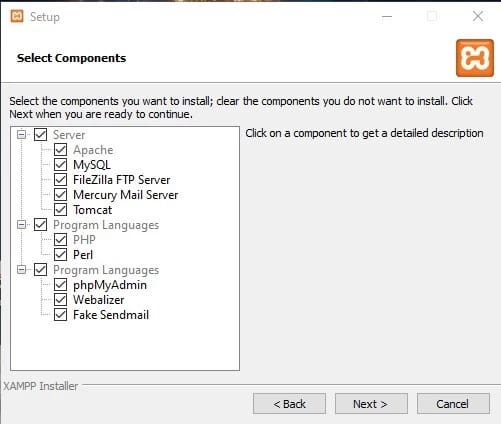
Step 3: Select the components
In the next page of the installation wizard, you will get to pick the components you can install. Make sure that all the checkboxes are ticked and click on Next.
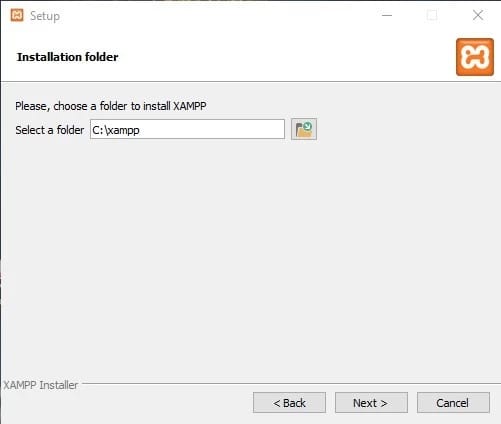
Step 4: Pick the desired installation folder
The following page will present you with the option to choose your installation location. You can change it by clicking on the Browser icon and selecting your desired path. Once selected, click on Next.
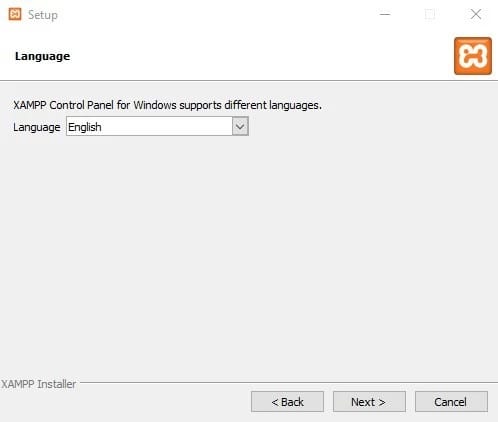
Step 5: Choose the langue
This page of the installation wizard allows you to choose the desired language Xampp will be using. Pick the language you prefer and click on Next.
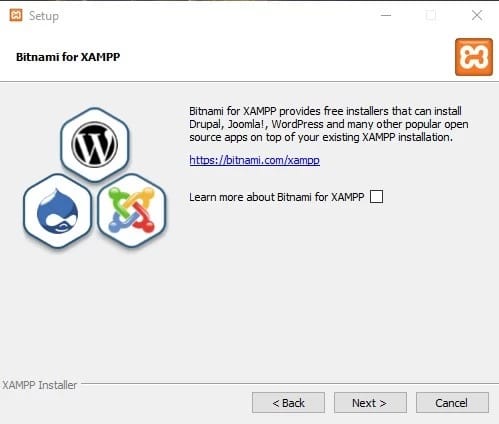
Step 6: Bitnami
Select whether you want to learn more about Bitnami and click on Next.
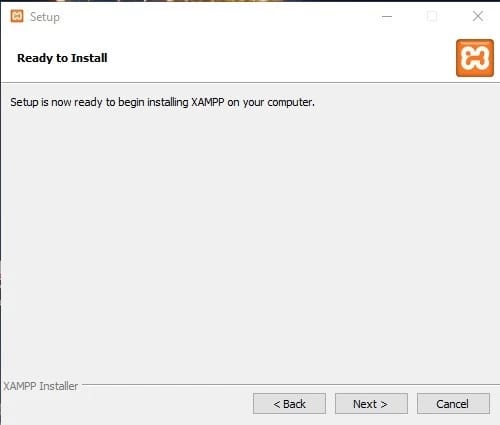
Step 7: Ready to install
Click on Next and start installation.
Step 8: Complete Xampp installation
The installation should now be complete. Click on Finish.
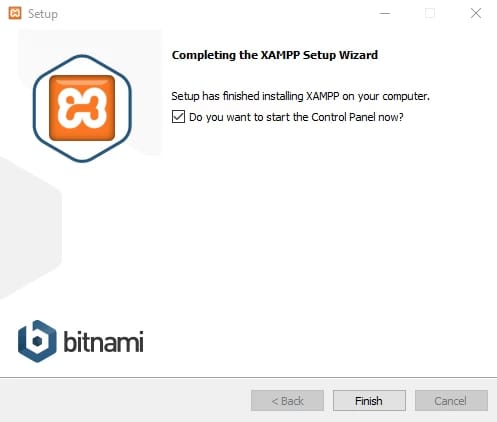
Step 9: Start Apache and MySQL
Open the installed Xampp program and start Apache and MySQL by clicking on start next to each one.

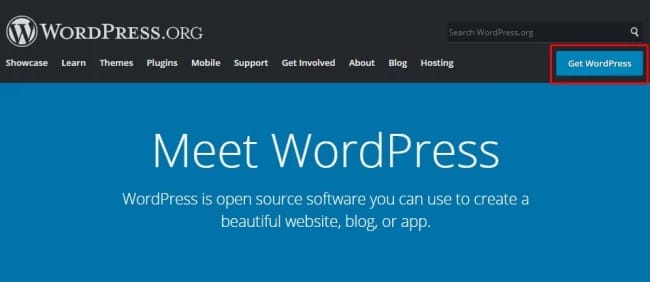
Step 10: Download WordPress
Head over to www.wordpress.org and click on Get WordPress.
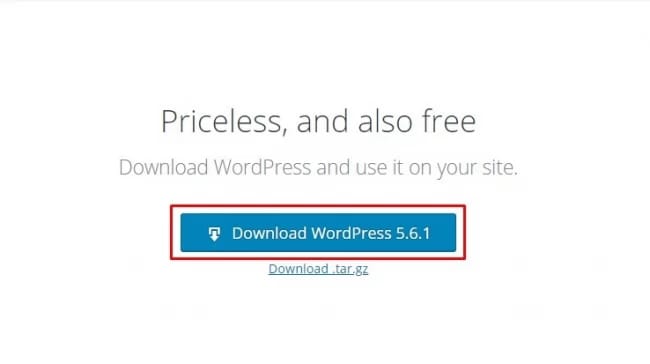
Scroll down to the download link and press on Download WordPress.
Step 11: Extract WordPress folder
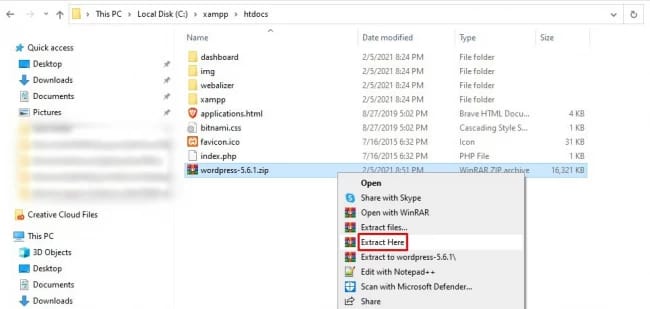
You will download a zip file which you will need to save in the htdocs folder of Xampp. If you installed Xampp in the default location, you will find it in: Windows(C:)>Xampp>htdocs. Extract the folder by right-clicking on the zip file and selecting Extract Here.
Step 12: Rename the WordPress folder
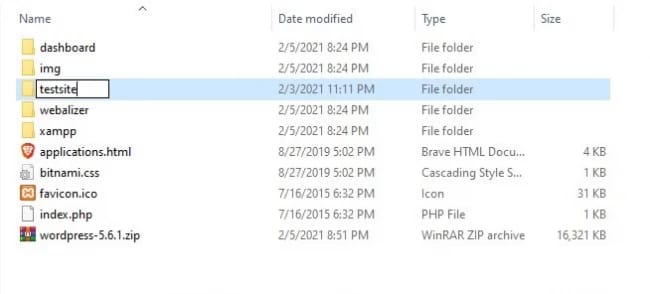
Rename the WordPress folder to your site name, we picked testsite as an example. This will be your site URL to access the administrator panel.
Step 13: Open WordPress configuration
Open a web browser of your choice and enter the following localhost/yoursite where your site is the name you picked for the WordPress folder. Since we picked testsite, we enter localhost/testsite.

Step 14: Configure WordPress
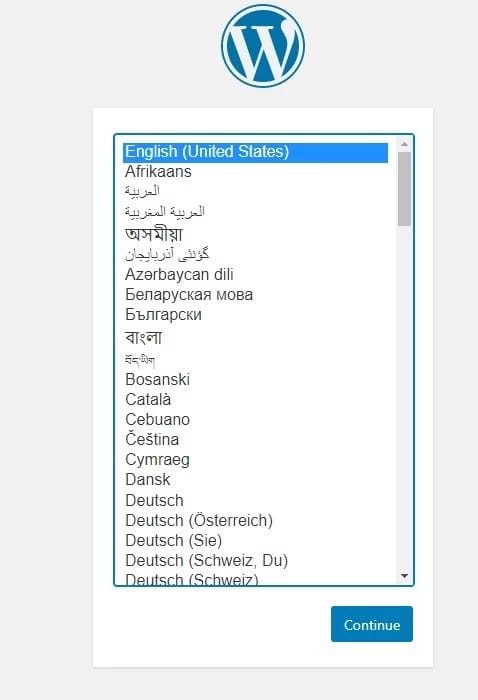
You will now see the WordPress setup page. Select the desired language and click on Continue.
Step 15: Create a wp-config.php file
You will see the following page. Read through it and go to the next step, without clicking on Let’s go.

Step 16: Create a database
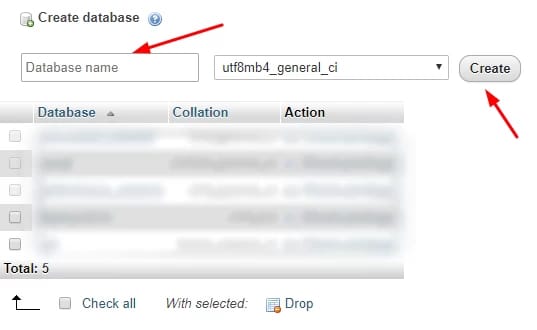
Now you will have to create a database for your site. Fist you will have to head over to PHPMyAdmin by typing localhost/phpMyAdmin into your browser address bar in a new tab.

In the opened page, click on New to create a new database.

Step 17: Name your database
Pick a name for the database and click on Create
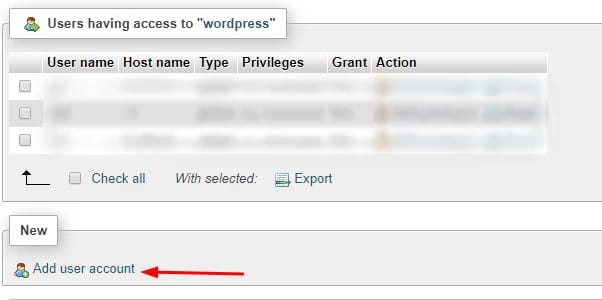
Step 18: Add user account
Now you will have to create a user account by clicking on Add user account.
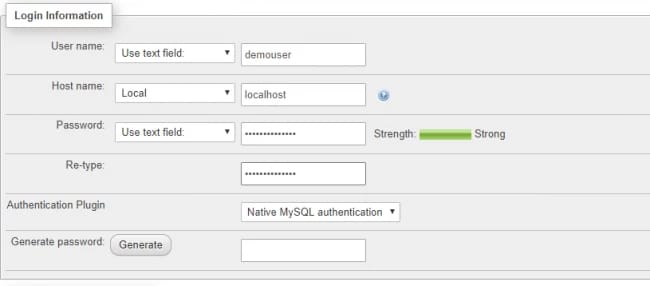
Step 19: Fill out login details
Fill in the user details such as username, hostname, password, etc. Please make sure that that you click on Grant all Privileges and them on Go.
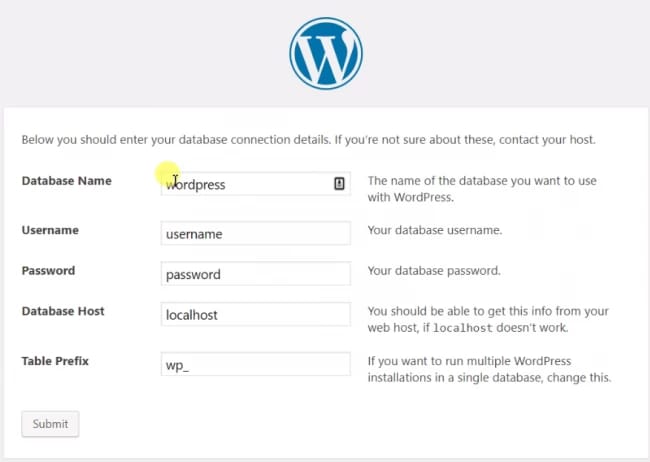
Step 20: Connect account to WordPress
Go back to the WordPress tab and click on Let’s Go. In the next screen, you will have to enter the database name and the account details for the database. Then click on Submit.
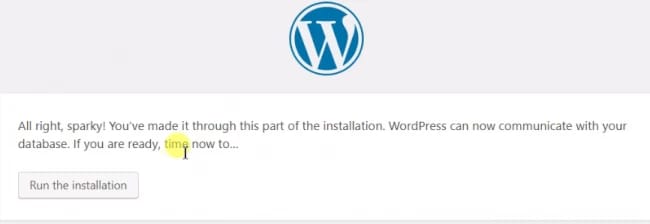
Step 21: Run the installation
Now click on Run the installation and enter the site title, username, password, and email address in the next screen. Then click on Install WordPress.
If everything went well, you should now be able to access the WordPress dashboard with localhost/yourwebsitename/wp-admin and view your site on localhost/yourwebsitename.
Bringing you WordPress website to the World Wide Web
To do this, you simply need to follow the standard WordPress import process. You need to compile all your website files, which you edited using Xampp and WordPress on your localhost browser. You will also probably need to compress all of this into a single zip file.
With your zip file created, simply navigate on your live WordPress dashboard to where the import function is to customize your site. Select your compressed zip file and upload it. The import should begin very quickly.
Depending on how large or complicated your site is, it might take anywhere from just a couple of minutes to several hours to fully import your website.
Once this waiting has finished, you can select the imported file and activate it, then publish it, taking your modified and built website public for the whole internet!
Conclusion
In this article, we covered how to build and edit your WordPress site offline or when you do not have a good internet connection. We also explored the benefits of this functionality, such as the ability to work on your web pages when you are traveling or if your internet connection goes down.
We then went through the most popular way to set up a virtual server and edit your WordPress site locally using Xampp. We hope this blog post helped you, and thank you for reading!

I'm fascinated by the IT world and how the 1's and 0's work. While I venture into the world of Technology, I try to share what I know in the simplest way with you. Not a fan of coffee, a travel addict, and a self-accredited 'master chef'.