
When browsing the internet, you surely have tried to log into a website or submit a form only to be stuck clicking on pictures of street signs or boats or just about anything else in a desperate attempt to finally convince the computer that you are actually a real human and not a piece of software.
Well, this is called CAPTCHA and in this tutorial, we will dive a little deeper into what it is and demonstrate how to add CAPTCHA to a WordPress site using the Google Captcha plugin (reCAPTCHA).
What is CAPTCHA?
CAPTCHA is short for Completely Automated Public Turing test to tell Computers and Humans Apart. CAPTCHAs are tools used by website owners in order to tell the difference between real users visiting their sites and automated ones such as bots. They add small challenges, or tests, that are pretty easy for humans to perform but are difficult and sometimes impossible for bots (computer scripts). CAPTCHAs are most commonly added to login pages to prevent brute force attacks or to any parts of the website where a user needs to input data to prevent spam and even improve security against certain automated attacks.
How Does CAPTCHA Work?
CAPTCHAs work by offering information to users for interpretation. While they originally worked by providing distorted or overlapping letters and numbers that users needed to submit via text fields, nowadays, Google’s no CAPTCHA reCAPTCHA seems to have claimed dominance within the modern internet. However, we will touch upon that later. First, let us explain why the aforementioned process is done as it is still used by certain sites.
The distortion of letters makes it difficult for bots to understand the text and made it impossible to access until the characters are verified. This type of CAPTCHA is reliant upon people’s ability to recognize patterns and letters within more abnormal circumstances than a machine can interpret. For example, the following CAPTCHA says captcha 246 and while it is easy for a human to read, bots will struggle with it.

Since CAPTCHA was introduced, bots that use machine learning have been developed. These bots are better able to identify traditional CAPTCHAs with algorithms trained in pattern recognition. Due to this development, newer CAPTCHA methods are based on more complex tests. For example, reCAPTCHA requires clicking in a specific area and waiting until a timer runs out.
Google’s reCAPTCHA
Google’s reCAPTCHA, the third version of which was launched only three years ago takes an entirely different approach to the traditional CAPTCHA methods. The purpose of such a design is to reduce the number of challenges you need to carry out when logging into the site. ReCAPTCHA does so by assigning an invisible score to each user, depending on how “human” their behavior is on the site. In most cases, this removes the need for a human to complete any challenges at all.
The way reCAPTCHA assigns the invisible score to each independent user is by tracking the mouse movements on a page and how the user goes across different pages within the website. If a human, however, somehow gets a low score, reCAPTCHA provides a more traditional image selection CAPTCHA like the one shown below.

How to Add CAPTCHA on WordPress:
Follow the simple steps outlined below to easily add captcha to your WordPress installation:
Step 1: Using your credentials (the user must have admin access) login to your WordPress admin panel.
Step 2: In the Dashboard, select "Plugins" and then select "Add New".
Step 3: In the search box, type "google captcha" and click the Enter button on your keyboard.

Step 4: In the search results, find the Google Captcha Plugin (reCAPTCHA) and click on "Install Now".

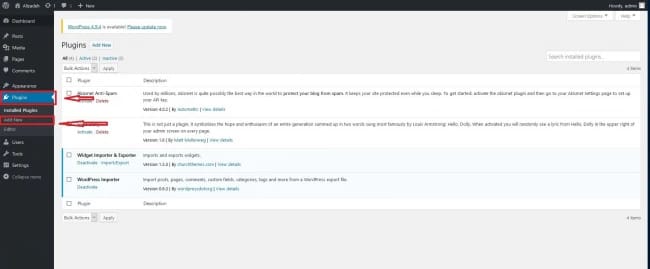
Step 5: After the installation of the plugin by WordPress, click on the "Plugins" option under Dashboard and choose "Installed Plugins".
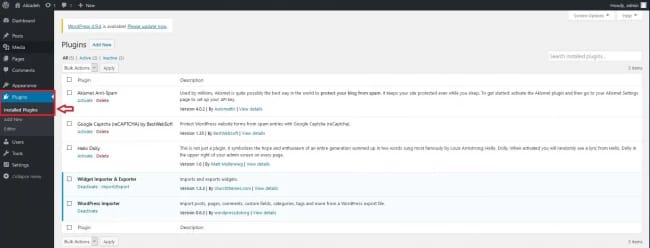
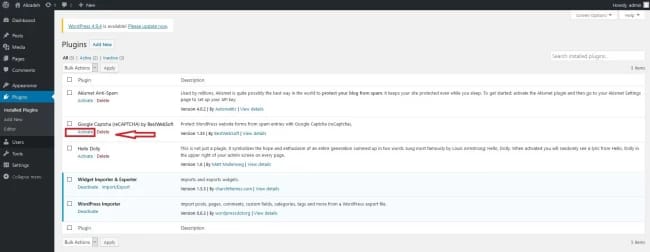
Step 6: Find and activate the Google Captcha plugin (reCAPTCHA) from the list of installed plugins.
Tip: You can use the search box on the right side to find the plugin.
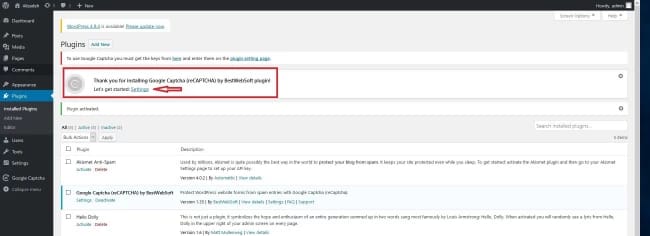
Steps 7: Once the plugin is installed, a notification should appear with the words: "Let’s get started: Settings". The last word of the said notification should be a clickable link. Click on it.
Step 8: Generate public and private keys to use Google Captcha. To do this, click on the registration link below "Authentication" and follow the steps to create the keys.
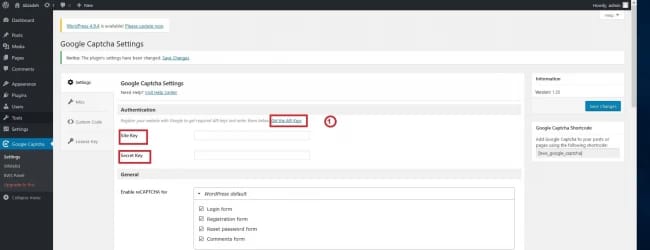
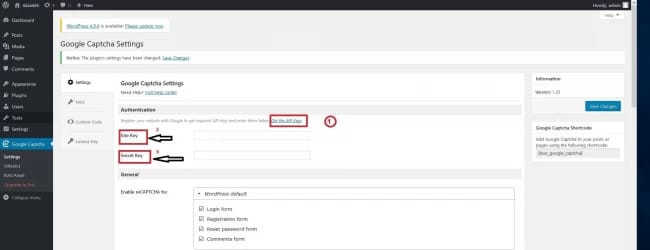
Step 9: At this point, you will be redirected to Google. You must input an optional name in the first box, and in the second one enter your domain name to receive the keys. After receiving the keys from Google, return to WordPress and enter the public key in the "Site Key" box and the private key in the "Secret Key" box.
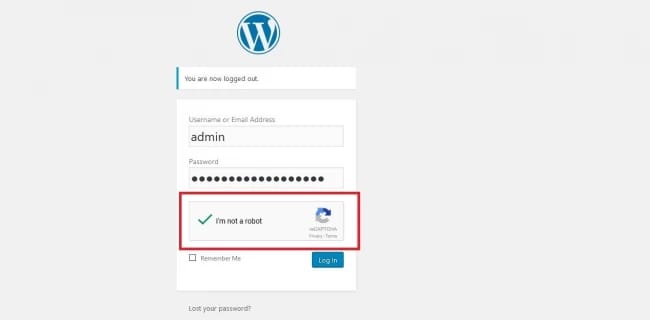
Step 10: Under Options, select the settings you want and save the changes. Now, CAPTCHA is enabled for your site. Scroll down to your WordPress site to check it and try posting a comment below. WordPress will display a CAPTCHA on the posting page.
Conclusion
While CAPTCHA can be a slight annoyance for you and other users that are trying to log in to the WordPress dashboard of your site, it provides much-needed protection from brute force attacks on your WordPress website. We hope that with the help of this blog post, you were able to learn something new about traditional CAPTCHA and Google’s reCAPTCHA. Using the tutorial that concludes this article, you should be able to effortlessly add CAPTCHA to your WordPress site.

One OF my major goals is getting new experiences about ICT and what’s more making progress through this field.