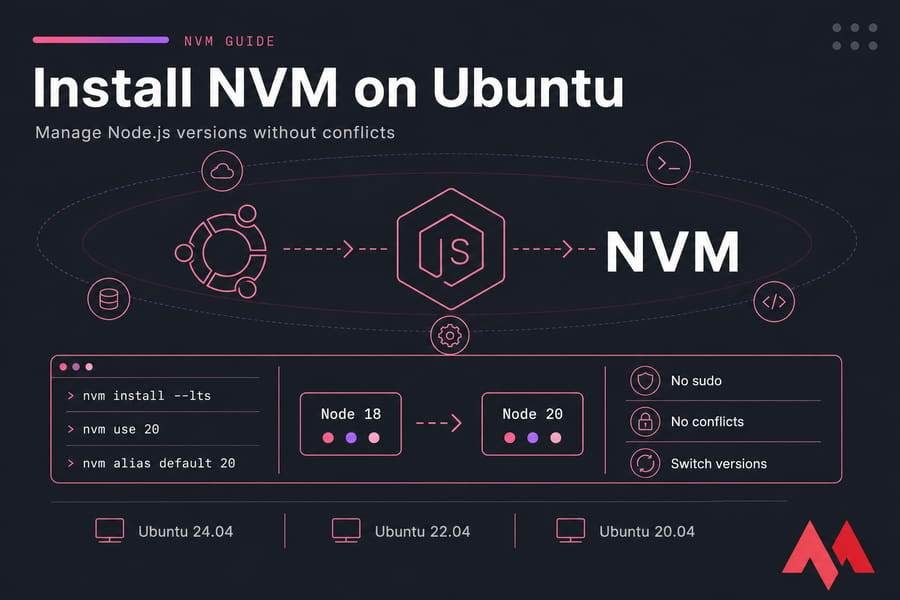
If you've ever juggled two Node.js projects that demand different runtime versions, you already know the pain. One app screams for Node 18. The other one breaks unless you're on Node 20. Installing Node through apt only gives you a single version system-wide and that's where NVM saves your weekend.
NVM (Node Version Manager) is a shell script that installs Node.js into your user directory and lets you switch versions with a single command. No sudo. No conflicts. No reinstalling the world. At its core, NVM empowers developers working on diverse projects by providing an efficient means to install, uninstall, and switch between different Node.js versions without the hassle of manual setup. This guide walks through installing NVM on Ubuntu 24.04, 22.04, and 20.04 — plus how to verify the install, switch versions, use .nvmrc, and fix the dreaded nvm: command not found error.
Tested on Ubuntu 22.04 and 24.04 with Bash and Zsh. Commands verified against the official nvm-sh GitHub repository.
Prerequisites
Before diving into the installation of Node Version Manager (NVM) on Ubuntu, ensure your system meets the following prerequisites:
- Active Ubuntu Server: Ensure you have an active Ubuntu 20.04, 22.04, or 24.04 server environment ready for installation. Need an Ubuntu VPS? Choose MonoVM for reliability and performance.
- Package Manager (apt): Verify that the
aptpackage manager is installed on your Ubuntu system. This package manager is essential for fetching and managing software packages. - Curl Installed: Confirm the presence of the
curlcommand-line tool. If not installed, you can acquire it via the package manager by executingsudo apt install curl. - Root or Sudo Access: Ensure you possess administrative privileges or
sudoaccess to execute privileged commands required for installation and setup.
Install curl and build tools if missing
On a fresh Ubuntu box, grab the essentials:
sudo apt update
sudo apt install -y curl build-essential
build-essential matters because some npm packages compile native modules during install. Skip it and you'll hit cryptic gyp errors later. Before you begin, check what's already on your system:
curl --version
node -v
npm -v
If node is already installed via apt, that's fine — NVM's Node binaries take priority once your shell loads NVM. But if you'd rather start clean, you can remove the apt-installed Node.js first with sudo apt remove nodejs npm. If you need a fresh start, check our guide on how to install Node.js and npm.
How to Install NVM on Ubuntu Step by Step
Same procedure works on 24.04, 22.04, and 20.04. The only thing that changes between Ubuntu versions is the default shell config file you'll source at the end. To install Node Version Manager (NVM) on Ubuntu and manage multiple Node.js versions, follow these steps:
Step 1: Update the System
First, ensure your system is up-to-date by running the following command:
sudo apt updateStep 2: Download and Install NVM
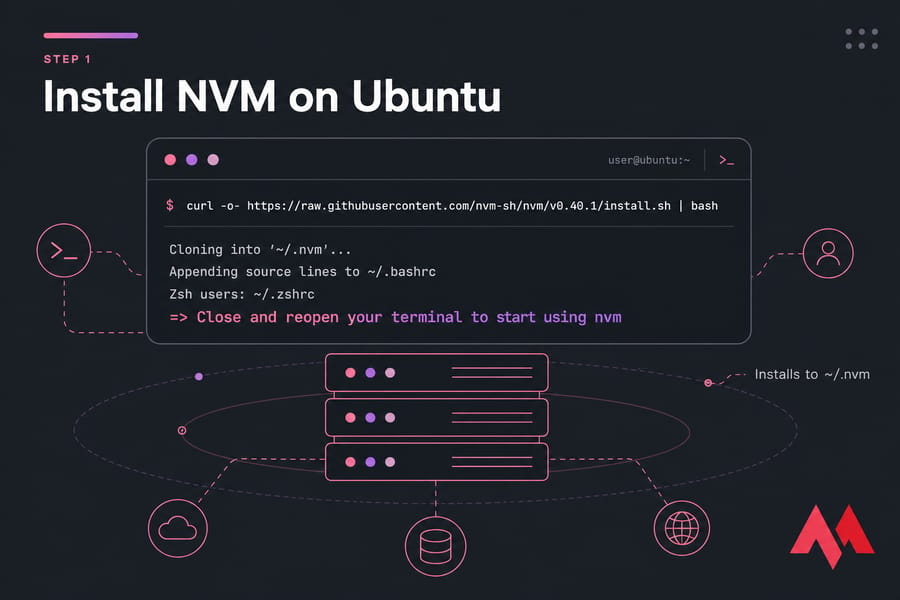
Pull the latest install script straight from the NVM GitHub repo. Always check the repo first for the current version tag — at the time of this update, that's v0.40.1:
curl -o- https://raw.githubusercontent.com/nvm-sh/nvm/v0.40.1/install.sh | bashThe script clones NVM into ~/.nvm and appends three lines to your shell profile (~/.bashrc for Bash, ~/.zshrc for Zsh). Those lines export NVM_DIR and source the NVM script on shell startup.
Step 3: Reload Your Shell Configuration
Here's where most beginners trip up. The install script edits your profile, but your current shell session doesn't know that yet. Reload it:
source ~/.bashrcIf you're on Zsh, source ~/.zshrc instead. Fish users — NVM doesn't natively support Fish, so you'll want a wrapper like nvm.fish or fnm.
Step 4: Verify NVM is Installed
Three quick checks confirm everything works:
command -v nvm
nvm --version
echo $NVM_DIR
command -v nvm should return nvm (it's a shell function, not a binary, which is why which nvm returns nothing — that confuses people constantly). nvm --version prints the version you installed. $NVM_DIR should point to /home/yourusername/.nvm.
Install Node.js with NVM
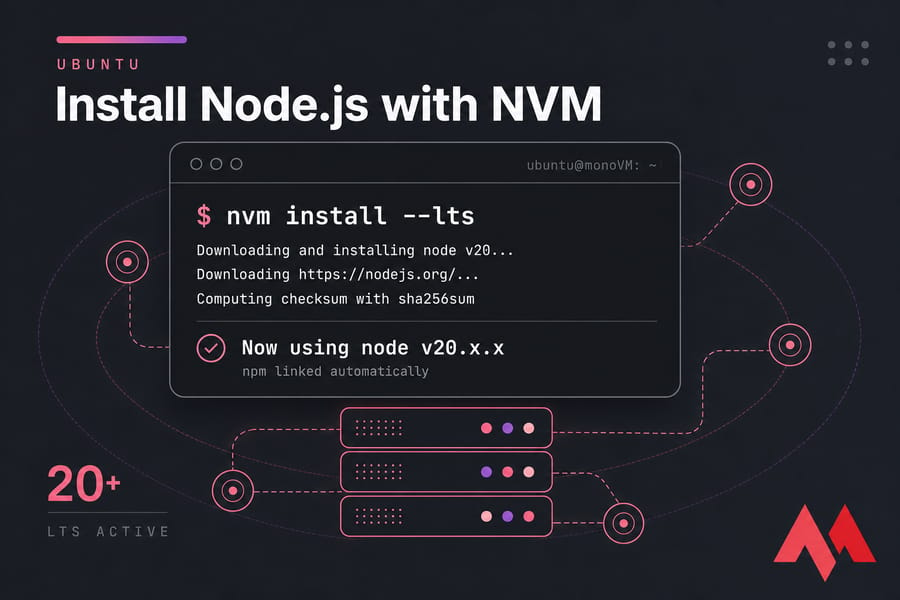
Now the fun part. Install the latest LTS release with one command:
nvm install --ltsNVM downloads the binaries, sets it as your active version, and links npm automatically. Want the bleeding-edge current release instead?
nvm install nodeNeed a specific version for a legacy project?
nvm install 18
nvm install 20.11.1
Confirm what you've got running:
node -v
npm -v
which node
which node should point inside ~/.nvm/versions/node/.... If it points to /usr/bin/node, your NVM isn't loading first — see the troubleshooting section below. To learn more about managing your Node.js environment, check out our guide on how to check Node.js version.
Manage Multiple Node.js Versions
This is why we're here. Switching versions is a one-liner:
nvm ls              # list installed versions
nvm ls-remote       # list every version available to install
nvm use 18          # switch to Node 18 in this shell
nvm alias default 20  # make Node 20 the default for new shells
nvm uninstall 16    # remove a version
One gotcha: nvm use only changes the version for your current shell session. Open a new terminal and you're back to the default. That's by design — and it's why nvm alias default matters. You can also install the stable version of Node.js with nvm install stable. To install a specific version, use nvm install 12.18.3 (replace with your desired version).
How to Use an .nvmrc File
If you work on a team, .nvmrc is the single best feature in NVM. Drop a file in your project root with the Node version, and anyone who clones the repo can match it instantly.
cd ~/projects/my-app
echo "20" > .nvmrc
nvm use
When you (or a teammate) cd into the project and run nvm use with no argument, NVM reads .nvmrc and switches automatically. Pair it with a shell hook (the NVM repo has examples for Bash and Zsh) and the switch happens on every cd. Honestly, it's one of those small things that prevents hours of "works on my machine" debugging.
Common NVM Errors on Ubuntu and How to Fix Them
Fix "nvm: command not found"
By far the most common issue. Three causes, in order of likelihood:
- You haven't reloaded your shell. Run
source ~/.bashrc(or~/.zshrc). Or just close and reopen the terminal. - The install script wrote to the wrong profile file. Check your home directory:
ls -la ~ | grep -E '.bashrc|.zshrc|.profile'. If NVM's lines ended up in~/.profilebut you use Bash interactively, copy them to~/.bashrc. - You're on a non-interactive shell. Cron jobs and some CI runners skip
.bashrc. Source NVM explicitly in those scripts.
The standard block your profile needs:
export NVM_DIR="$HOME/.nvm"
[ -s "$NVM_DIR/nvm.sh" ] && \. "$NVM_DIR/nvm.sh"
[ -s "$NVM_DIR/bash_completion" ] && \. "$NVM_DIR/bash_completion"
Fix PATH conflicts with system Node.js
If which node still returns /usr/bin/node after installing via NVM, your $PATH has the system path before NVM's. Either remove the apt Node install (sudo apt remove nodejs) or make sure the NVM lines in your profile run after any other PATH modifications.
Fix permission errors during npm installs
If you see EACCES errors, you're probably running sudo npm install -g. Don't. The whole point of NVM is that everything lives under your user — sudo creates root-owned files in ~/.nvm and breaks future installs. Fix it with:
sudo chown -R $USER:$USER ~/.nvmUpdate or Uninstall NVM
To update NVM to its latest version, you can use the curl command similar to the installation command:
curl -o- https://raw.githubusercontent.com/nvm-sh/nvm/$(curl -s https://api.github.com/repos/nvm-sh/nvm/releases/latest | grep 'tag_name' | cut -d\" -f4)/install.sh | bashThis command fetches and runs the install script from the latest release on GitHub. It detects the existing install and upgrades in place. Verify with nvm --version.
To uninstall NVM completely:
rm -rf ~/.nvm
# then edit ~/.bashrc or ~/.zshrc and delete the three NVM lines
source ~/.bashrc
This is a per-user uninstall. Other users on the same machine keep their own NVM setups untouched.
NVM vs apt vs NodeSource vs n vs fnm
NVM isn't the only way to get Node on Ubuntu. Here's how the main options stack up:
| Tool | Best for | Root required | Multiple versions | Speed |
| NVM | Developers juggling versions | No | Yes | Moderate |
| apt | Simple system-wide install | Yes | No | Fast install, stale versions |
| NodeSource | Servers needing current Node via apt | Yes | No (one at a time) | Fast |
| n | Minimalists who like simple CLIs | Sometimes | Yes | Fast |
| fnm | Speed-focused devs, Rust binary | No | Yes | Very fast |
My take: NVM for daily development, NodeSource for production servers running a single Node version. fnm is genuinely faster if shell startup time bothers you — worth a look.
Detailed Comparison of NVM, n, and fnm
Node Version Manager (NVM)
- Compatibility: NVM is highly compatible with Linux, macOS, and WSL (Windows Subsystem for Linux). It does not support native Windows environments without WSL.
- Ease of Use: Offers a straightforward command-line interface for installing, managing, and switching between Node.js versions.
- Isolation: Each Node.js version is installed in its own directory, with global packages not shared between versions. This ensures that projects remain independent and reduces conflicts between different Node.js versions.
- Installation: Does not require root access for installation or for managing Node.js versions, making it safer and more accessible for users without administrative privileges.
- Drawbacks: Can be slower than some alternatives because it fully switches environments for each Node.js version.
n
- Compatibility: Designed primarily for Linux and macOS users. Its simplicity and ease of use make it a popular choice, though it lacks the full compatibility layer that NVM offers with WSL for Windows users.
- Ease of Use: Provides a more minimalistic approach compared to NVM, focusing on simplicity and speed. It allows for quick switching between versions without the need for modifying environment variables manually.
- Global Packages: Unlike NVM, n stores Node.js versions in a centralized location, and global packages can be shared across versions. This can be convenient but may lead to conflicts if different projects require different versions of the same package.
- Installation: Requires sudo access for installing Node.js versions, which may not be suitable for all environments.
fnm (Fast Node Manager)
- Compatibility: Works well on Linux, macOS, and Windows. It's designed to be fast and efficient, leveraging parallel downloading and caching to speed up installations.
- Ease of Use: Offers a simple and efficient command-line interface. It's particularly noted for its performance, being faster than both NVM and n in many cases.
- Installation: Like NVM, it does not necessarily require root access for managing Node.js versions, making it user-friendly and secure.
- Features: Supports .nvmrc files for automatic version switching based on project requirements, similar to NVM. It's built in Rust, which contributes to its speed and efficiency.
- Drawbacks: While it's faster and more efficient, fnm might not have as extensive version compatibility checks as NVM, which can lead to issues in very specific use cases.
NVM Command Cheat Sheet
| Command | What it does |
nvm install --lts |
Install latest LTS Node.js |
nvm install 20 |
Install Node 20.x latest |
nvm use 18 |
Switch current shell to Node 18 |
nvm alias default 20 |
Set Node 20 as default |
nvm ls |
List installed versions |
nvm ls-remote --lts |
List available LTS versions |
nvm current |
Show active version |
nvm uninstall 16 |
Remove Node 16 |
Conclusion
Node Version Manager (NVM) is a really useful tool for handling different versions of Node.js on your Ubuntu system. Whether you're developing on a local machine or a Linux VPS, it's not hard to install you just need to follow a few easy steps mentioned in this guide.
With NVM, developers can easily set up and switch between various Node.js versions, making sure they work smoothly with their projects. NVM removes the friction from working with Node.js on Ubuntu. Install once, manage forever.
NVM brings several benefits like better compatibility with various Node.js versions and more flexibility in how you work, which can help improve your overall workflow. Plus, NVM works well not just with Ubuntu but also with other Linux systems and macOS, so it's a versatile tool you can use across different environments as a developer. From here, you might want to verify your npm setup or check out our guide on how to update Node.js to the latest version.
Need an Ubuntu VPS? Choose MonoVM for reliability and performance.
People Also Reading:

I'm fascinated by the IT world and how the 1's and 0's work. While I venture into the world of Technology, I try to share what I know in the simplest way with you. Not a fan of coffee, a travel addict, and a self-accredited 'master chef'.