Adding an extra (secondary) IP address to your Ubuntu server is a very common task, especially in real-world server environments. System administrators, DevOps engineers, and VPS users often rely on multiple IP addresses to host several websites on a single server, isolate services, configure NAT rules, manage containers like Docker, or improve security and network organization. Fortunately, Ubuntu provides flexible and reliable ways to assign more than one IP address to the same network interface, whether you need a permanent configuration or a quick temporary setup.
In this guide, you’ll learn how to add an extra IP address on Ubuntu using Netplan, the legacy /etc/network/interfaces method, and temporary command-line solutions. Each approach is explained with simple, practical examples, making it suitable for Ubuntu 18.04, 20.04, and 22.04. By the end, you’ll be able to choose the method that best fits your server setup and use case.

If you’re new to Ubuntu or preparing to deploy your first server, it’s a good idea to understand the basics of the operating system before making network changes. Taking a moment to review what Ubuntu is, how it’s commonly used on servers, and how its networking stack works can help you avoid mistakes and feel more confident as you follow along with the steps in this guide.
Why Add Another IP Address to Ubuntu?
Adding a secondary IP address to an Ubuntu system is far more common and useful than many people realize. Whether you’re managing a production server or experimenting in a lab environment, assigning multiple IP addresses to a single network interface can unlock flexibility, scalability, and better traffic control.

In real-world scenarios, multiple IPs allow a single server to behave like several logically separate machines, each with its own role, security rules, or network identity.
Common Use Cases
- Hosting multiple websites on one server: Each website can be bound to its own IP address, which simplifies SSL configuration, improves isolation, and makes troubleshooting easier especially for legacy applications or strict hosting requirements.
- Running containers and Docker environments: Containers, bridges, or virtual networks often need their own IP addresses for clean separation, predictable routing, and smoother communication between services.
- NAT and firewall configurations: Multiple IPs make it easier to define granular firewall rules, port forwarding, or network address translation setups, particularly in complex networking environments.
- Email servers and deliverability management: Using separate IP addresses for outbound mail helps protect sender reputation. If one IP is flagged or rate-limited, it won’t affect all mail traffic.
- Load balancing and high availability: Secondary IPs can be reassigned quickly between servers during failover, enabling zero- or low-downtime services and more resilient infrastructure.
- Separating public and private services: One IP can handle public-facing traffic, while another is reserved for internal communication, backups, or administrative access—improving both security and organization.
In short, adding another IP address is a simple but powerful way to enhance control, reliability, and scalability on an Ubuntu system without adding more hardware.
Determine Your Ubuntu Version and Network Manager
Before adding an extra IP address, it’s important to identify which version of Ubuntu you’re running. Ubuntu’s network configuration tools have changed over time, and the correct method depends on your version and the network manager in use.
Newer versions typically rely on Netplan, while older releases may use ifupdown or NetworkManager. Knowing this upfront helps you avoid configuration errors and ensures your changes persist after a reboot.
Check Your Ubuntu Version
Run the following command to see your Ubuntu version:
lsb_release -a
The output will tell you whether you’re using an older release (such as 16.04) or a newer one (18.04 and above), which determines how network settings should be applied.
Configuration Methods by Version

|
Ubuntu Version |
Network Configuration Method |
|
22.04 / 20.04 / 18.04 |
Netplan (YAML-based) |
|
16.04 and older |
/etc/network/interfaces |
|
Any version |
Temporary via ip addr add |
Method 1: Add an Extra IP Using Netplan
(Ubuntu 18.04, 20.04, 22.04 and newer)

Netplan is the default network configuration tool used in modern Ubuntu releases. It manages network settings through simple YAML configuration files located in the /etc/netplan/ directory and applies them at boot.
Using Netplan ensures your network configuration is persistent, clean, and fully supported by Ubuntu going forward.
Step 1: Locate Your Netplan Configuration File
First, list the Netplan configuration files on your system:
ls /etc/netplan/
You’ll typically see a file with a name similar to:
- 00-installer-config.yaml
- 01-netcfg.yaml
- 50-cloud-init.yaml
Important:
If your system is using cloud-init, the file may be auto-generated. In that case, it’s best to edit the existing file rather than creating a new one.
Once you’ve identified the correct file, open it with a text editor such as nano or vim:
sudo nano /etc/netplan/00-installer-config.yaml
In the next step, you’ll modify this file to add a secondary IP address to your network interface.
Step 2: Edit the Netplan Configuration
Now that you’ve located your Netplan configuration file, the next step is to add the secondary IP address to your network interface.
Open the file with your preferred editor if it’s not already open:
sudo nano /etc/netplan/00-installer-config.yaml
You’ll see a YAML structure that defines your network interface. Locate the correct interface name (for example, eth0, ens3, or enp0s3) and the existing addresses section.
Here’s an example of a basic static configuration with two IP addresses assigned to the same interface:
Network:
 version: 2
  renderer: networkd
  Ethernets:
    Ens3:
      Addresses:
        - 192.168.1.10/24
        - 192.168.1.11/24
      gateway4: 192.168.1.1
      Nameservers:
        Addresses:
          - 8.8.8.8
          - 8.8.4.4

Key Notes to Remember
- YAML is indentation-sensitive — use spaces, not tabs.
- Both IP addresses must be in CIDR notation (for example, /24).
- You can add multiple IPs under the addresses list.
- The gateway is defined once, not per IP address.
After saving the file, you’ll apply the changes and test the configuration in the next step.
Step 3: Apply the Netplan Configuration
After saving your changes to the Netplan configuration file, you need to apply them so the new IP address becomes active.
Before applying permanently, it’s a good idea to test the configuration—especially if you’re connected remotely.
Test the Configuration (Recommended)
Run the following command:
sudo netplan try
This command temporarily applies the configuration and gives you a short window to confirm that networking still works. If something goes wrong, Netplan will automatically roll back the changes, helping you avoid getting locked out of the system.
If everything looks good, confirm the prompt to keep the new settings.
Apply the Configuration
Once you’re confident the configuration is correct, apply it permanently:
sudo netplan apply
Netplan will now activate the new IP address and ensure it persists across reboots.
Verify the New IP Address
Check that the additional IP has been successfully assigned
ip addr show
Look for your network interface and confirm that both the original and secondary IP addresses are listed.
At this point, your Ubuntu system is fully configured with an extra IP address using Netplan.
Method 2: Add an Extra IP Using
/etc/network/interfaces
(Ubuntu 16.04 and older)

On older Ubuntu releases, network configuration is handled through the traditional ifupdown system. Network interfaces and IP settings are defined in the /etc/network/interfaces file, which is read during system startup.
This method is still common on legacy servers and minimal installations that haven’t migrated to Netplan or NetworkManager
Step 1: Edit the Interfaces File
Open the network interfaces configuration file using your preferred text editor:
sudo nano /etc/network/interfaces
Locate the existing configuration for your primary network interface (for example, eth0). To add a secondary IP address, you can define an alias interface or add an additional address block.
Here’s an example using an alias interface:
auto eth0
iface eth0 inet static
    address 192.168.1.10
    netmask 255.255.255.0
    gateway 192.168.1.1
auto eth0:0
iface eth0:0 inet static
    address 192.168.1.11
    netmask 255.255.255.0
Important Notes
- The primary interface keeps the default gateway.
- The alias interface (eth0:0) is used only to assign the extra IP.
- You can add multiple aliases (eth0:1, eth0:2, etc.) if needed.
- Changes made here are persistent across reboots.
In the next step, you’ll restart networking services to apply the configuration.
Step 2: Restart Networking
After saving your changes to the /etc/network/interfaces file, you need to restart the networking service for the new IP address to take effect.
Run the following command:sudo service networking restartOn some systems, you may also use:sudo /etc/init.d/networking restart
Important Warning:
Restarting networking will briefly interrupt your network connection. If you’re connected to the server remotely (for example, via SSH), there’s a risk of being disconnected. Make sure you have console access or are confident the configuration is correct before proceeding.
Verify the Configuration
Once networking has restarted, confirm that the additional IP address is active:
ip addr show
Check your network interface and verify that both the primary and secondary IP addresses are listed.
At this point, the extra IP address is fully configured and persistent on older Ubuntu systems.
Method 3: Add a Temporary IP via Terminal
(Works on any Ubuntu version)
If you only need an additional IP address temporarily for testing, debugging, or short-term tasks—the ip command is the fastest and simplest option. This method does not modify any configuration files, and the IP address will be removed automatically after a reboot or network restart.
This makes it ideal for quick experiments or troubleshooting without affecting your permanent network setup.
Temporary IP Command
Use the following command to add a temporary IP address to a network interface:
sudo ip addr add 192.168.1.11/24 dev eth0
Replace:
- 192.168.1.11/24 with the IP address and subnet you want to add
- eth0 with your actual network interface name (for example, ens3 or enp0s3)
Verify the IP Address
To confirm the IP was added successfully, run:
ip addr show dev eth0
You should see the new IP listed alongside the existing one.
Remove the Temporary IP
If you want to remove the IP address manually before rebooting, use:
sudo ip addr del 192.168.1.11/24 dev eth0
How to Verify if the IP Is Assigned Successfully

After adding an extra IP, always verify your configuration.
Check Assigned IPs
ip a
Test Connectivity
Ping 192.168.1.11
External IP Test (Optional)
curl ifconfig.me
If the IP doesn’t appear or respond, move to the troubleshooting section below.
Restart Networking and Apply Configurations
After making changes to your network configuration, you may need to restart networking services for the new settings to take effect. The exact command depends on your Ubuntu version and the networking tool in use.

Netplan (Ubuntu 18.04 and Newer)
Apply the configuration immediately:
sudo netplan apply
For remote systems, it’s safer to test first:
sudo netplan try
This temporarily applies the configuration and automatically rolls back if network connectivity is lost.
ifupdown (/etc/network/interfaces– Ubuntu 16.04 and Older)
Restart the networking service:
sudo service networking restart
Or:
sudo /etc/init.d/networking restart
Warning: Restarting networking may briefly disconnect active sessions, including SSH. Ensure you have console access before running these commands on remote servers
NetworkManager (Desktop or Mixed Environments)
Restart NetworkManager:
sudo systemctl restart NetworkManager
This is commonly used on desktop systems or servers with NetworkManager enabled.
Verify Network Changes
After restarting networking, confirm that the configuration was applied successfully:
ip addr show
Ensure all expected IP addresses are listed and active on the correct interface.
Troubleshooting Common Problems
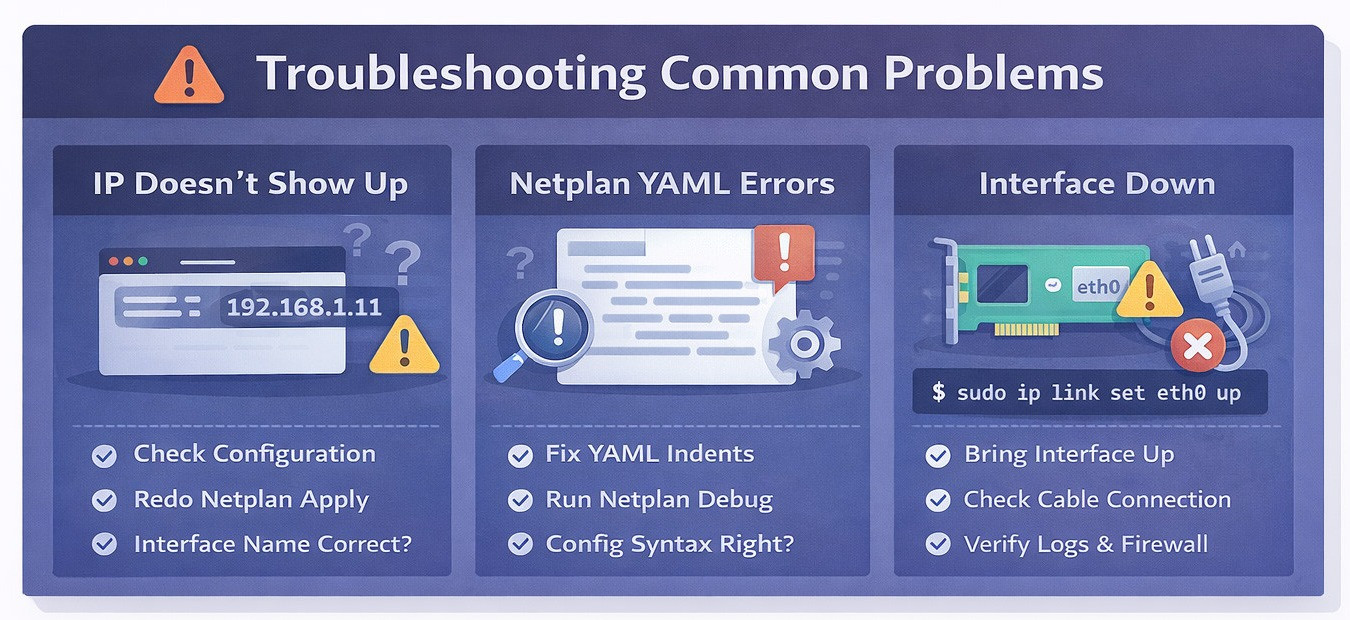
IP Doesn’t Show Up
- Run netplan apply again
- Check YAML indentation
- Ensure the interface name (eth0, ens3, etc.) is correct
Netplan Errors or Invalid YAML
Validate your config:
sudo netplan --debug apply
Interface Is Down
Bring it up manually:
sudo ip link set eth0 up
IP Is Assigned but Not Reachable
- Check firewall rules (ufw status)
- Verify routing:
ip route
Best Practices and Security Notes
- Always document assigned IPs
- Avoid overlapping subnets
- Update firewall and NAT rules after adding IPs
- Use private IPs when possible for internal services
To better understand IP classifications, see Different Types of IP Addresses.
Final Thoughts: Extra IPs on Ubuntu Simple, Flexible, and Powerful
Adding a secondary IP address on Ubuntu is easier than it might seem once you understand your OS version and the network manager in use. Whether you’re configuring Netplan on Ubuntu 22.04, working with legacy interface files, or assigning a temporary IP via the command line, Ubuntu provides reliable, production-ready tools to handle advanced networking scenarios with confidence.
Multiple IP addresses unlock real-world capabilities—better service isolation, improved security, smoother scaling, and more resilient infrastructure. From web hosting and container environments to email servers and high-availability setups, the flexibility Ubuntu offers makes it a strong choice for modern deployments.
If you’re managing multiple servers or require dependable static IP assignments, running your workloads on a high-performance Ubuntu VPS optimized for advanced networking can make all the difference delivering stability, speed, and full control when it matters most.Managing mixed environments or multiple Linux distributions?
For seamless cross-platform consistency, check out Add a Secondary IP Address on CentOS and streamline your networking strategy across your entire infrastructure.
Take control of your network. Scale smarter. Deploy with confidence.

My name is Sophia H. My degree is MS in Information Technology Engineering. I have been working for 5 years on Java developing (j2ee), Computer Networking (Optical Networks), Virtualization and Hosting.