Embark on a journey to demystify “What is Attrib Command” in Windows 10/11. If you've ever dabbled in the realm of Windows 10/11 and found yourself puzzled by mysterious file attributes or wondering how to tweak them, you're in the right place. Here, we're unraveling the secrets of the Attrib Command – a nifty tool that can be your go-to for managing file attributes like a digital wizard.
Before continuing, Navigate Windows Commands: A Complete Guide
What Is Attrib Command in Windows 10/11
So, what's the fuss about the Attrib Command in Windows 10/11? In a nutshell, this command is your backstage pass to the world of file attributes – those hidden markers that define a file's properties. Whether it's read-only, hidden, or part of a top-secret project, Attrib lets you take control.
Here's the lowdown:
- Visibility Magic: The Attrib command lets you toggle a file's visibility, making it either visible or hidden. Think of it as your digital cloak of invisibility.
- Read-Only Marvel: With Attrib, you can set a file as read-only, ensuring it stays unaltered unless you decide to play the editing hero.
- System File Mastery: Attrib doesn't shy away from system files. It can manipulate their attributes, but tread carefully – altering system files can have consequences!
In essence, Attrib is your digital toolkit for file attribute acrobatics, putting the power of customization at your fingertips.
The Parameters of Attrib Command
Now, let's get into the nitty-gritty – the parameters (attrib - r-h-s /s /d command) that make Attrib dance to your tune. Here's a quick rundown of the most crucial ones:
- R (Read-Only): Prevents accidental changes to the file. No more unintended edits!
- H (Hidden): Conceals the file from casual observers. A perfect choice for your digital hide-and-seek.
- A (Archive): Marks the file as ready for archiving. Ideal for files destined for storage.
- S (System): Marks a file as a system file. Approach with caution – only for advanced users!
- + / - (Add or Remove Attribute): The plus sign adds an attribute and the minus sign removes it. Simple yet powerful!
'Attrib' Command Availability
Before you dive headfirst into the Attrib adventure, let's ensure you're equipped. The good news is that Attrib is readily available in most Windows versions. From Windows 95 to the latest Windows 11, this command has stood the test of time, ready to serve your attribute-altering needs.
Whether you're on the command prompt or PowerShell (PS), Attrib is your trusty companion, waiting for your command to unleash its attribute-altering magic.
Attrib Command Syntax & Switches
Now, let's dissect the syntax and switches that give Attrib its power. When crafting your Attrib command, keep these key elements in mind:
attrib [+attribute | -attribute] [pathname] [/s [/d]]
- +attribute / -attribute: Use the plus sign to add an attribute or the minus sign to remove it.
- pathname: Specifies the location of the target file or files.
- /s: Applies the command to all files in the specified directory and its subdirectories.
- /d: Processes folders as well.
Imagine Attrib as your digital wand, with the syntax and switches as your magical incantations. Need to make a file read-only? Simply wave your wand and utter the right spell, and voila – your file is under your command.
Attrib Command Examples
If you’re wondering what is attrib command example, let's dig deeper into practical scenarios where the Attrib Command becomes your digital assistant, effortlessly managing file attributes.
Apply Read-Only Attribute
Picture this: You have a critical document, and you want to prevent accidental changes. The Apply Read-Only Attribute example showcases how Attrib comes to the rescue. With a simple command, like:
attrib +r filename.txt
You've just applied the Read-Only attribute to "filename.txt." Now, your document is shielded from any unintentional edits, acting as a fail-safe against inadvertent alterations.
Clear Hidden Attribute
Have you ever stumbled upon a file that seemed to play hide-and-seek on your system? The Clear Hidden Attribute example allows you to reveal the concealed. A straightforward command, such as:
attrib -h secretfile.txt
This command lifts the veil, making "secretfile.txt" visible to you and your file explorer.
Clear Multiple Attributes
Some files might be multitasking with attributes – say, hidden and read-only at the same time. No worries! The Clear Multiple Attributes example demonstrates Attrib's versatility. A command like:
attrib -h -r myfile.txt
This clears both the Hidden and Read-Only attributes, giving you an editable and visible file.
Apply and Clear Attributes
Time for a makeover! The Apply and Clear Attributes example lets you simultaneously apply and clear specific attributes with finesse. For instance:
attrib +r -h confidential.docx
Here, "confidential.docx" becomes Read-Only while shedding its Hidden status. It's like giving your file a new outfit, tailored to your needs.
Display a File's Attributes
Curiosity piqued? The Display a File's Attributes example lets you peek into a file's ID card. With a command like:
attrib filename.jpg
You get a detailed rundown of the file's attributes, helping you understand its current state – read-only, hidden, or any other attribute it might be flaunting.
How to Use Attrib Command to Hide or Unhide Folder?
Let's roll up our sleeves and explore the hands-on process of leveraging the Attrib Command to conceal or reveal folders. These step-by-step guides will walk you through the journey of using Attrib for hiding or unhiding folders with ease.
Preparation
Before embarking on the folder manipulation journey, a bit of groundwork is essential:
- Path to the Folder: Identify the location of the folder you want to manipulate. This could be anywhere on your Windows system.
- Attrib Syntax: Get comfortable with the basic structure of the Attrib command:
attrib [+attribute | -attribute] [pathname] [/s [/d]]
Now, armed with the knowledge of where your folder resides and the Attrib syntax, you're ready to command Attrib to cloak or unveil your folders.
Method 1: Hidden Folders via Command Prompt
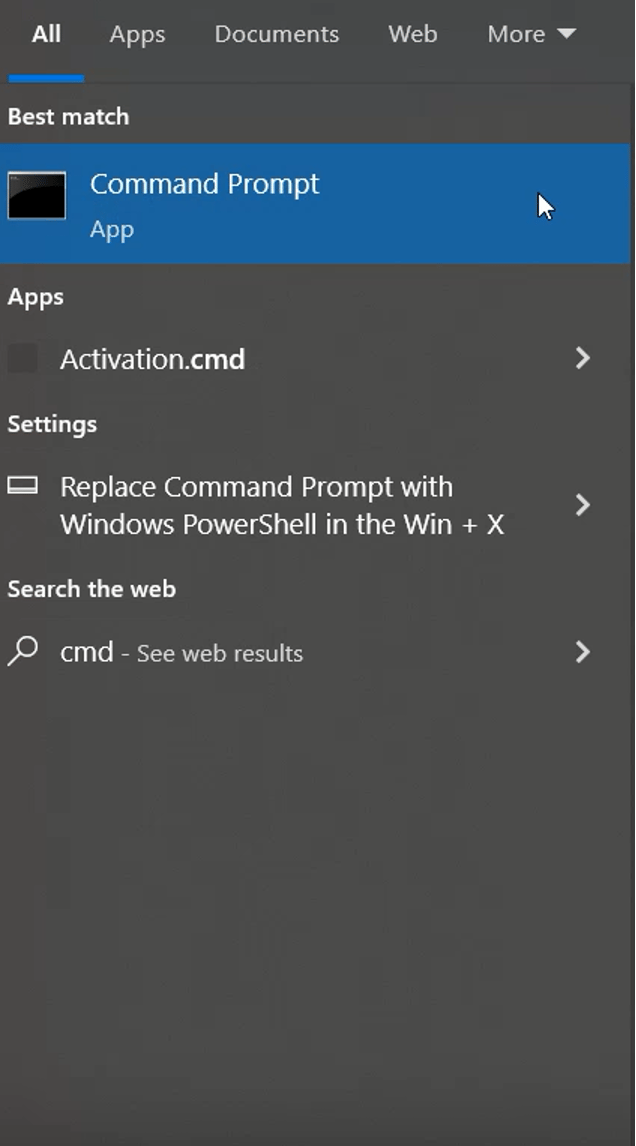
Step 1: Open Command Prompt
Navigate to the Start menu, search for "cmd," and select the Command Prompt app. This opens up the Command Prompt, your gateway to the digital command center. Unlock elevated access: Learn how to open Command Prompt as Administrator.
Step 2: Navigate to the Folder
Use the "cd" command to traverse to the directory containing the folder you wish to hide. Click Here to Understand the CD Command in Windows. For instance:
cd path\to\your\folder
Replace "path\to\your\folder" with the actual path leading to your target folder.
Step 3: Hide the Folder
Execute the Attrib command to cloak the folder:
attrib +h foldername
Replace "foldername" with the specific name of your target folder. Boom! Your folder is now hidden, safe from prying eyes.
Method 2: Hidden Folders via Windows PowerShell
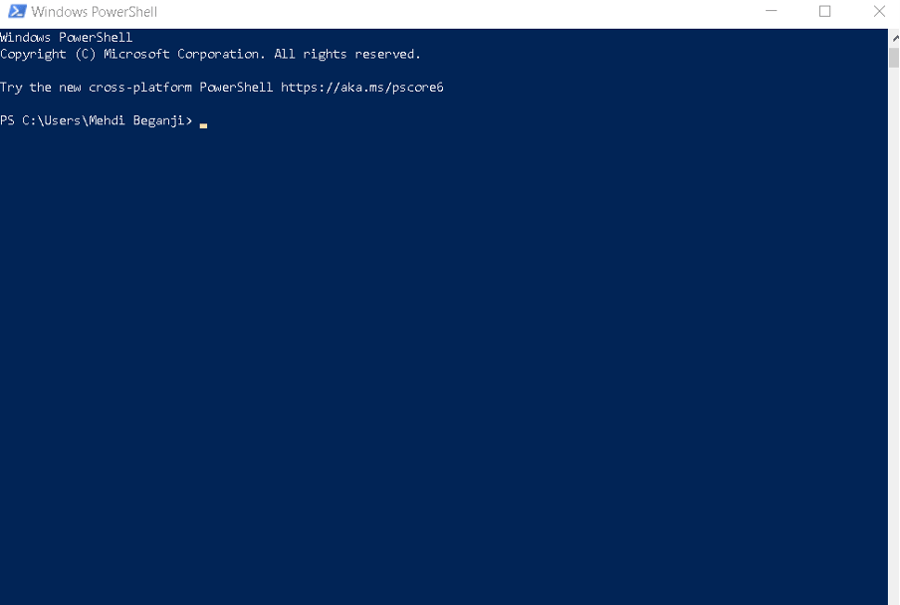
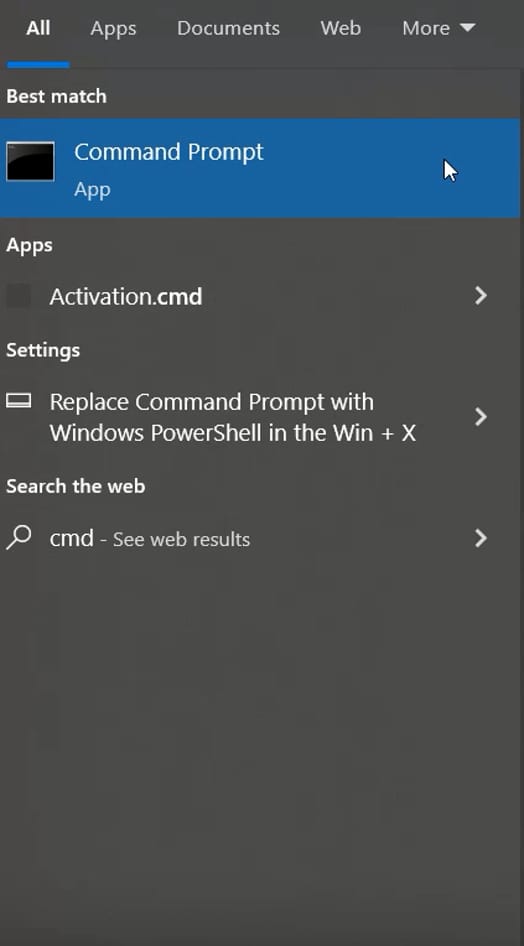
Step 1: Open Windows PowerShell
Search for "PowerShell" in the Start menu and launch the Windows PowerShell app. This powerful interface opens up a world of possibilities.
Step 2: Navigate to the Folder
Similar to the Command Prompt, use the "cd" command to navigate to the directory containing your target folder.
Step 3: Hide the Folder
Execute the Attrib command to conceal the folder:
attrib +h foldername
Replace "foldername" with the actual name of your target folder. Voila! Your folder is now hidden, adding an extra layer of privacy and organization to your system.
Attrib Command Errors
While the Attrib Command is a powerful tool, it's not immune to occasional hiccups. Understanding potential errors can help you navigate smoothly through your digital endeavors. Let's explore some common Attrib Command errors and how to troubleshoot them:
- Access Denied Error: This may occur when attempting to modify system files or files in protected directories. Ensure you have the necessary permissions or try running the command as an administrator.
- File Not Found Error: If the specified file or directory doesn't exist, you'll encounter this error. Double-check your path and file/directory name for accuracy.
- Invalid Switch Error: Using incorrect switches or misspelling them can trigger this error. Refer to the correct Attrib syntax and ensure your switches are accurate.
- System File Error: Modifying system files without caution can lead to system instability. Be cautious when dealing with system files and use the Attrib Command judiciously.
Changes in the Attrib Command
Technology evolves, and so do commands. Explore the latest enhancements or modifications in the Attrib Command. Windows updates may introduce new features, switch functionalities, or improvements to the overall command. Stay in the loop to maximize the potential of Attrib in your digital toolkit.
'Attrib'-Related Commands
File Attributes and attrib Command Options:
attrib Command Overview:
Execute the attrib command independently to view the attributes set on files within the current directory.
- +a: Archive Attribute:
Sets the archive file attribute for the specified file or directory.
- -a: Clear Archive Attribute:
Clears the archive attribute for the specified file or directory.
- +h: Hidden Attribute:
Sets the hidden file attribute for the specified file or directory.
- -h: Clear Hidden Attribute:
Clears the hidden attribute for the specified file or directory.
- +i: Not Content Indexed Attribute:
Sets the 'not content indexed' file attribute for the specified file or directory.
- -i: Clear Not Content Indexed Attribute:
Clears the 'not content indexed' attribute for the specified file or directory.
- +r: Read-Only Attribute:
Sets the read-only file attribute for the specified file or directory.
- -r: Clear Read-Only Attribute:
Clears the read-only attribute for the specified file or directory.
- +s: System Attribute:
Sets the system file attribute for the specified file or directory.
- -s: Clear System Attribute:
Clears the system attribute for the specified file or directory.
- +v: Integrity Attribute:
Sets the integrity file attribute for the specified file or directory.
- -v: Clear Integrity Attribute:
Clears the integrity attribute for the specified file or directory.
- +x: No Scrub Attribute:
Sets the no scrub file attribute for the specified file or directory.
- -x: Clear No Scrub Attribute:
Clears the no scrub attribute for the specified file or directory.
- drive:, path, filename:
Specifies the file (filename with optional drive and path), directory (path with optional drive), or drive for attribute modification. Wildcards are permitted.
- /s: Subfolder Execution:
Executes file attribute changes on subfolders within the specified drive and/or path. If no drive or path is specified, it applies to the current folder.
- /d: Include Directories:
Includes directories, not just files, in the attrib command execution. Use only with /s.
- /l: Symbolic Link Option:
Applies attrib command actions to the Symbolic Link itself instead of its target. Works in conjunction with the /s switch.
- /?: Help Switch:
Use the help switch with attrib to display details about the above options directly in the Command Prompt window. Executing `attrib /?` is equivalent to `help attrib`.
How to Use Attrib Command to Recover Hidden Files?
Ever accidentally hidden a file and struggled to find it? The How to Use Attrib Command to Recover Hidden Files guide is your savior. Follow these steps:
- Open Command Prompt or PowerShell: Launch the command line interface on your Windows system.
- Navigate to the Directory: Use the "cd" command to reach the folder containing the hidden file.
- Run Attrib Command: Execute the Attrib command to clear the Hidden attribute:
attrib -h filename.txt
Replace "filename.txt" with the name of your hidden file.
- Locate Your File: Now that the file is visible, you can easily find and access it through your file explorer.
These steps ensure you can effortlessly recover hidden files using the Attrib Command, rescuing them from the digital shadows.
How to Fix Attrib Command Not Working?
Encountering issues with the Attrib Command can be perplexing, but fear not! Let's explore some troubleshooting steps to get your Attrib Command back on track.
Fix 1: Recover the Deleted Files from the Recycle Bin
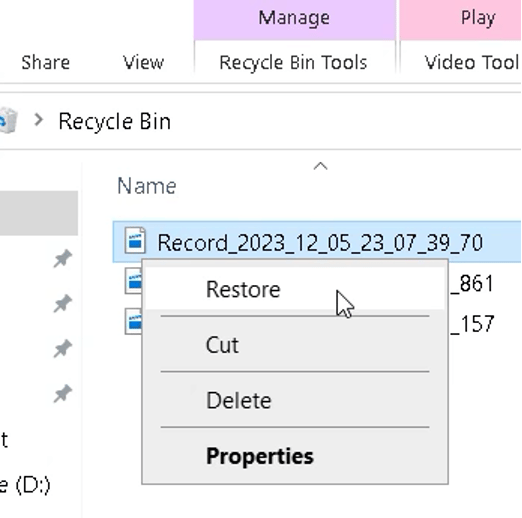
If you find that the Attrib Command is not working as expected, it could be due to unintentionally deleted files. Here's a simple step to recover them:
- Check the Recycle Bin: Sometimes, deleted files might end up in the Recycle Bin. Open the Recycle Bin on your desktop and look for the files you need.
- Restore the Files: If you find your files, right-click on them and choose the "Restore" option. This will return the files to their original location.
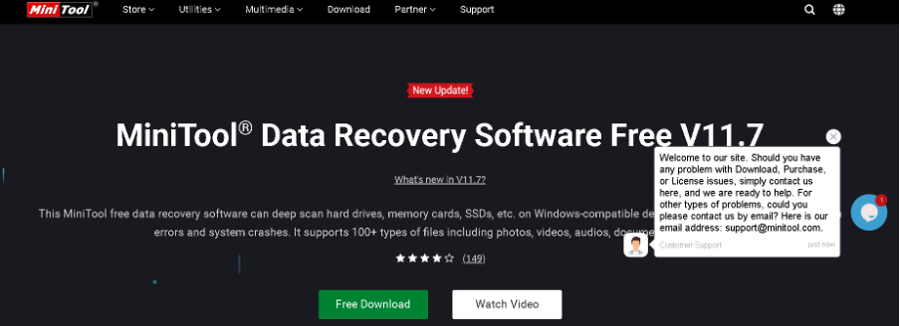
Fix 2: Recover the Deleted Files via MiniTool Power Data Recovery
For more complex data recovery scenarios, tools like MiniTool Power Data Recovery can come in handy. Follow these steps:
- Download and Install MiniTool Power Data Recovery: Visit the official MiniTool website, download the tool, and follow the installation instructions.
- Launch the Software: Open MiniTool Power Data Recovery.
- Select Recovery Module: Choose the recovery module that fits your situation. For instance, you might select "Undelete Recovery" if you've accidentally deleted files.
- Choose the Drive: Select the drive or partition where you lost your files.
- Scan for Lost Files: Initiate a scan to search for lost files. The tool will analyze the selected drive and locate recoverable files.
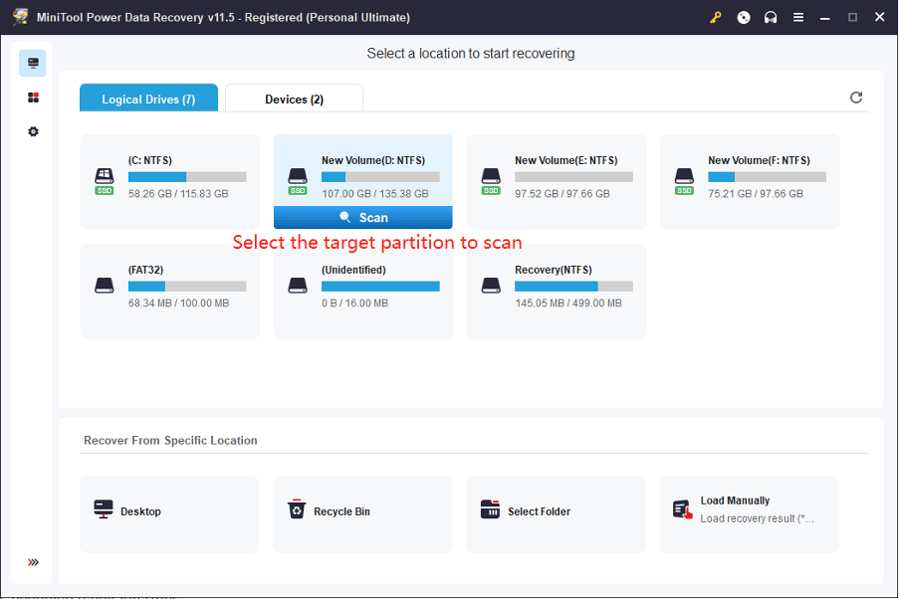
- Preview and Recover: After the scan is complete, preview the found files. Select the files you want to recover and click on the "Save" button to restore them.
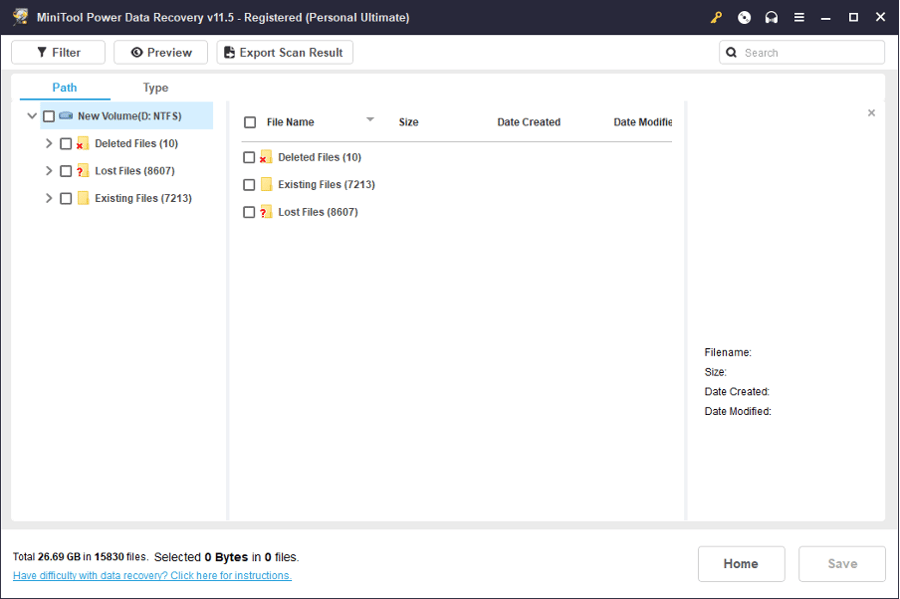
Using MiniTool Power Data Recovery adds an extra layer of data restoration capability, ensuring that you can recover files even if the Attrib Command alone is not sufficient.
Final Words
In the final words, our journey through the intricacies of the Attrib Command unveils its significance as a potent tool for fine-tuning file attributes in the Windows environment. From understanding its fundamental capabilities to unraveling the nuances of parameters and syntax, we've equipped users with the knowledge to command Attrib with precision. The practical examples illustrated its practical applications, offering readers a hands-on approach to managing file attributes. As we navigated through potential errors, acknowledged changes, and explored 'Attrib'-related commands like attrib h r s command, we showcased the command's adaptability in the ever-evolving Windows landscape.

Hello, everyone, my name is Lisa. I'm a passionate electrical engineering student with a keen interest in technology. I'm fascinated by the intersection of engineering principles and technological advancements, and I'm eager to contribute to the field by applying my knowledge and skills to solve real-world problems.