![Top Maven Commands & Options (With Examples + Use Cases) [2026 Guide]](/wp-content/uploads/2023/12/Maven Commands and Options550-main.webp)
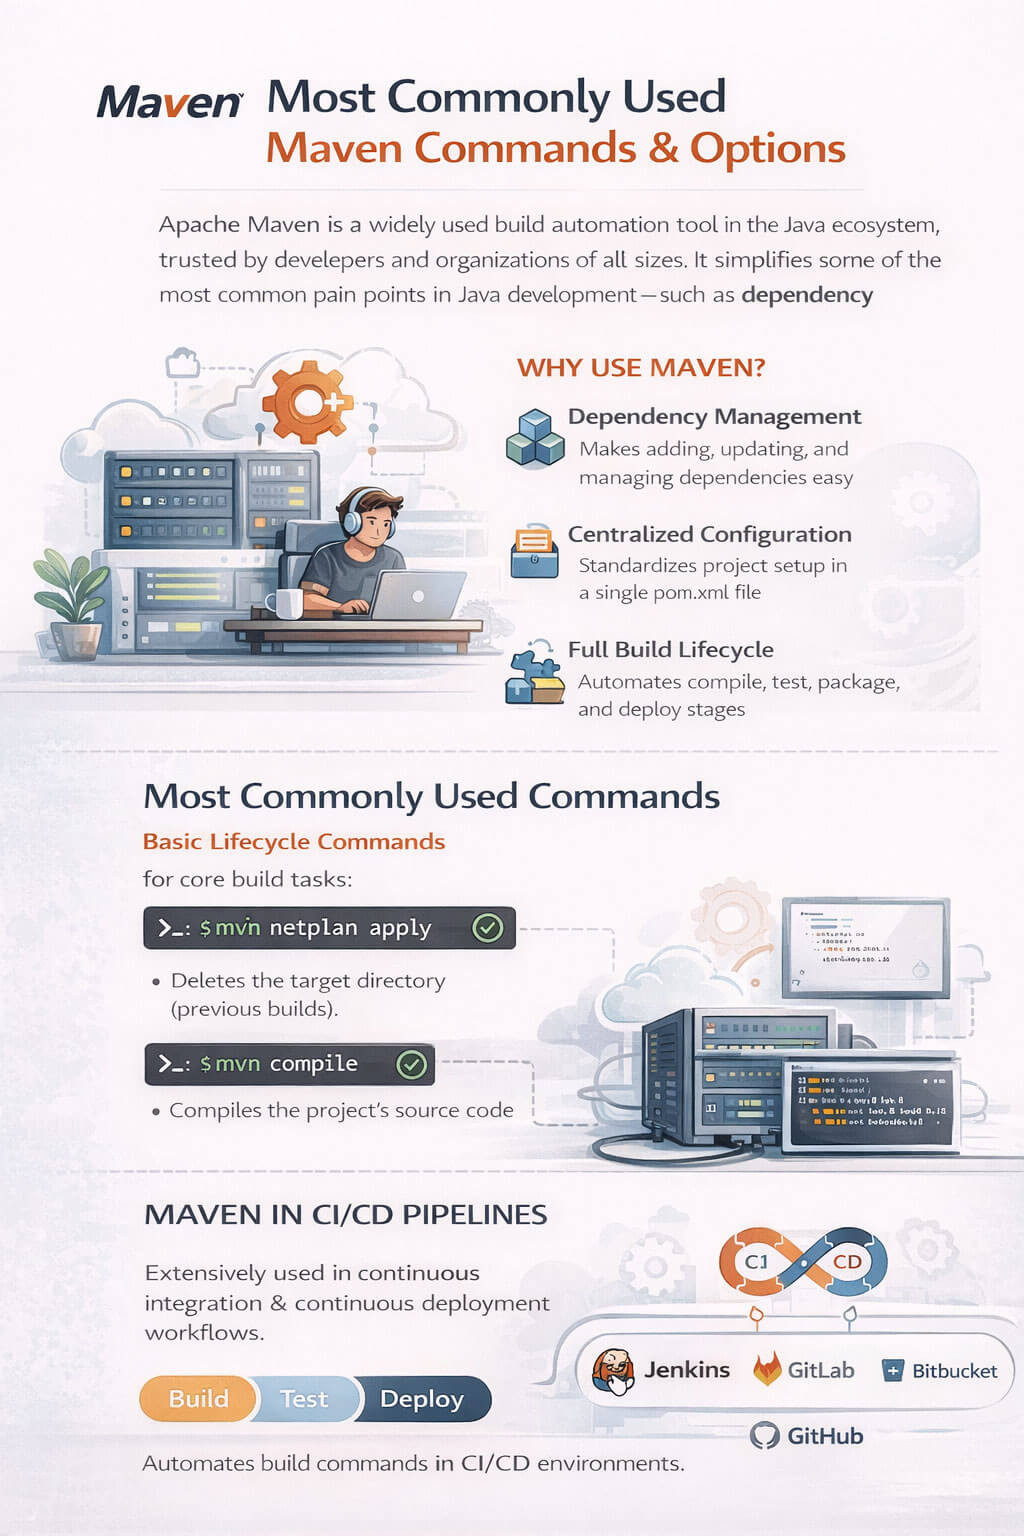
Apache Maven is one of the most widely used build automation tools in the Java ecosystem, trusted by developers and organizations of all sizes. It simplifies some of the most common pain points in Java development such as dependency management, project structure, and build consistency by providing a clear, convention-based approach.
Rather than manually managing libraries or maintaining custom build scripts, Maven centralizes configuration in a single pom.xml file. From there, it automates the entire build lifecycle, including compiling source code, running tests, packaging applications, and deploying artifacts. This makes builds more predictable, repeatable, and easier to integrate into modern CI/CD pipelines.
In this guide, we’ll walk through the most commonly used Maven commands and options, explain when and why you should use each one, and illustrate their usage with practical, real-world examples. We’ll also touch on how these commands are typically applied in CI/CD workflows. Whether you’re new to Maven or an experienced Java or DevOps engineer looking for a quick reference, this article is designed to be a clear and practical resource.
What Is Apache Maven?
Apache Maven is a build automation and dependency management tool primarily used for Java projects. Its main purpose is to simplify the build process by eliminating the need for manual dependency handling and custom build scripts.
Instead of downloading and managing JAR files yourself, Maven uses a declarative configuration file called pom.xml (Project Object Model). This file serves as the single source of truth for the project, defining project dependencies and their versions, the build lifecycle phases and their execution order, the plugins and goals used during the build, and essential project metadata such as name, version, and packaging type.
One of Maven’s core design principles is Convention over Configuration. Rather than requiring developers to make extensive configuration decisions, Maven provides sensible defaults for project structure and build behavior. As a result, most Maven projects look and behave in a consistent way, making them easier to understand, maintain, and integrate into CI/CD pipelines.
By enforcing consistency and automating common tasks, Maven allows teams to focus more on writing code and less on managing builds.
Maven Build Lifecycle Explained
One of Maven’s core concepts is the build lifecycle, which defines the sequence of steps Maven follows to build and manage a project. Each lifecycle is made up of ordered phases, and when you run a specific phase, Maven automatically executes all preceding phases. This approach ensures builds are consistent and repeatable.
For example, when you ask Maven to package an application, it first validates the project, compiles the source code, and runs tests without requiring you to explicitly invoke those steps.
Maven includes three built-in lifecycles. The default lifecycle manages tasks such as compiling, testing, packaging, and deploying applications. The clean lifecycle is responsible for removing files generated by previous builds, while the site lifecycle generates project documentation and reports. In everyday development, you will primarily interact with the default lifecycle, as it covers the entire build process from source code to a deployable artifact.
Key Maven Lifecycle Phases
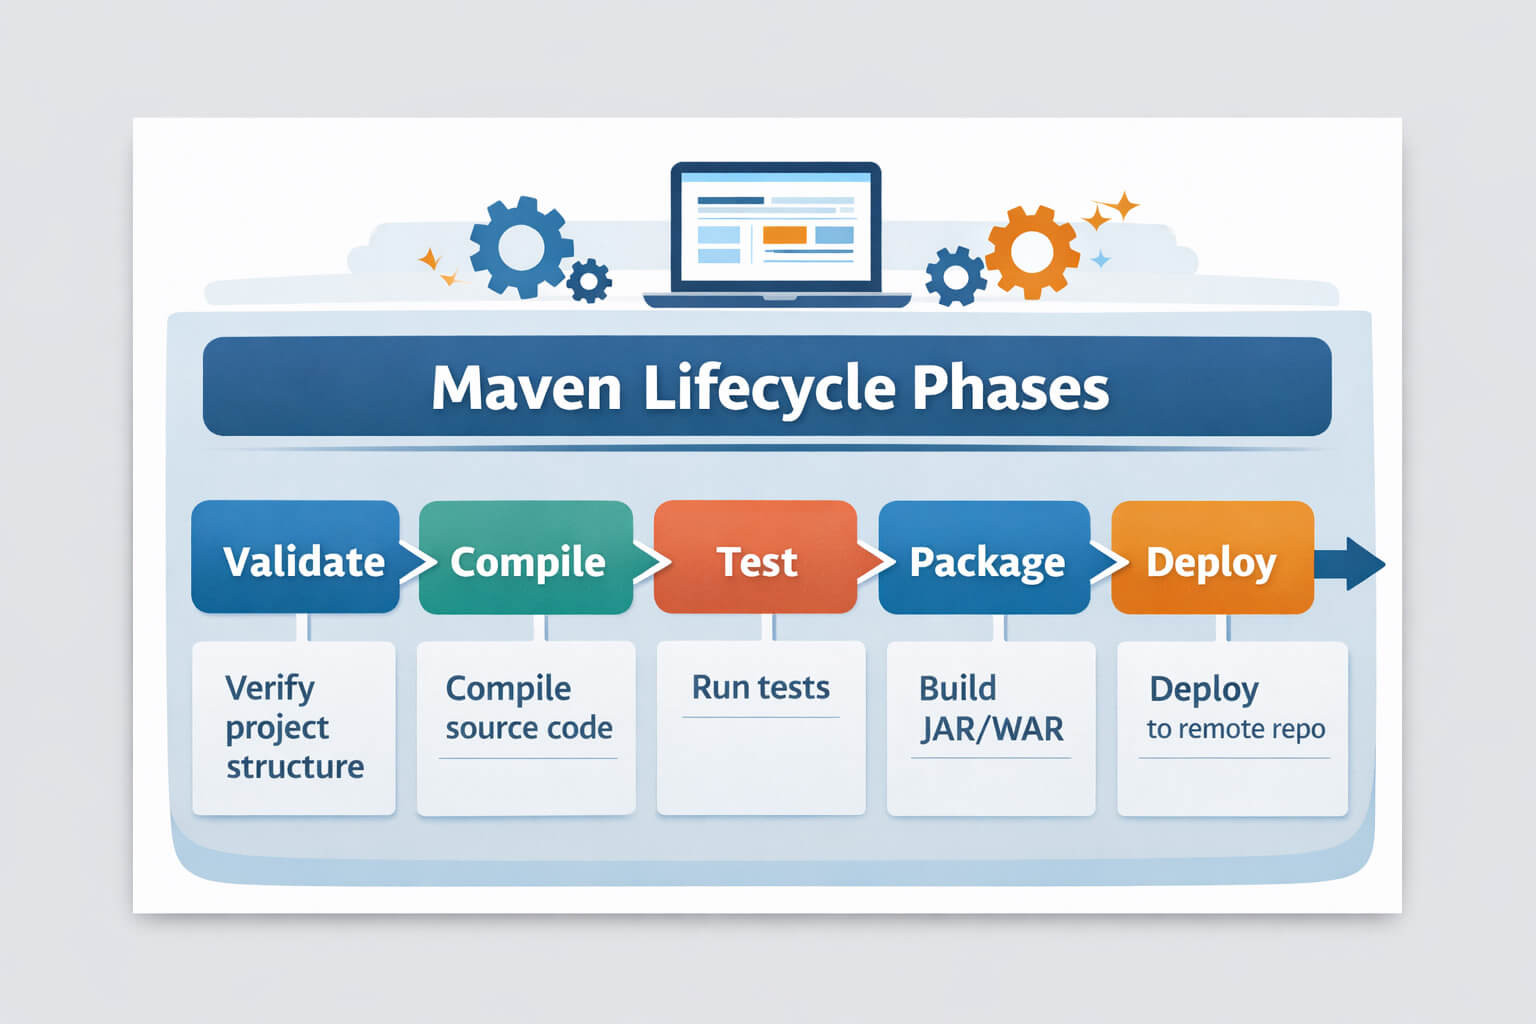
Below are the most commonly used phases in the default lifecycle, listed in the order they are executed:
validate – Checks that the project is correctly structured and all required information is available
compile – Compiles the main source code of the project
test – Runs unit tests using a testing framework (without packaging the code)
package – Packages the compiled code into a distributable format such as a JAR or WAR
verify – Runs additional checks to ensure the package is valid and meets quality criteria
install – Installs the built artifact into the local Maven repository
deploy – Uploads the artifact to a remote repository for sharing or release
Understanding these phases is key to using Maven effectively, especially when working with CI/CD pipelines, where builds must be reliable and automated.
Tip: Running mvn install automatically executes all phases before it.
Core Maven Commands for Java Developers
mvn clean
The clean command removes all files generated by previous builds, most notably the target/ directory. This directory contains compiled classes, packaged artifacts, and other temporary build outputs.
Running mvn clean ensures that your next build starts from a completely fresh state, which helps prevent issues caused by stale or leftover files.
This step is commonly used before running a fresh build, when troubleshooting unexpected or inconsistent build behavior, and in CI/CD pipelines to ensure clean, reproducible builds.
Example:mvn clean
This command is often combined with other lifecycle phases, such as:mvn clean install
When to use:
Before a fresh build,When facing strange or inconsistent build errors
mvn compile
The compile command compiles the project’s main source code, typically located in src/main/java, and converts it into Java bytecode. The compiled classes are placed in the target/classes directory.
This phase ensures that your code is syntactically correct and can be successfully compiled, but it does not run any tests.
This approach is commonly used to quickly verify that the code compiles without running tests, during local development when changes are frequent, and as an early step in the build process before packaging or executing tests.
Example:mvn compile
Keep in mind that running mvn compile will automatically execute all lifecycle phases that come before it, such as validate.
Output:
.class files inside target/classes
Use case:
Quick compilation without running tests or packaging.
mvn test
The test command runs the project’s unit tests using a testing framework such as JUnit or TestNG. Maven compiles the test source code (usually found in src/test/java) and executes the tests without packaging the application.
This phase helps ensure that recent code changes haven’t broken existing functionality and is a critical step in maintaining code quality.
This step is commonly used to run unit tests before committing code, validate changes during local development, and serve as a required stage in CI/CD pipelines to ensure code quality and correctness.
Example:mvn test
By default, Maven will fail the build if any tests fail, making this command especially useful for catching issues early.
mvn package
The package command takes the compiled source code and packages it into a distributable format, such as a JAR or WAR, depending on the project’s configuration.
Before creating the package, Maven automatically runs all earlier lifecycle phases, including compilation and testing. If any tests fail, the packaging step will not proceed.
The resulting artifact is stored in the target/ directory.
This step is commonly used when preparing an application for deployment, verifying that the project can be built successfully from start to finish, and generating artifacts for testing or staging environments.
Example:mvn package
After running this command, you’ll typically find output like:target/my-app-1.0.0.jar
mvn install vs mvn clean install
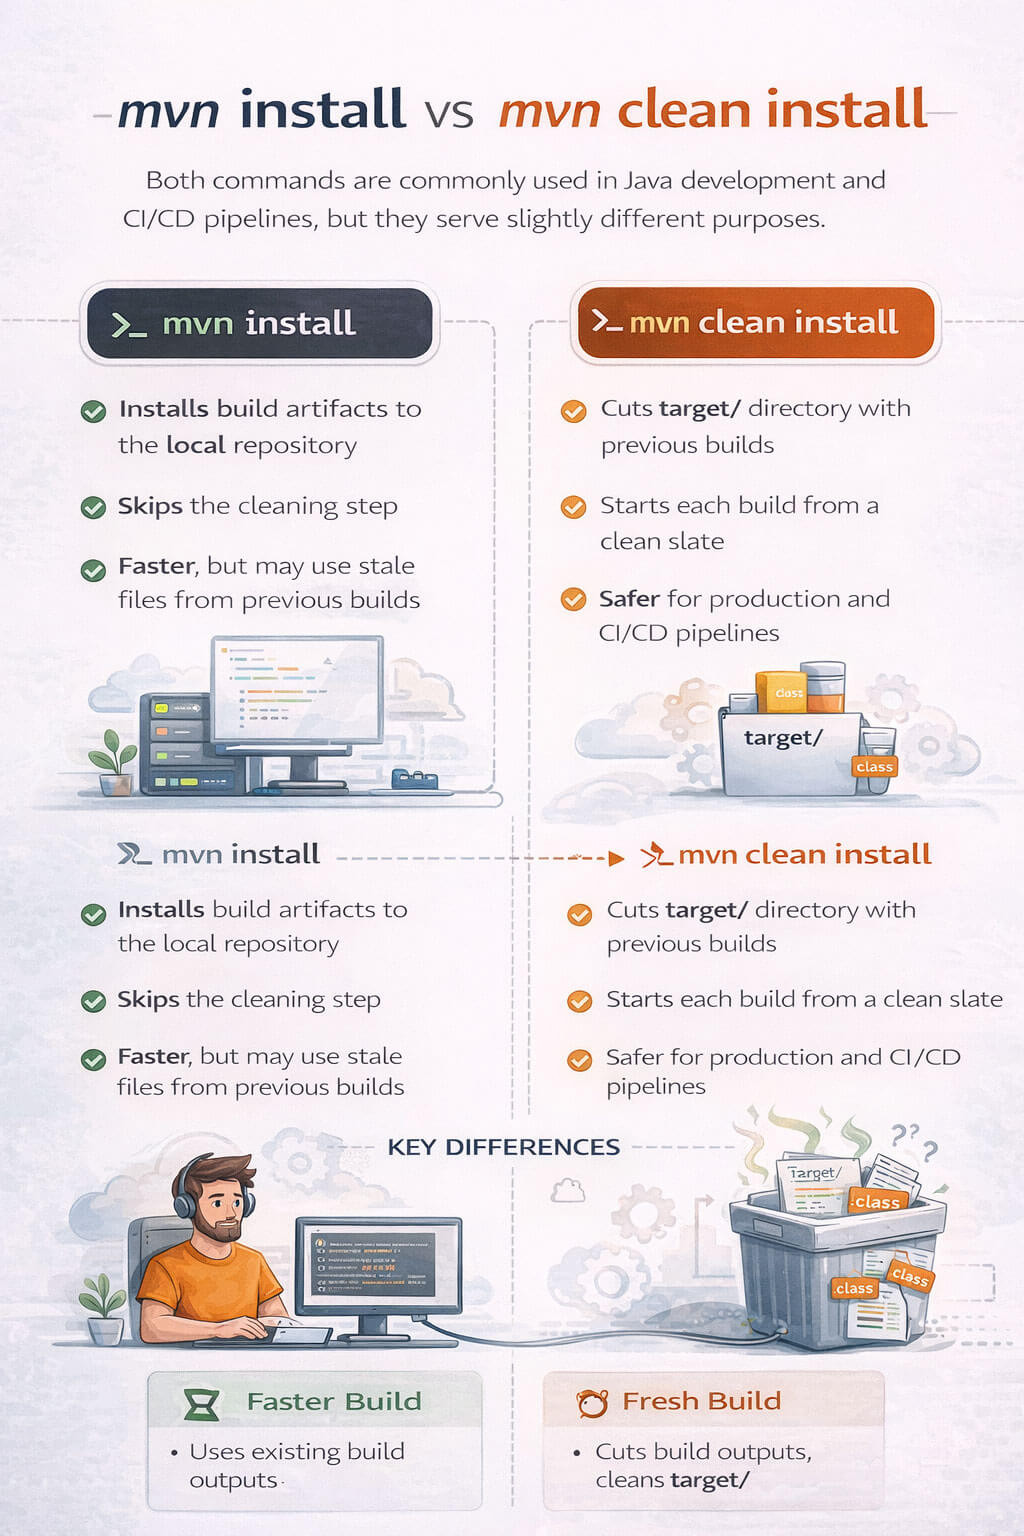
Both commands are commonly used in Java development and CI/CD pipelines, but they serve slightly different purposes.
mvn install
The install command builds the project and installs the generated artifact into your local Maven repository (usually located at ~/.m2/repository). This allows other local projects to use the artifact as a dependency.
Running this command executes all lifecycle phases up to install, including compilation, testing, and packaging.
This step is commonly used to make a library available to other local projects and to build and test a project without removing artifacts from previous builds.
Example:mvn install
mvn clean install
The clean install command does everything mvn install does, but first deletes all previously generated build files by removing the target/ directory.
This ensures the build starts from a completely clean state, reducing the risk of issues caused by leftover or stale files.
Common use cases:
- Performing a fresh, reliable build
- Default command in CI/CD pipelines
- Debugging unexpected build behavior
mvn clean install
Key Difference
|
Command |
Cleans previous build |
Installs to local repo |
Typical usage |
|
mvn install |
❌ No |
✅ Yes |
Faster local builds |
|
mvn clean install |
✅ Yes |
✅ Yes |
Clean, reproducible builds |
In practice, mvn clean install is the safer choice, especially for CI environments, while mvn install is often used for quick local iterations.
mvn deploy
The deploy command builds the project and uploads the generated artifact to a remote Maven repository, such as Nexus, Artifactory, or Maven Central. This makes the artifact available to other developers, teams, or production systems.
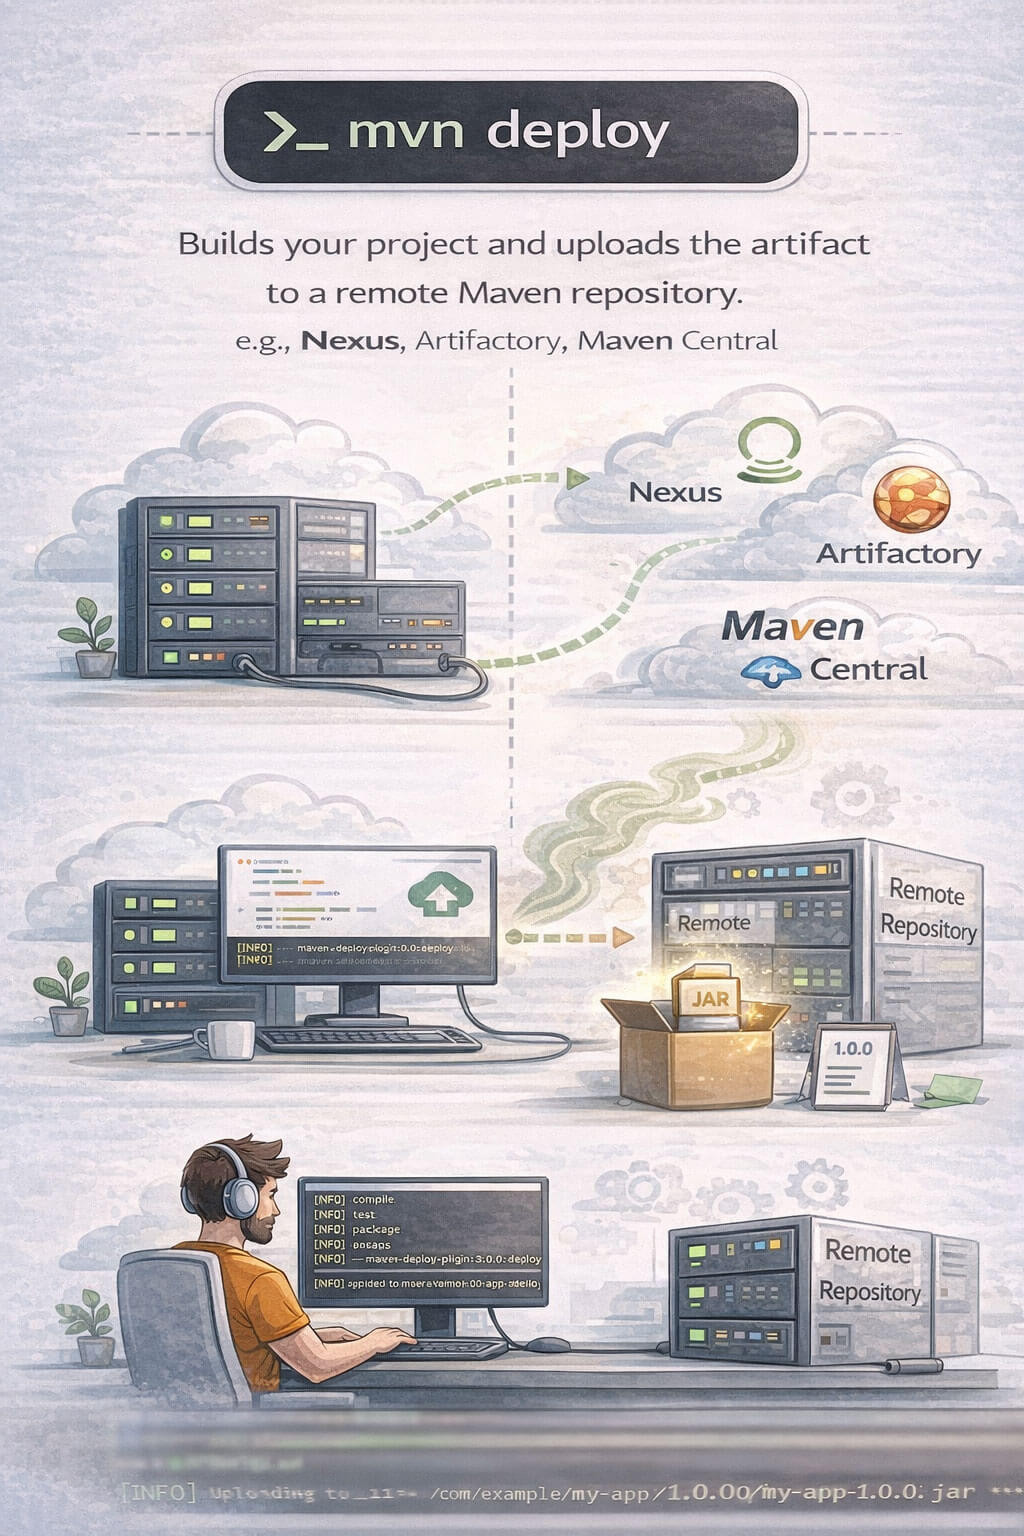
When you run mvn deploy, Maven executes all lifecycle phases up to deploy, including compilation, testing, packaging, and installation. After that, the artifact is pushed to the configured remote repository.
This step is commonly used to publish libraries for internal team use or public consumption, release applications as part of CI/CD pipelines, and share build artifacts across different environments or organizations.
Example:
mvn deploy
To use this command, repository details and credentials must be configured—typically in the distributionManagement section of pom.xml and authentication settings in settings.xml.
Because mvn deploy publishes artifacts externally, it is usually run only in controlled environments, such as release pipelines, rather than on local developer machines.
Useful Maven Options and Flags
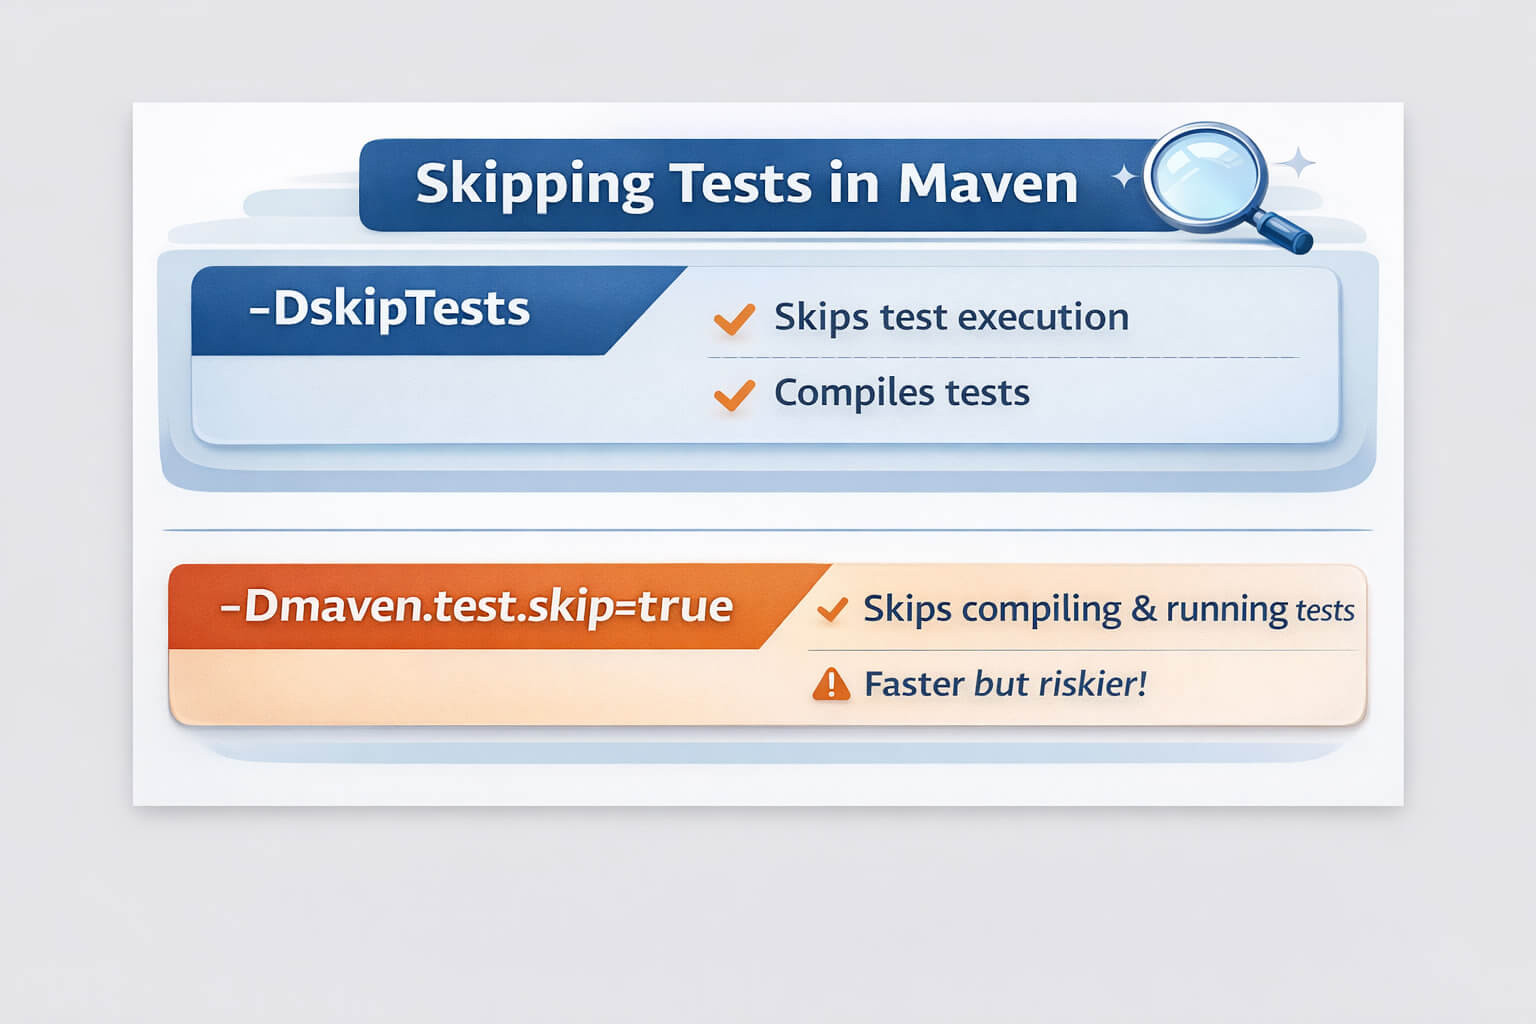
-DskipTests vs -Dmaven.test.skip=true
Both of these options are used to skip tests, but they behave differently and are often misunderstood.
-DskipTests
This option skips running tests, but still compiles the test source code.
When this mode is used, the main application code is compiled and the test sources are also compiled, but the tests themselves are not executed. This allows the build to complete without running the test suite.
This approach is commonly used to speed up builds when tests are temporarily unnecessary, or in CI pipelines where tests have already been executed in an earlier stage and do not need to be run again.
mvn clean install -DskipTests
-Dmaven.test.skip=true
This option skips both compiling and running tests entirely.
In this mode, only the main application code is compiled. Test sources are not compiled, and no tests are executed, resulting in the fastest possible build.
This approach is typically used for emergency builds or situations where an extremely fast build is required and tests are not needed at all.
mvn clean install -Dmaven.test.skip=true
Key Difference
|
Option |
Compiles tests |
Runs tests |
Recommended usage |
|
-DskipTests |
✅ Yes |
❌ No |
Preferred when skipping tests |
|
-Dmaven.test.skip=true |
❌ No |
❌ No |
Use only when necessary |
Best practice:
Use -DskipTests whenever possible. Skipping test compilation entirely can hide test-related issues.
-U (Force Update Dependencies)
mvn clean install -U
Forces Maven to update snapshots and dependencies
-X (Debug Mode)
mvn install -X
Outputs detailed debug logs—very useful for troubleshooting plugin or dependency issues.
-e (Error Details)
mvn install -e
Shows full stack traces for build error
Advanced Maven Scenarios
Running Maven Plugin Goals
In addition to running standard lifecycle phases, Maven allows you to execute plugin goals directly, without binding them to any lifecycle phase. This is useful when you want to perform a specific task on demand without triggering a full build.
Plugins extend Maven’s functionality and can handle tasks such as generating source code, analyzing dependencies, running code quality checks, or packaging applications in custom ways.
General syntax:
mvn <plugin>:<goal>
Common examples:
Run the Maven Compiler plugin explicitly:
mvn compiler:compile
Display the project dependency tree:
mvn dependency:tree
Clean the project using the Clean plugin:
mvn clean:clean
These commands execute only the specified plugin goal, making them faster and more targeted than running an entire lifecycle phase.
Running plugin goals directly is especially helpful for debugging, inspection tasks, or advanced build customization, and it’s commonly used by experienced developers and CI/CD pipelines.
Working with Multi-Module Projects
In multi-module Maven projects, a parent project manages multiple sub-modules, each with its own pom.xml. Maven allows you to build specific modules only, which is especially useful when working on large projects where rebuilding everything would be slow and unnecessary.
Build a specific module only
You can use the -pl (projects list) option to target a specific module.
Example:
mvn clean install -pl module-name
This command builds only the specified module and skips all others.
Build a module and its dependencies
Often, a module depends on other modules in the same project. In that case, use the -am (also make) option to build required dependencies automatically.
Example:
mvn clean install -pl module-name -am
This approach is commonly used to speed up builds during local development, focus on a single service within a large monorepo, and reduce overall build time in CI pipelines.
By selectively building modules, Maven makes it easier to work efficiently with complex, multi-module projects without sacrificing consistency or reliability.
Custom Plugin Execution
Maven plugins can be executed manually to perform specific tasks without tying them to a lifecycle phase. This is especially useful when you want to generate reports, documentation, or perform one-off build-related actions.
Example: Running the Maven Site Plugin
The Maven Site plugin is used to generate project documentation, including reports such as test results, dependency information, and project metadata.
To generate the project site locally, run:
mvn site
This command generates a static documentation site under:
target/site
If you want to publish the generated site to a remote location (such as a documentation server), you can use:
mvn site:deploy
Common use cases:
- Generating project documentation
- Publishing reports for teams or stakeholders
- Producing quality and dependency reports in CI environments
Custom plugin execution gives you fine-grained control over your build process and allows Maven to be used for much more than just compiling and packaging code.
Common Pitfalls and Troubleshooting
Why doesn’t mvn clean remove everything?
A common misconception is that mvn clean completely resets Maven. In reality, it only removes files that were generated during the build process, primarily the target/ directory inside the project.
Running mvn clean removes all files generated by previous builds. This includes compiled classes, packaged artifacts such as JAR or WAR files, and any temporary build outputs created during the build process.
However, mvn clean does not affect your local Maven repository or global configuration. Cached dependencies stored in ~/.m2/repository, downloaded Maven plugins, and global Maven configuration files are preserved, allowing subsequent builds to reuse existing artifacts without re-downloading them.
This behavior is intentional. Maven caches dependencies locally to avoid re-downloading them for every build, which significantly improves build performance.
How to force dependency re-download (when needed)
If your local cache is corrupted or you want to refresh dependencies, you can use:
mvn clean install -U
The -U (update snapshots) flag forces Maven to check for updated dependencies and re-download them if necessary.
Understanding this distinction helps avoid confusion and prevents unnecessary deletion of the .m2 directory, which should only be done as a last resort.
Build fails due to dependency conflicts
Dependency conflicts usually happen when two (or more) libraries pull in different versions of the same dependency (transitive dependencies). This can lead to build errors, test failures, or runtime issues like ClassNotFoundException / NoSuchMethodError.
Use:
1) Inspect the dependency tree (find who brings what)
mvn dependency:tree
To narrow it down to one dependency:
mvn dependency:tree -Dincludes=groupId:artifactId
2) Show version conflicts clearly (highly useful)
mvn dependency:tree -Dverbose
3) Check for multiple versions (quick hint)
mvn dependency:analyze
4) (Fix) Force a single version via dependencyManagement
In your parent/aggregator pom.xml, pin the version:
<dependencyManagement>
  <dependencies>
    <dependency>
      <groupId>com.fasterxml.jackson.core</groupId>
      <artifactId>jackson-databind</artifactId>
      <version>2.x.x</version>
    </dependency>
  </dependencies>
</dependencyManagement>
5) (Fix) Exclude the unwanted transitive dependency
<dependency>
  <groupId>some.group</groupId>
  <artifactId>some-artifact</artifactId>
  <version>1.2.3</version>
  <exclusions>
    <exclusion>
      <groupId>conflicting.group</groupId>
      <artifactId>conflicting-artifact</artifactId>
    </exclusion>
  </exclusions>
</dependency>
6) Rebuild after changes
mvn clean install
Tests fail in CI but pass locally
This is one of the most common (and annoying) Maven/CI issues: everything looks fine on your machine, but CI fails. Usually it comes down to environment differences.
Possible causes
A common issue is a Java version mismatch. Your local machine might be using Java 17 while the CI environment runs Java 11, or the other way around. Even minor version differences can cause test failures or plugin issues. You can quickly check this by comparing the output of java -version and mvn -version locally with the CI logs. The recommended fix is to pin the same Java version in CI, and if supported, enforce it using the Maven Toolchains Plugin.
Another frequent cause is missing environment variables or secrets. CI environments usually do not include local .env files, shell profile variables, or developer credentials. This often affects values like database URLs, cloud regions, JWT secrets, test tokens, or feature flags. To fix this, explicitly define all required environment variables in the pipeline configuration and add clear test failures when variables are missing instead of allowing null-pointer errors.
Operating system differences can also break builds. CI commonly runs on Linux, while developers may work on Windows or macOS. This can surface issues with file path separators, filesystem case sensitivity, line endings, or hardcoded absolute paths. To prevent this, use platform-independent APIs such as Paths.get(...), rely on classpath resources, and avoid OS-specific assumptions.
Quick troubleshooting tips (practical)
To debug CI-only failures, run Maven locally in a clean, CI-like mode by executing mvn clean test. This forces a fresh build and helps surface issues hidden by cached artifacts. To get reliable results, make sure your local setup matches the CI environment as closely as possible. Use the same Java version and Maven version, activate the same Maven profiles with -P, and include any flags or system properties used in the pipeline, such as -DskipITs or other custom build options. Aligning these details often reveals the root cause of differences between local and CI builds.
- Get more detail from Maven logs
mvn test -e - Or full debug:
mvn test -X
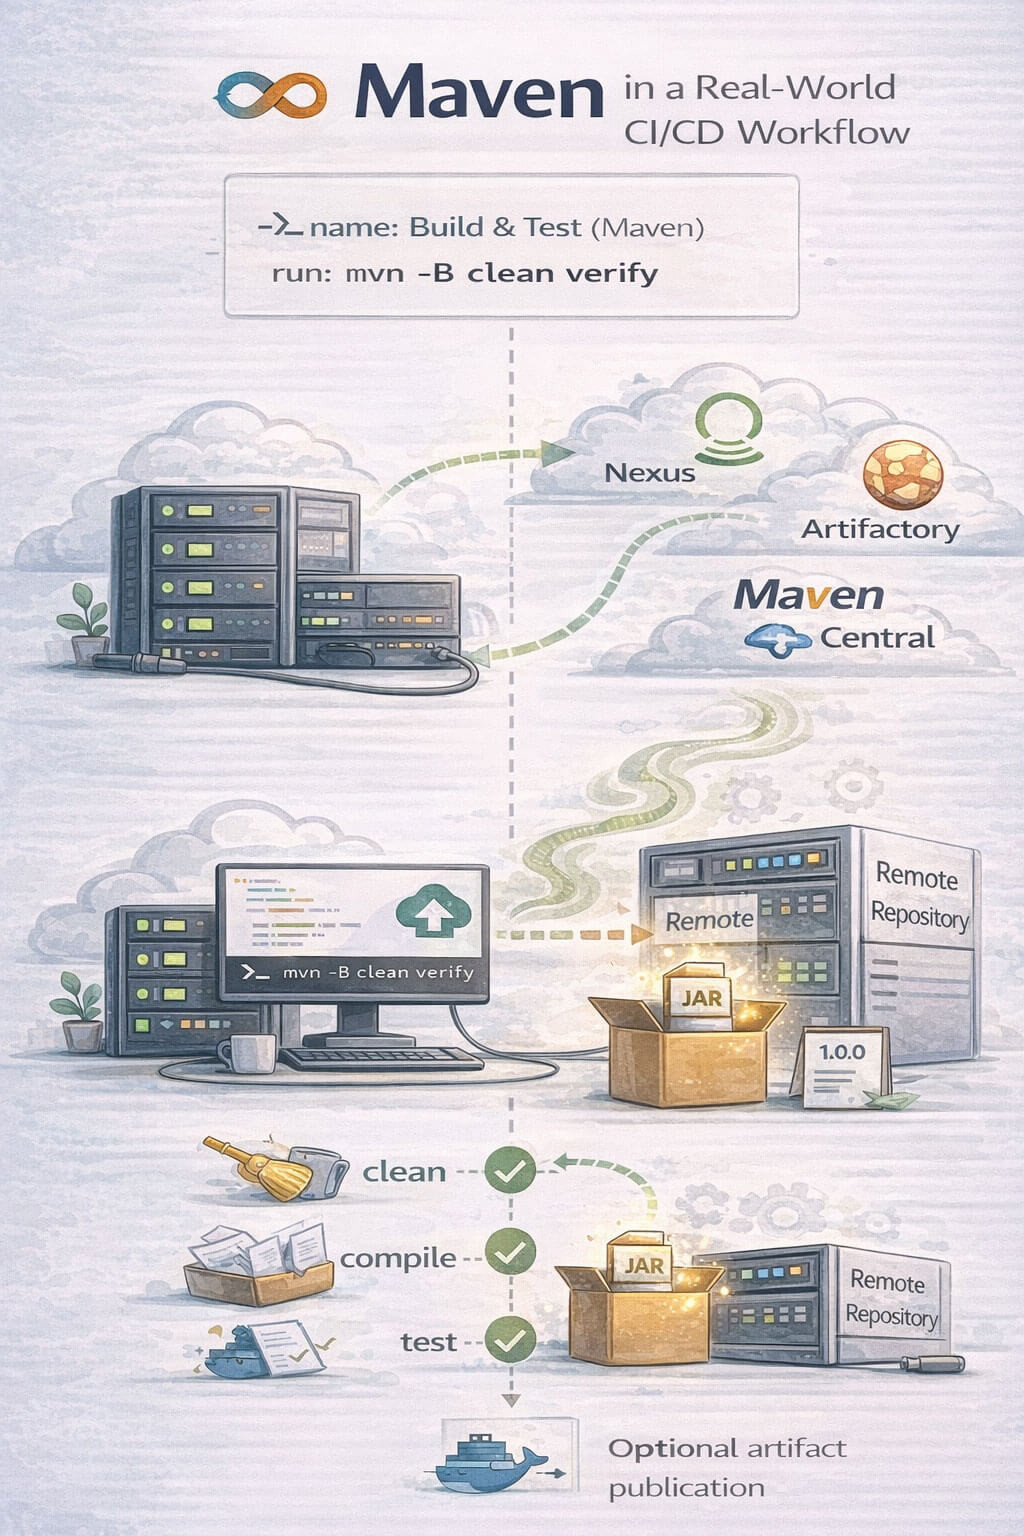
Maven in a Real-World CI/CD Workflow
In CI/CD, Maven is usually used to produce repeatable builds: same inputs → same outputs. The goal is to compile, test, and package your app in a clean environment, then optionally publish artifacts (or Docker images) if everything passes.
Example GitHub Actions step
Here’s a practical Maven step for most Java projects (clean build + tests):- name: Build & Test (Maven)
run: mvn -B clean verify
This command is commonly used because the -B flag runs Maven in batch mode, producing cleaner and more predictable logs in CI environments. The clean phase ensures that no leftover build artifacts from previous runs can affect the result, while the verify phase executes the full build up to verification, including compilation, tests, and any configured checks. Together, these options make a solid default for CI pipelines, providing reliable and reproducible build results.
Faster builds with dependency caching (recommended)
- name: Set up Java
uses: actions/setup-java@v4
With:
distribution: temurin
java-version: '17'
cache: maven
- name: Build & Test (Maven)
  run: mvn -B clean verify
This caches ~/.m2/repository, making builds much faster while still keeping the workspace clean.
Release-style step (publish artifacts)
If you deploy to a remote repo (Nexus/Artifactory/Maven Central), you’d typically do:
- name: Deploy
  run: mvn -B clean deploy -Pprod
Usually this runs only on tags/releases or main branch, and requires credentials stored as GitHub Secrets.
Final Notes
Apache Maven remains a cornerstone of Java build automation, powering everything from small personal projects to large-scale enterprise systems. While it may seem complex at first, understanding Maven’s core concepts its build lifecycle, commonly used commands, and key options—goes a long way in making builds faster, more reliable, and easier to troubleshoot.
By mastering these fundamentals, you can speed up builds and iterate more efficiently, avoid common pitfalls such as dependency conflicts and environment-related test failures, and build reliable, repeatable CI/CD pipelines that behave consistently across local development, CI, and production environments.
Maven’s true strength lies in its consistency. Once you understand how it works, you can confidently move between projects, teams, and environments without constantly re-learning the build process.
Next Step
To take this guide even further, consider creating a downloadable Maven cheat sheet or adding short CLI GIFs for high-traffic commands. These small additions can significantly improve readability, engagement, and long-term value for readers.
Master Maven once and every Java project that follows becomes easier.

Hello, everyone, my name is Lisa. I'm a passionate electrical engineering student with a keen interest in technology. I'm fascinated by the intersection of engineering principles and technological advancements, and I'm eager to contribute to the field by applying my knowledge and skills to solve real-world problems.